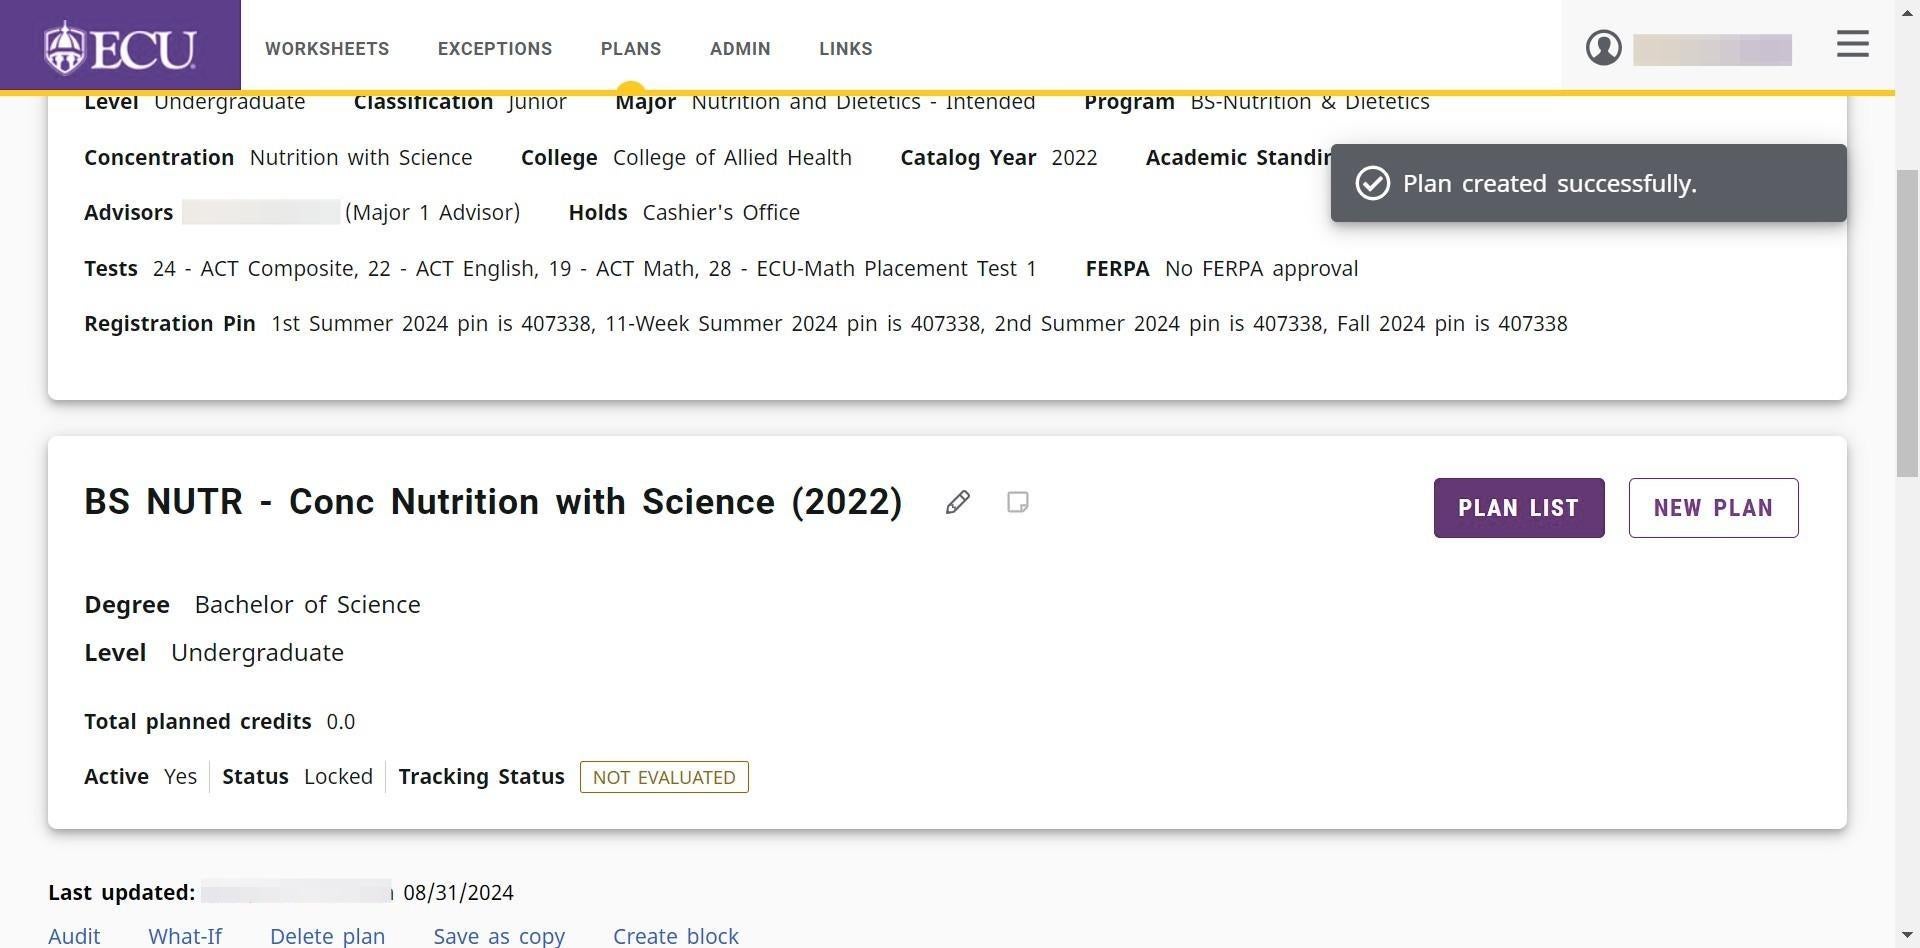
How to Create a New Blank Plan
Best Practices:
- Plans: Only create a plan for future terms. You do not need to add courses that a student has already completed or is currently registered for. Only add courses that a student still needs to take.
- Multiple Curriculums: Students pursuing more than one program should only have one approved and active plan. If student has multiple curriculums, the plan should be created under the primary program and requirements for ALL curriculums added to the primary plan. This requires coordination by advisors from different areas. This also applies to certifications and minors that are in addition to a degree.
- Click the “NEW PLAN” button.
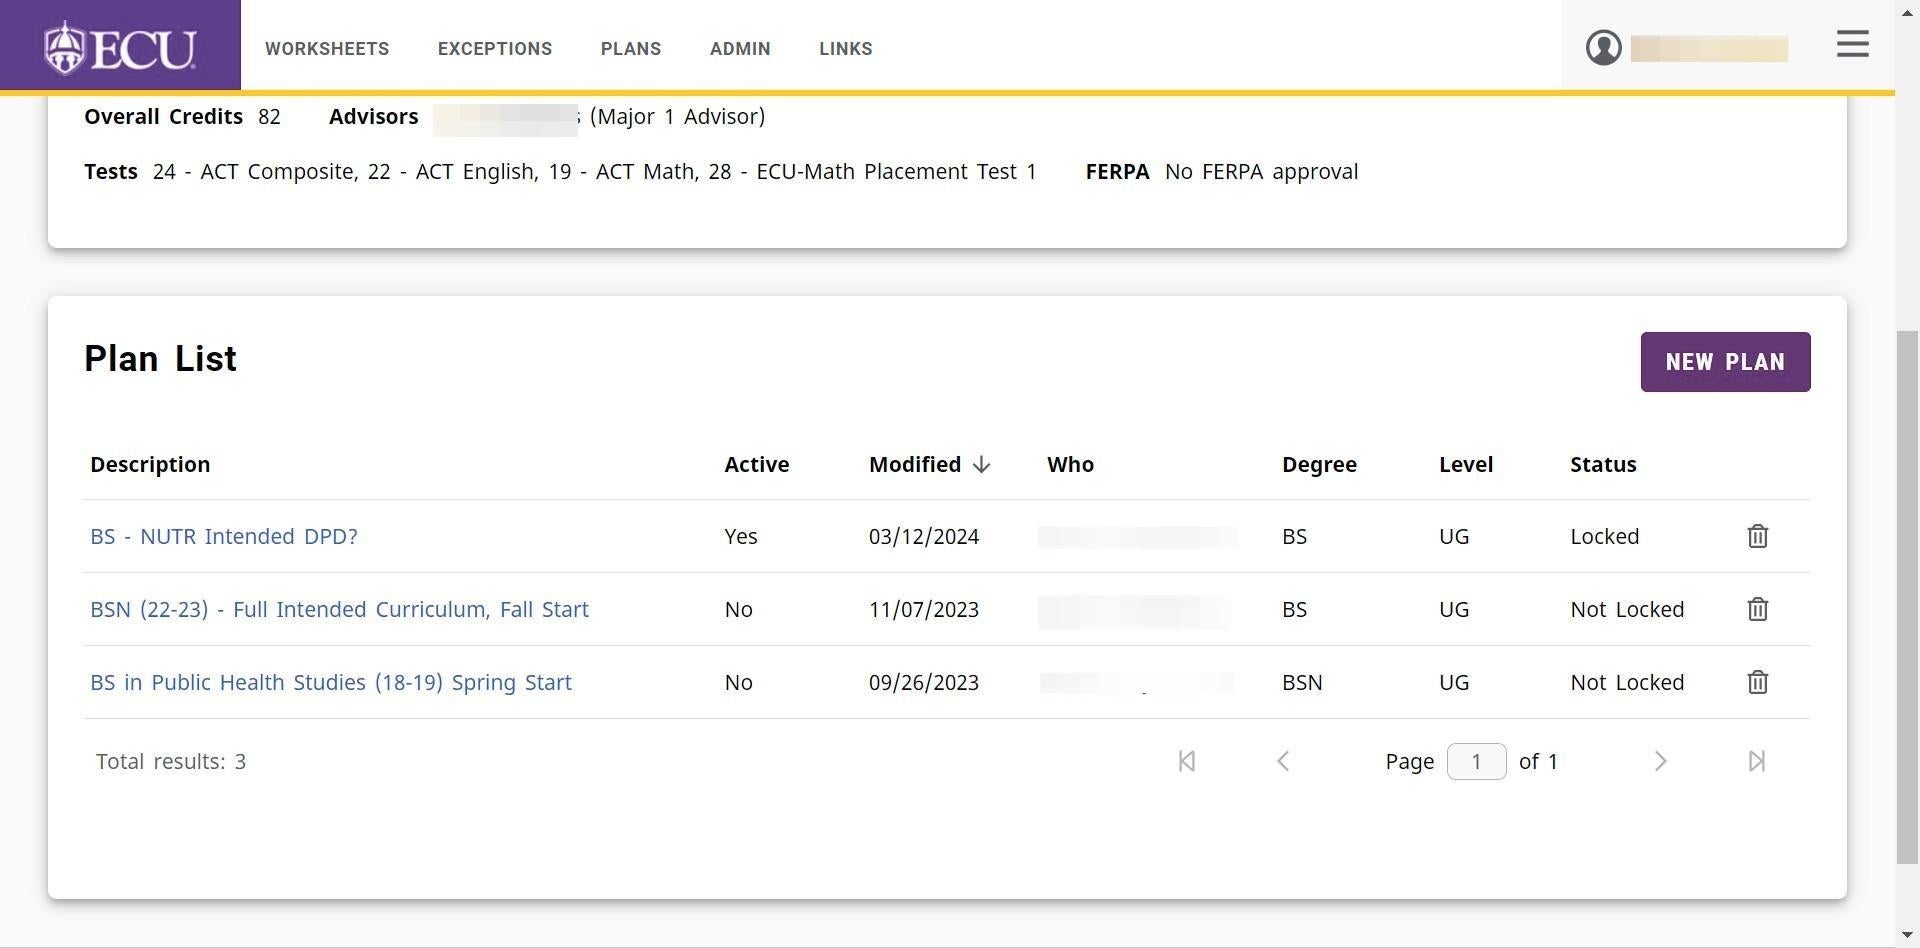
- Click the “BLANK PLAN” button.
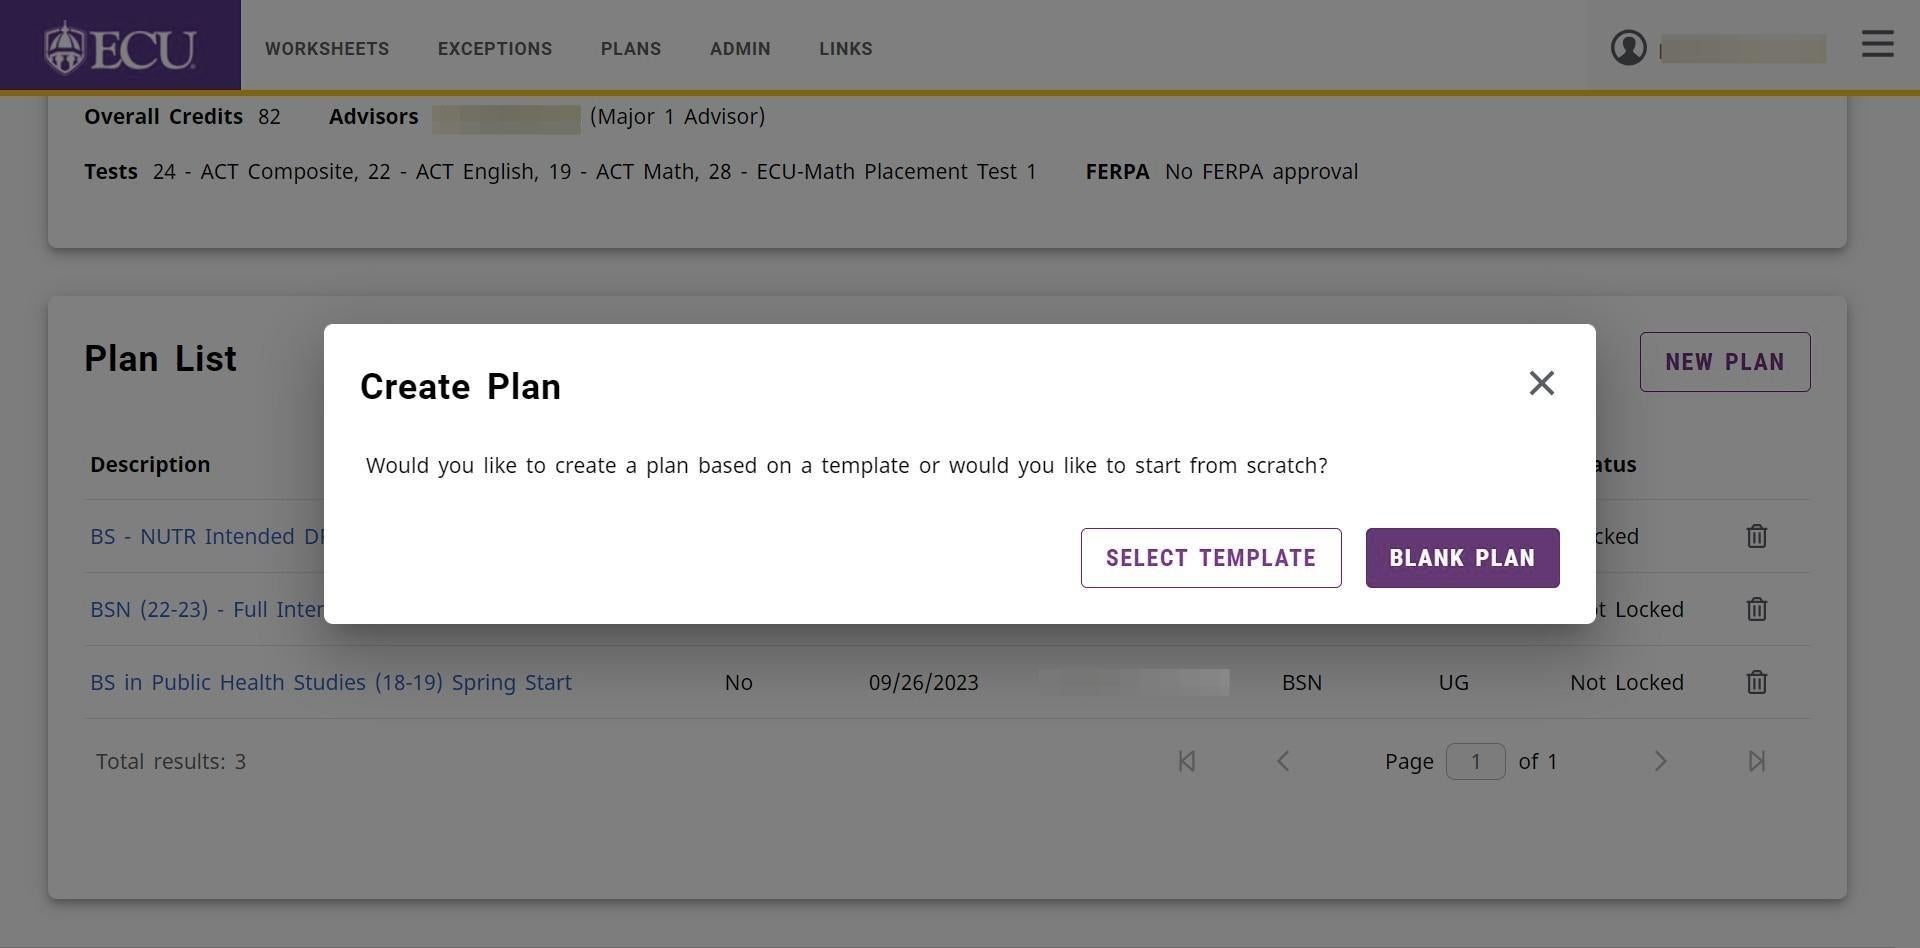
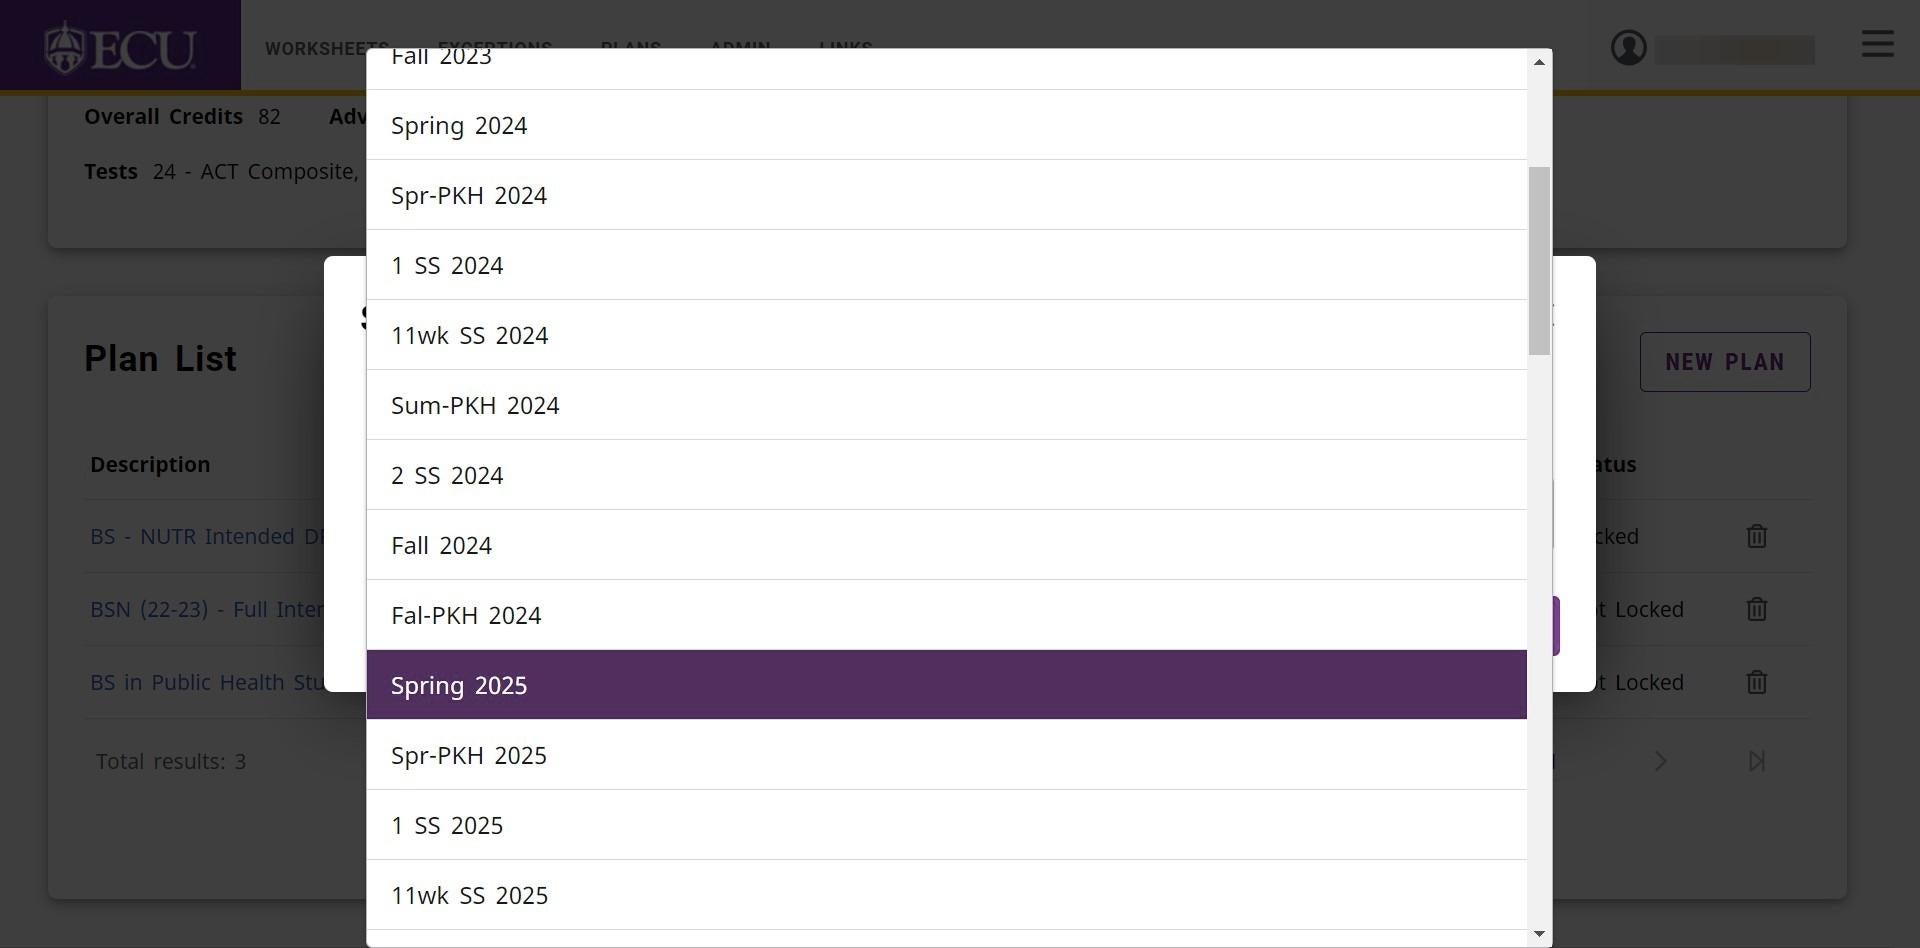
- Click the “Select a Starting Term” drop down menu to select a starting term.
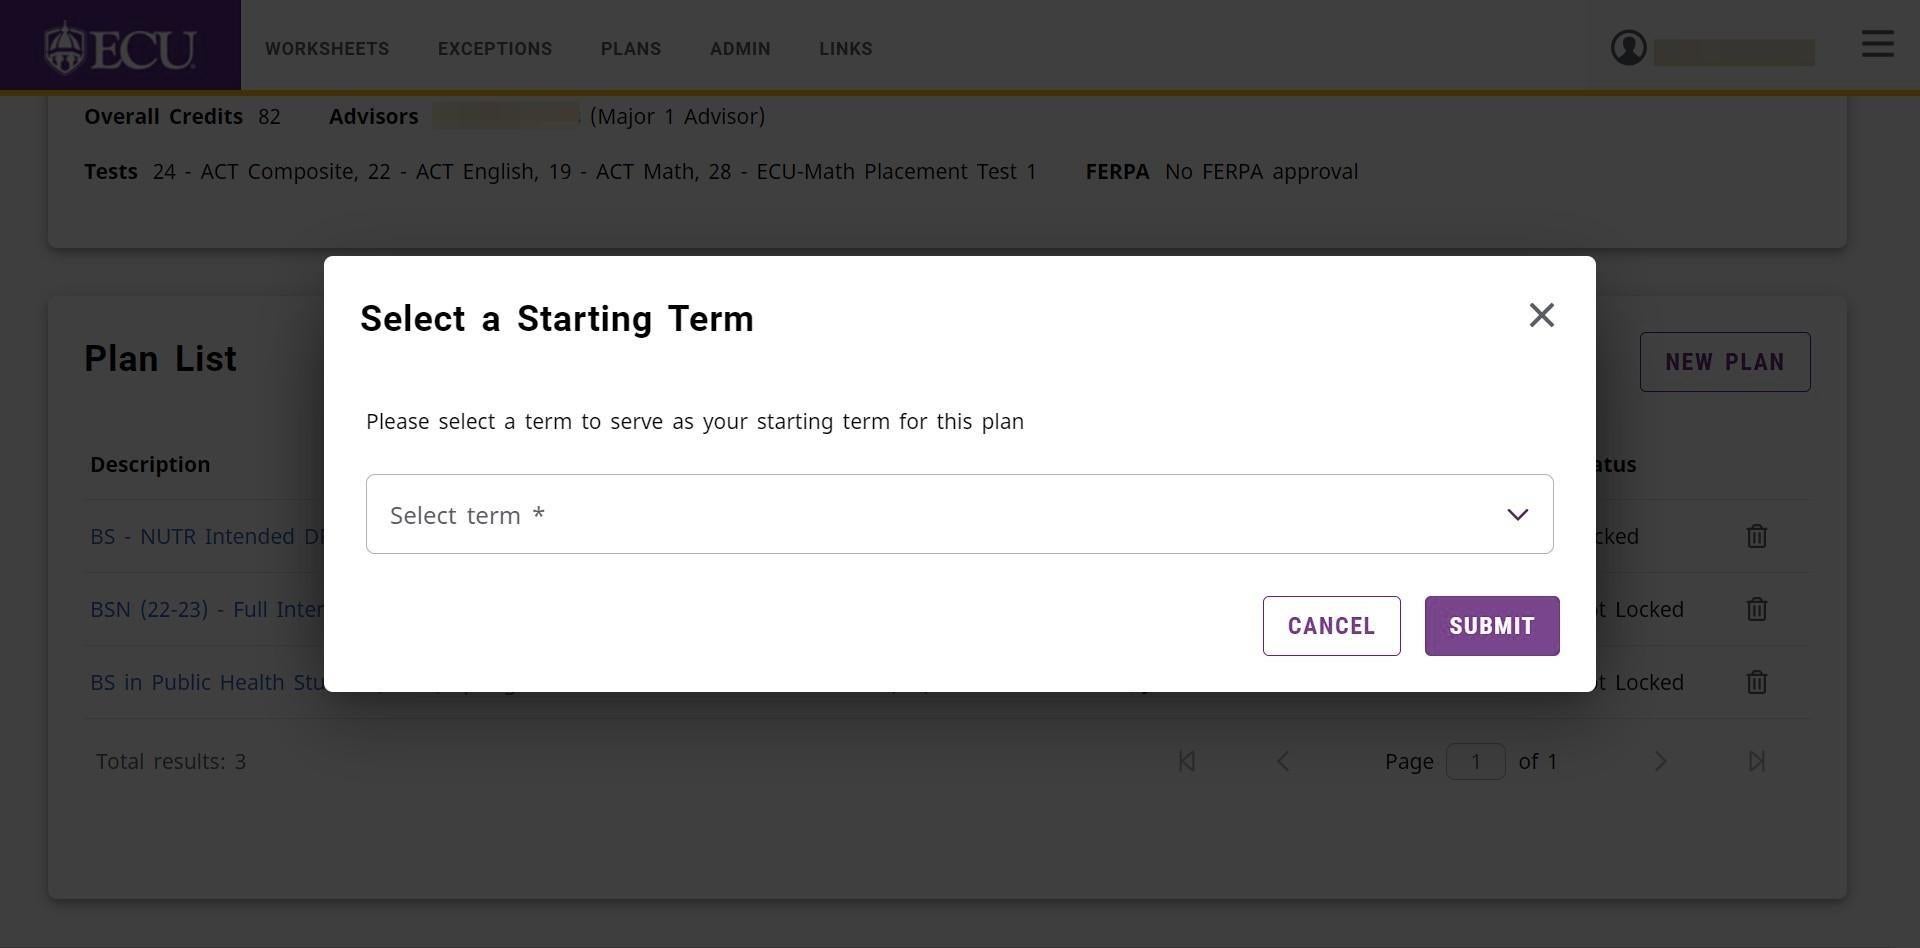
- Select the first term for the student plan.
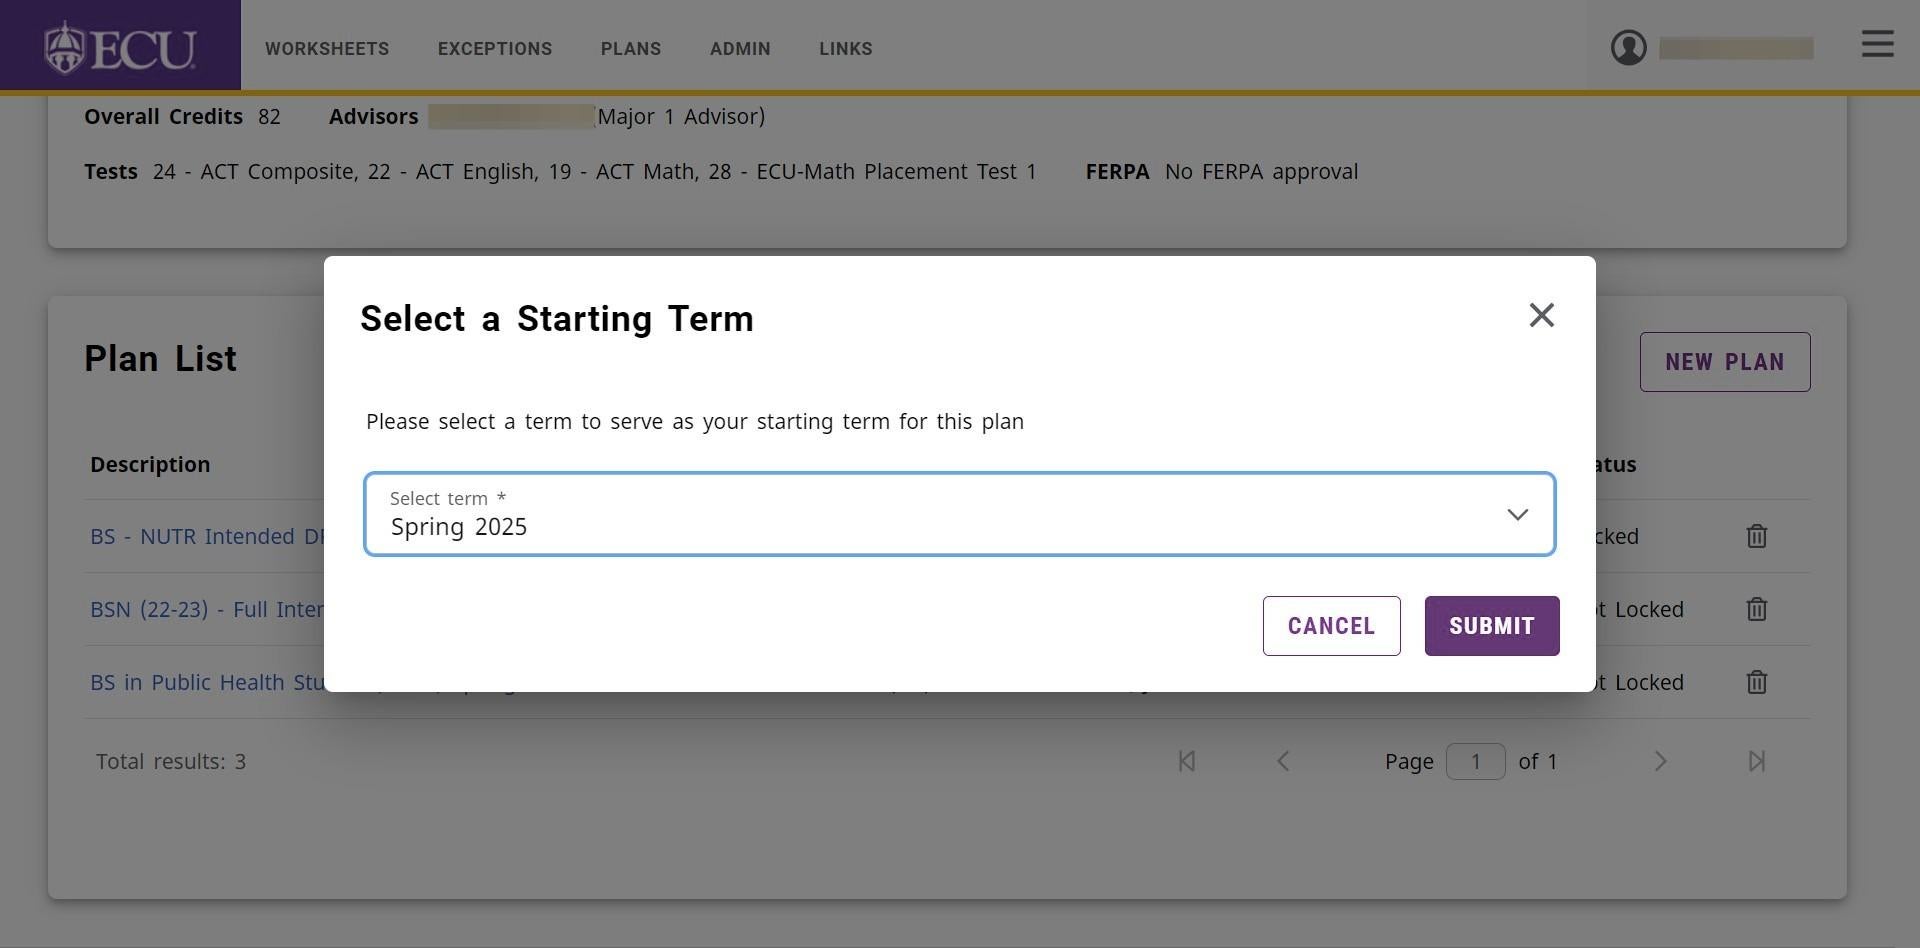
- Click the “SUBMIT” button.
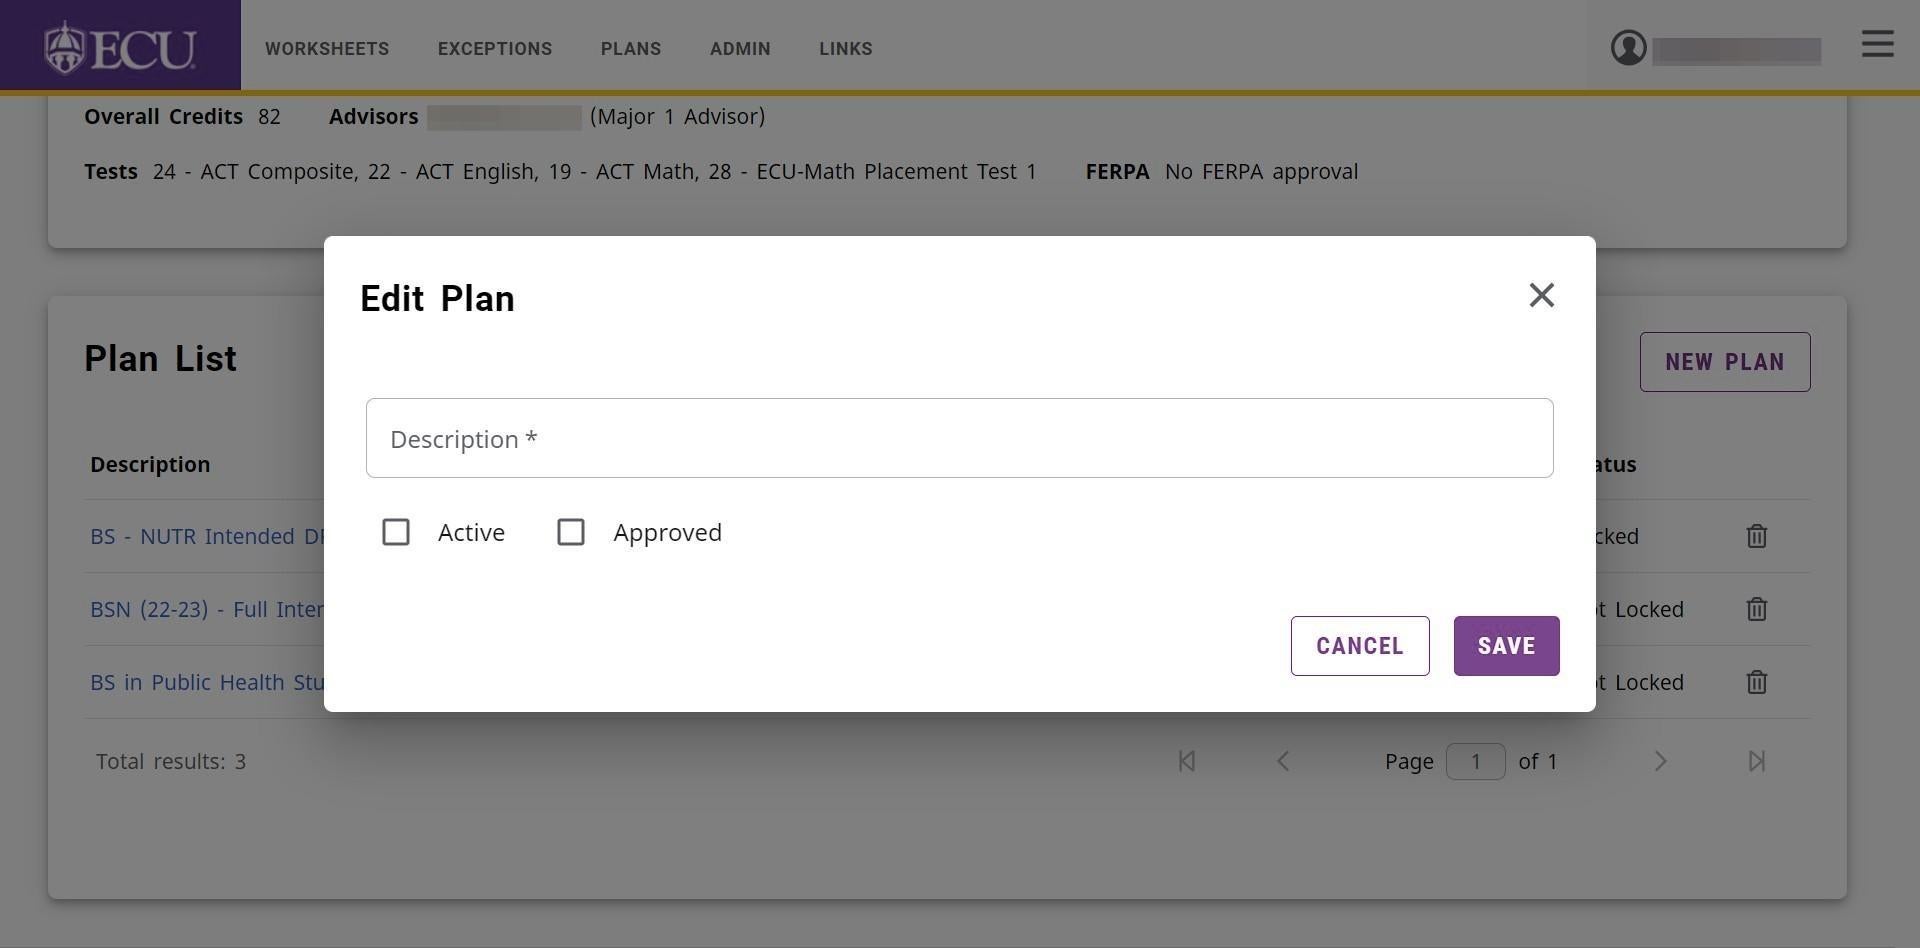
 Best Practice: The plan description should begin with the program(s) and optional descriptors (date last updated) to help you distinguish the plan. Do not call the plan “Graduation Plan”. Including the Program(s) in the title makes it easier to identify when a student has switched majors and the plan is for a previous major.
 - Enter the plan description in the “Description” field.
- Click on the “Active” checkbox to mark the plan the active plan the student is following.
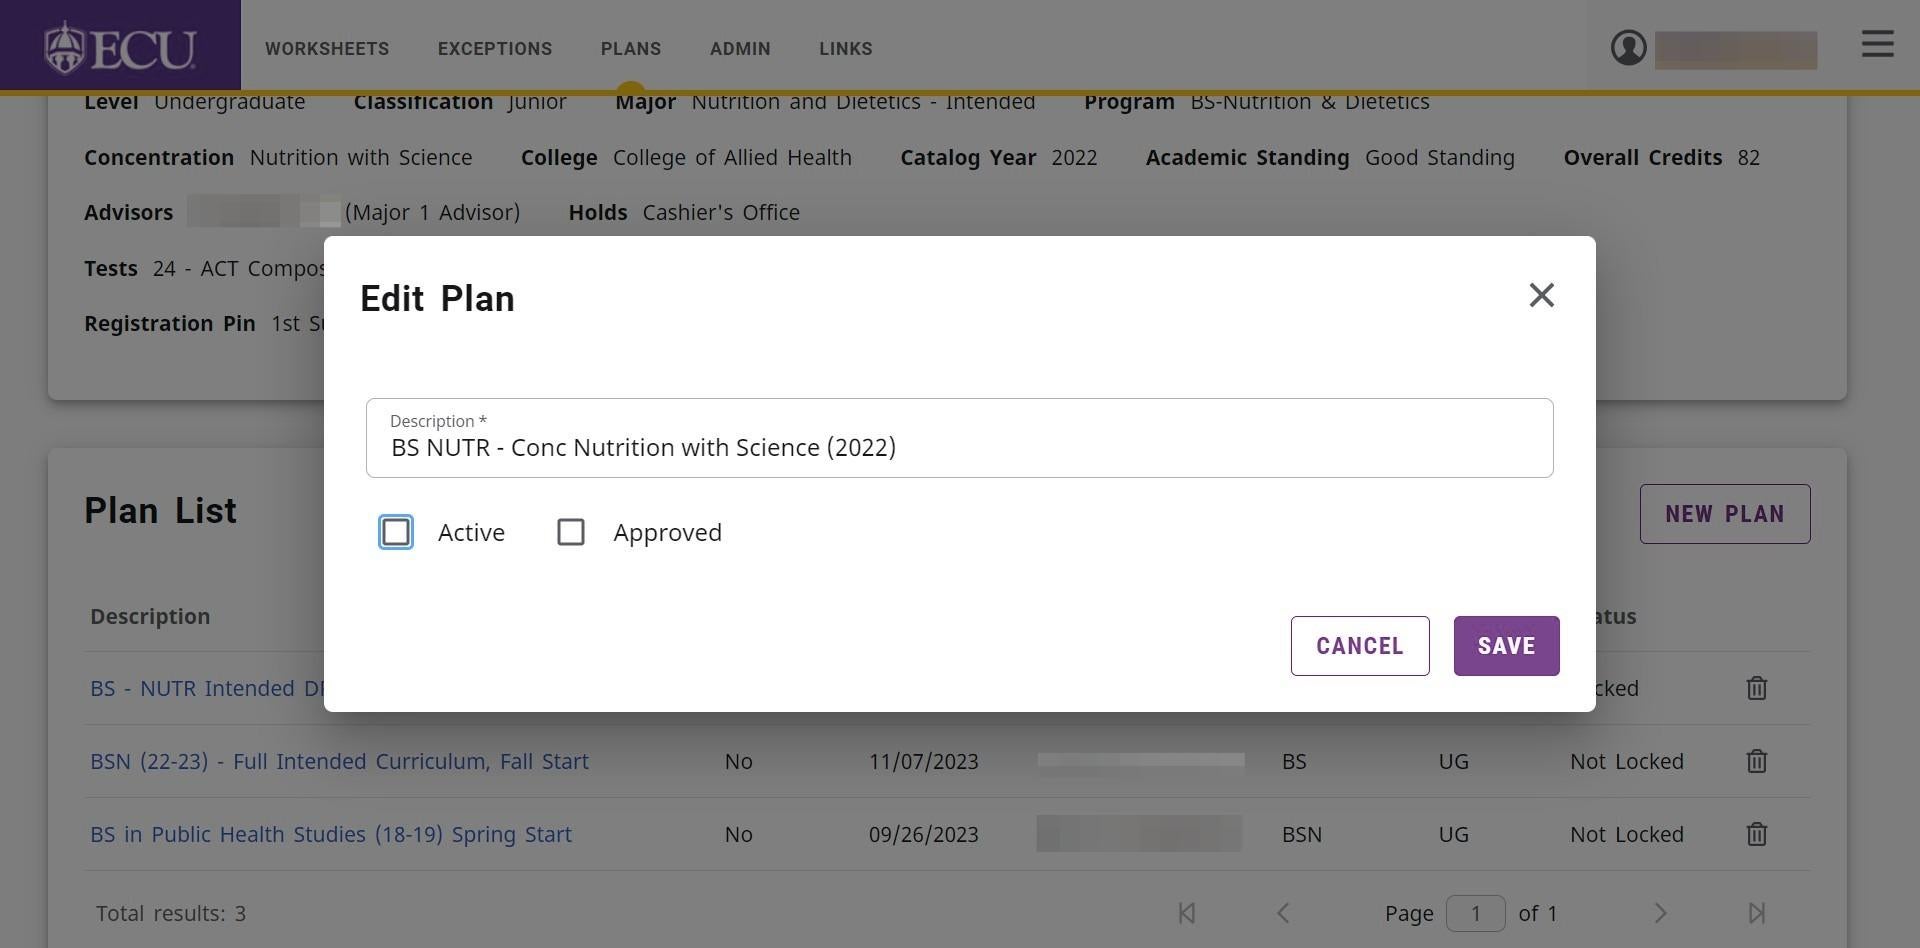
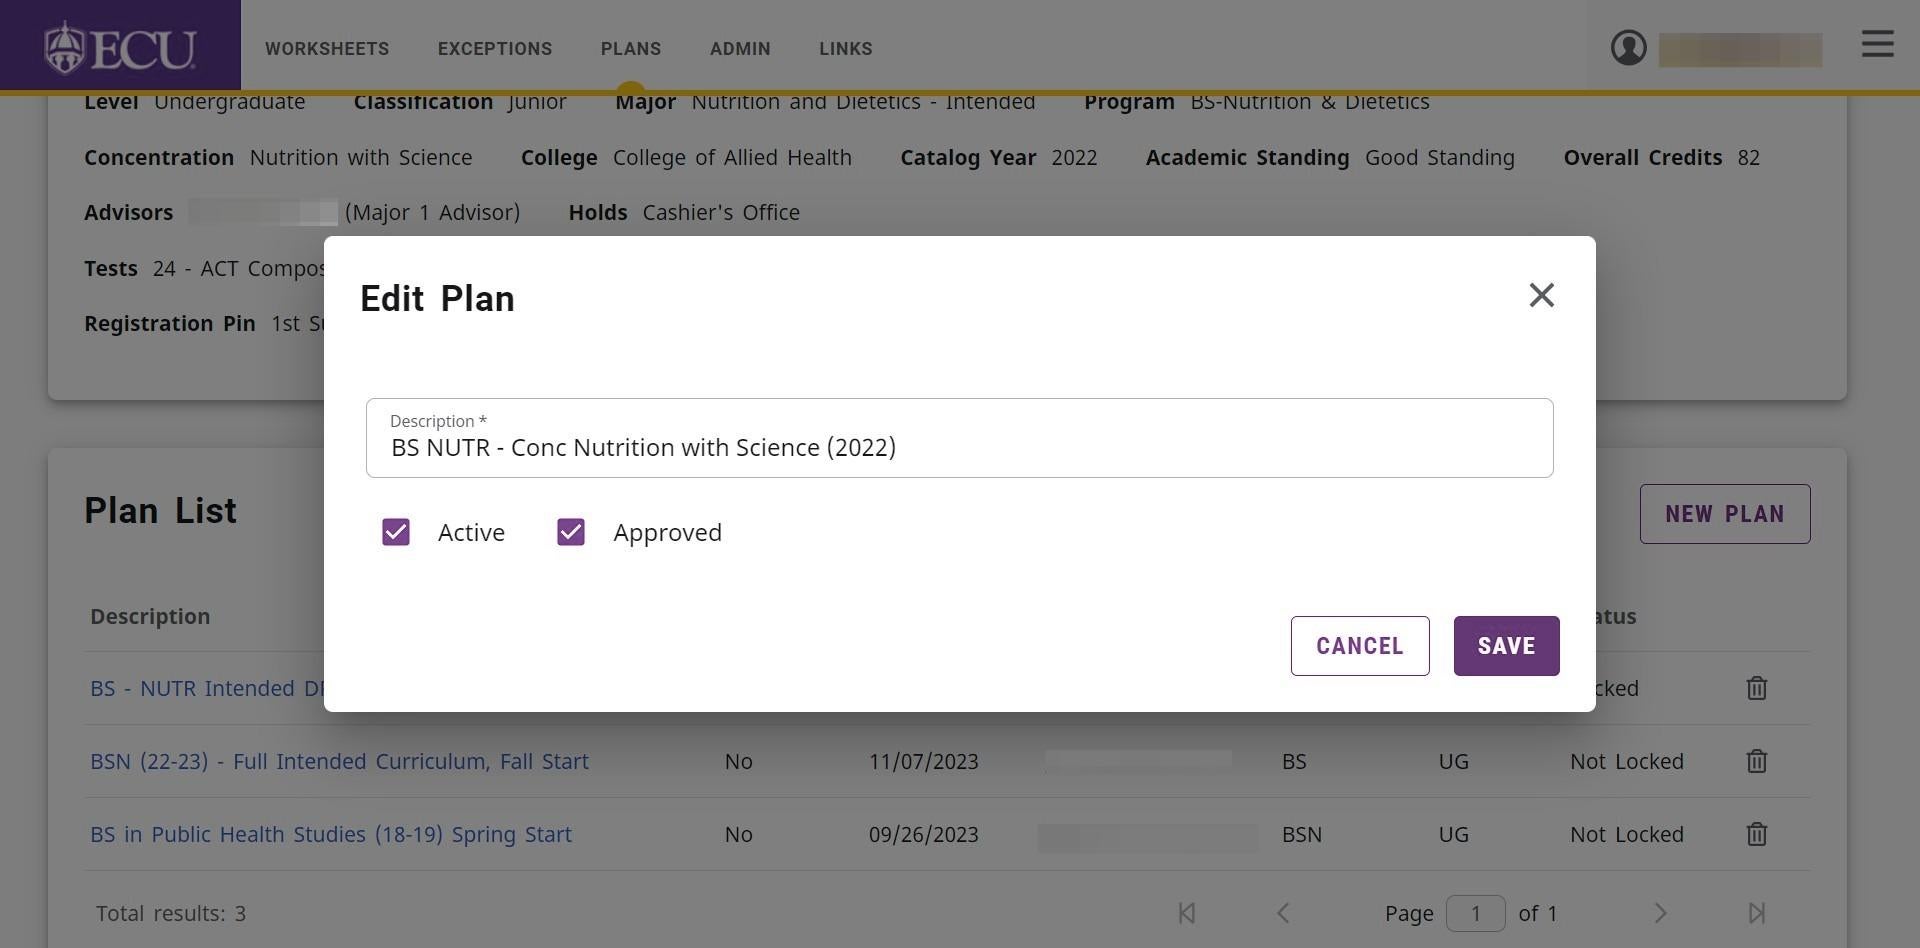
- Click the “Approved” checkbox to lock the plan.
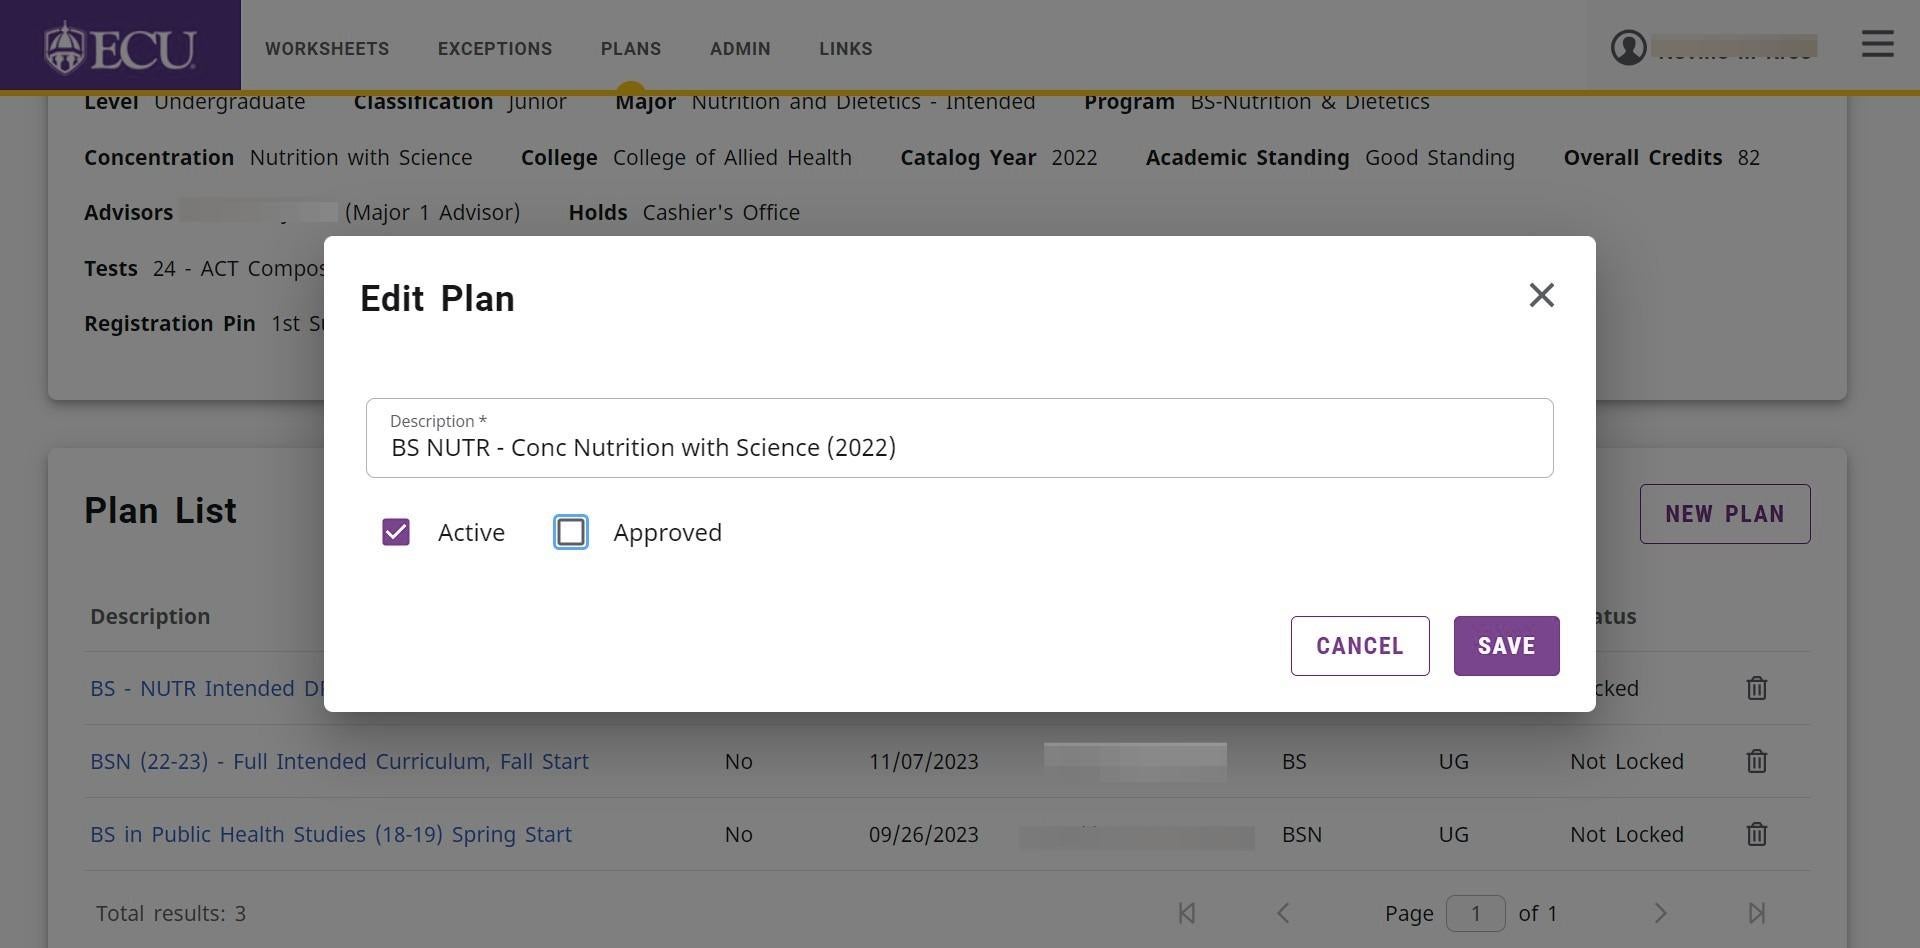
There should only be one Active and Approved plan.
- An approved plan must also be checked active.
- Checking a plan Active indicates it is the current plan being followed by the student.
- Checking a plan Approved means it has been approved by an advisor.
- Advisors CAN modify approved plans.
- Students do not have the ability to approve a plan.
- Click the “SAVE” button and you may now begin adding requirements to the plan.
- A new blank plan is created.
