How to Create a Plan from a Template
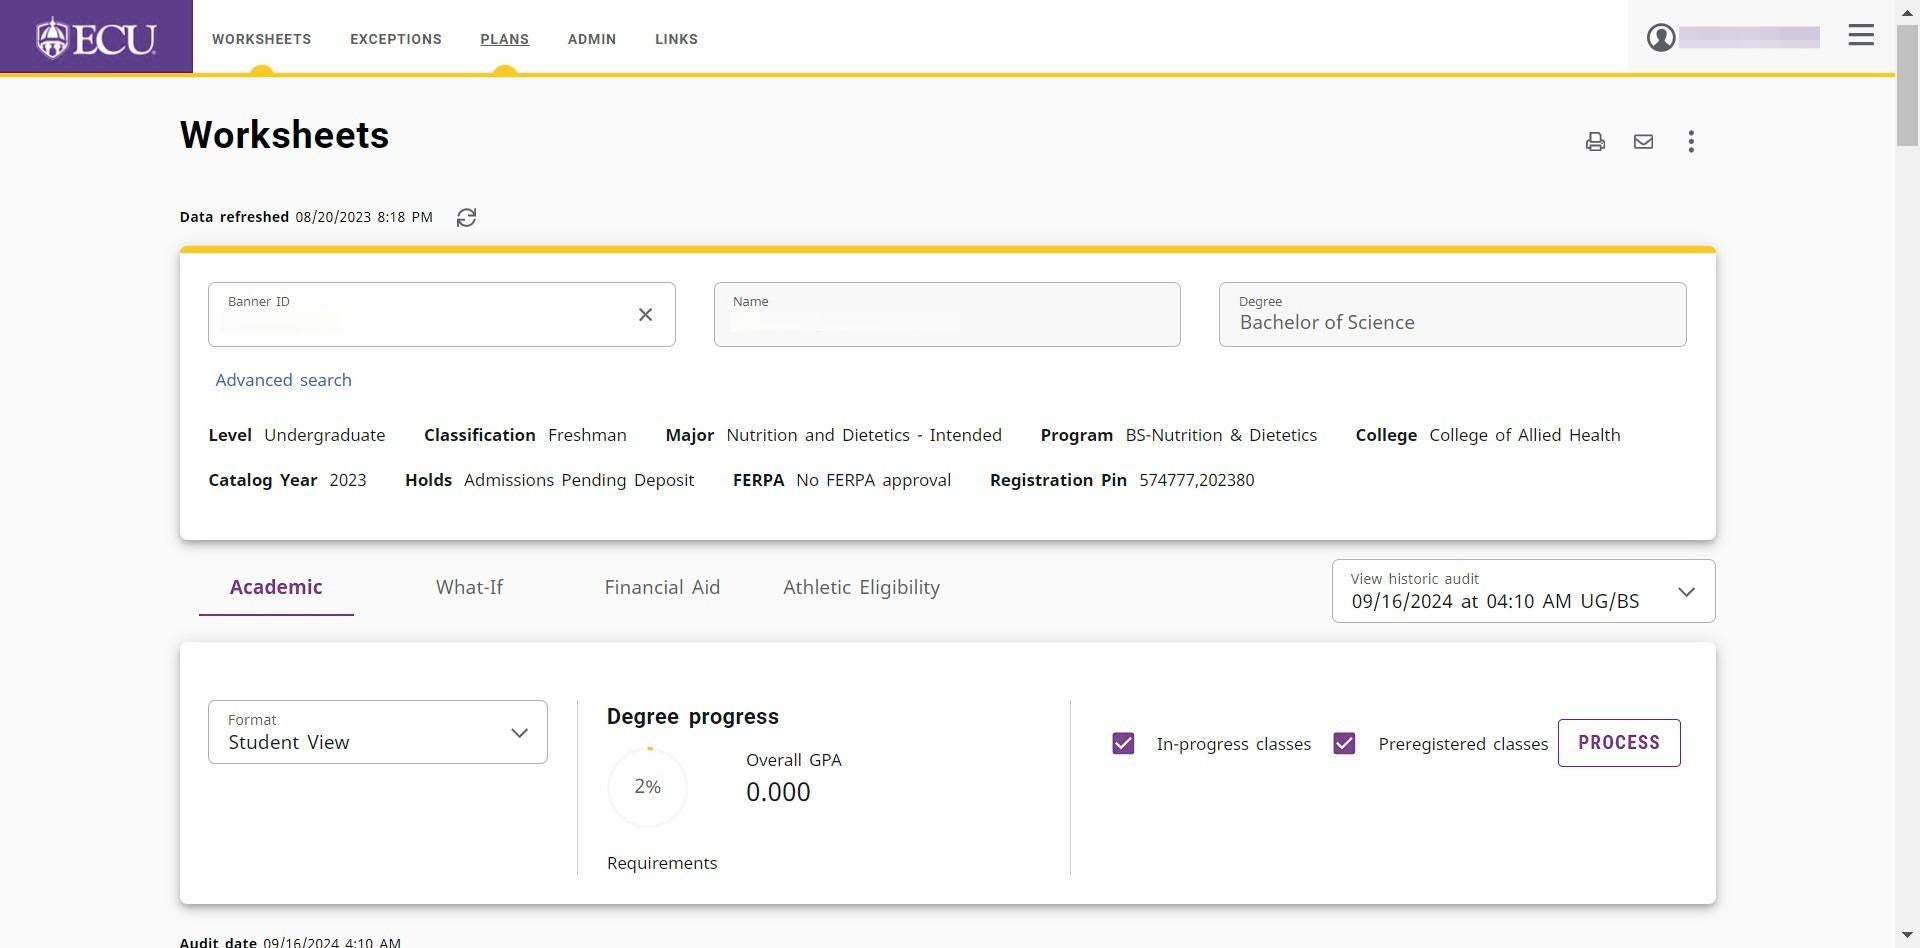
- Click the “PLANS” link from the student worksheet.
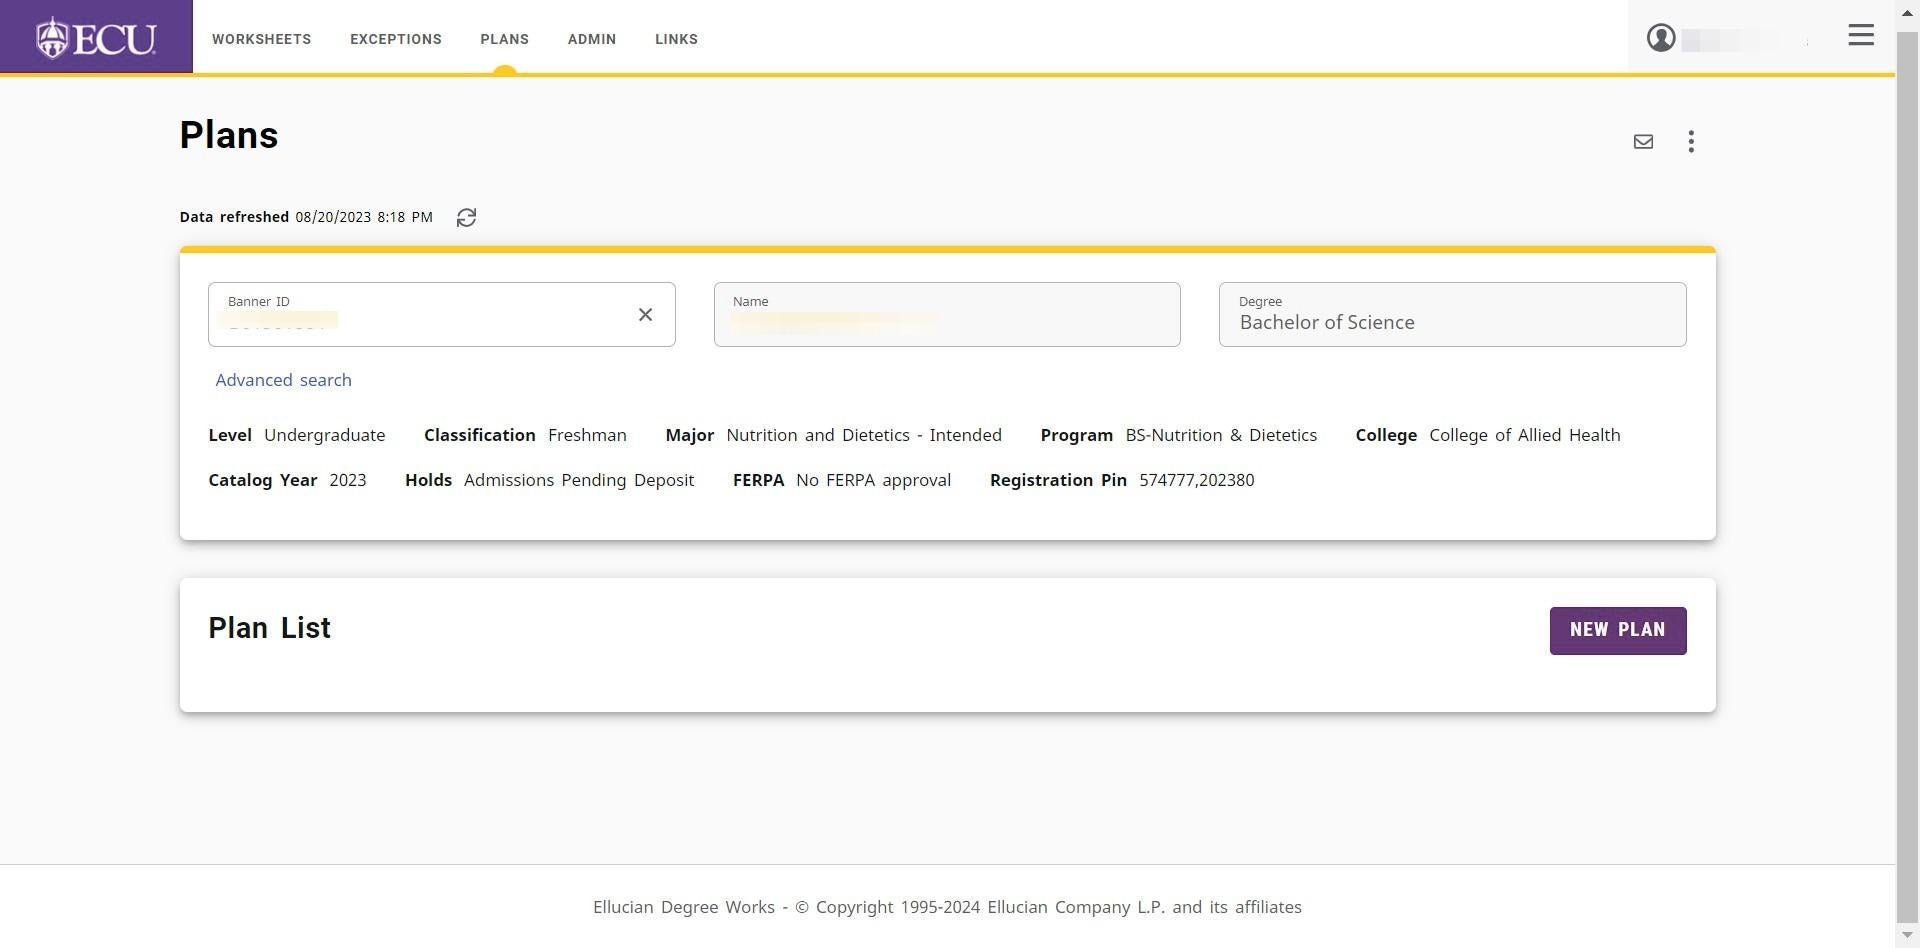
- Click the “NEW PLAN” button.
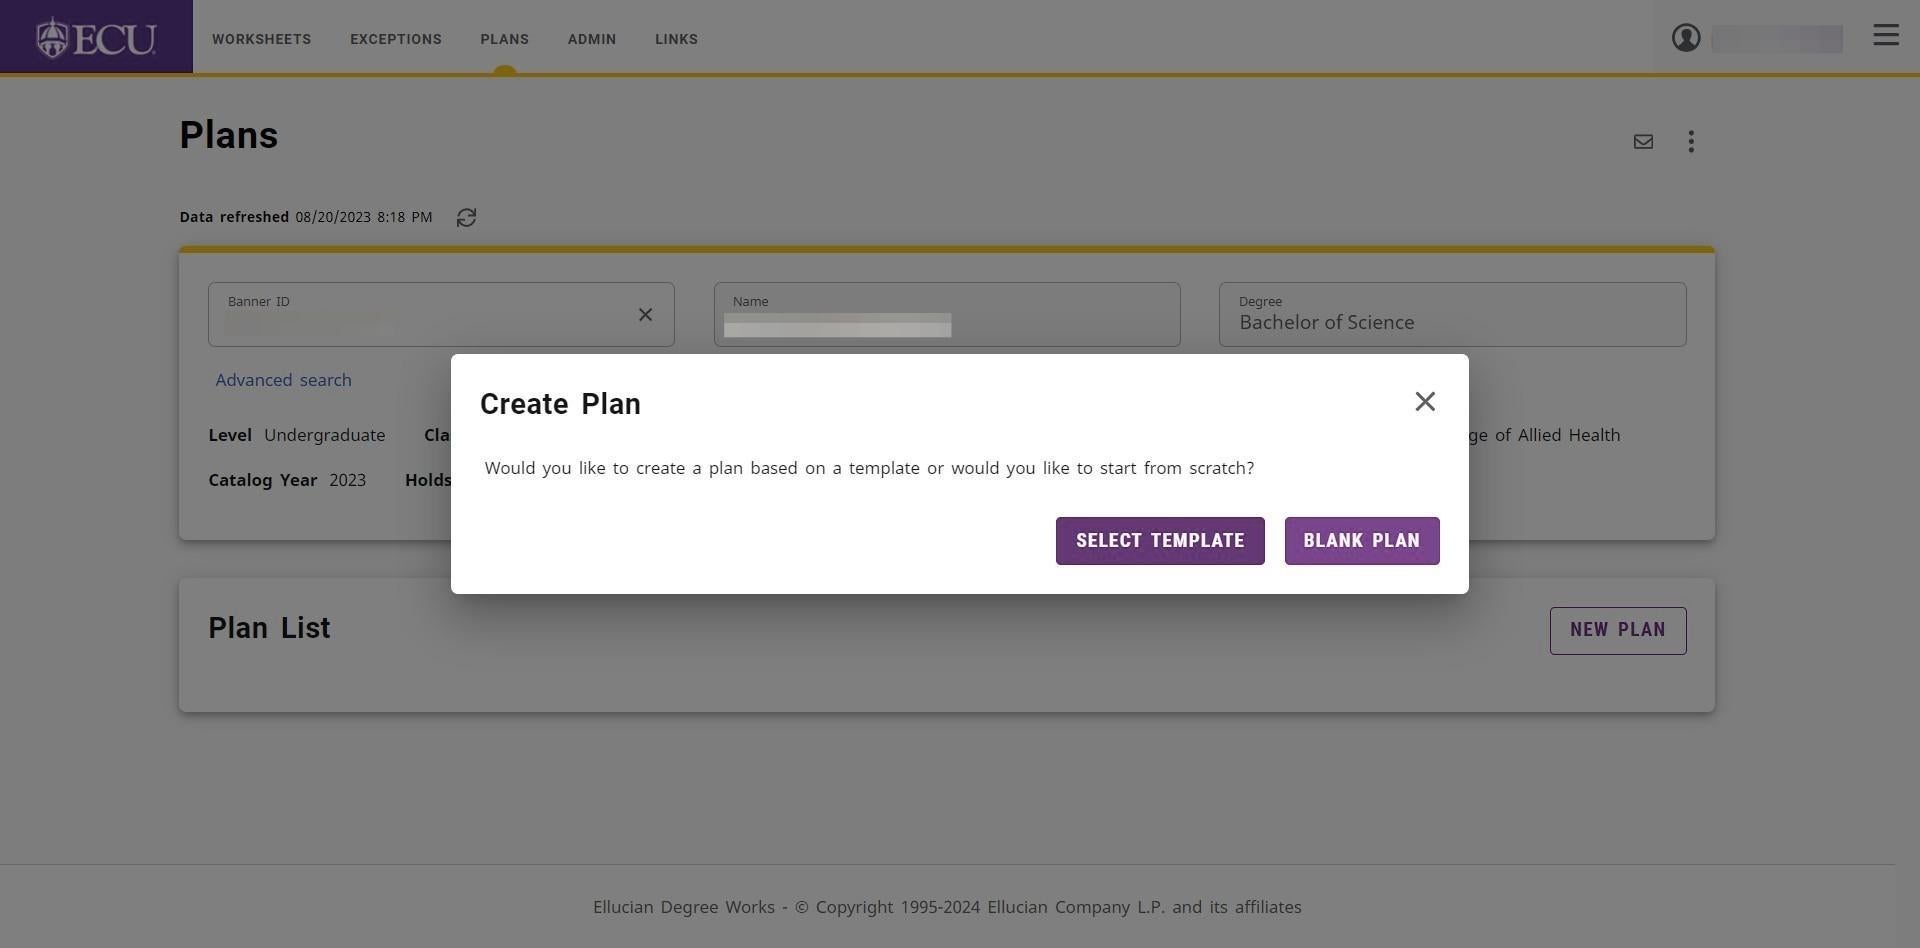
- Click the “SELECT TEMPLATE” button.
- Click the “Select starting term *” drop down menu to select the first term of the student’s plan.
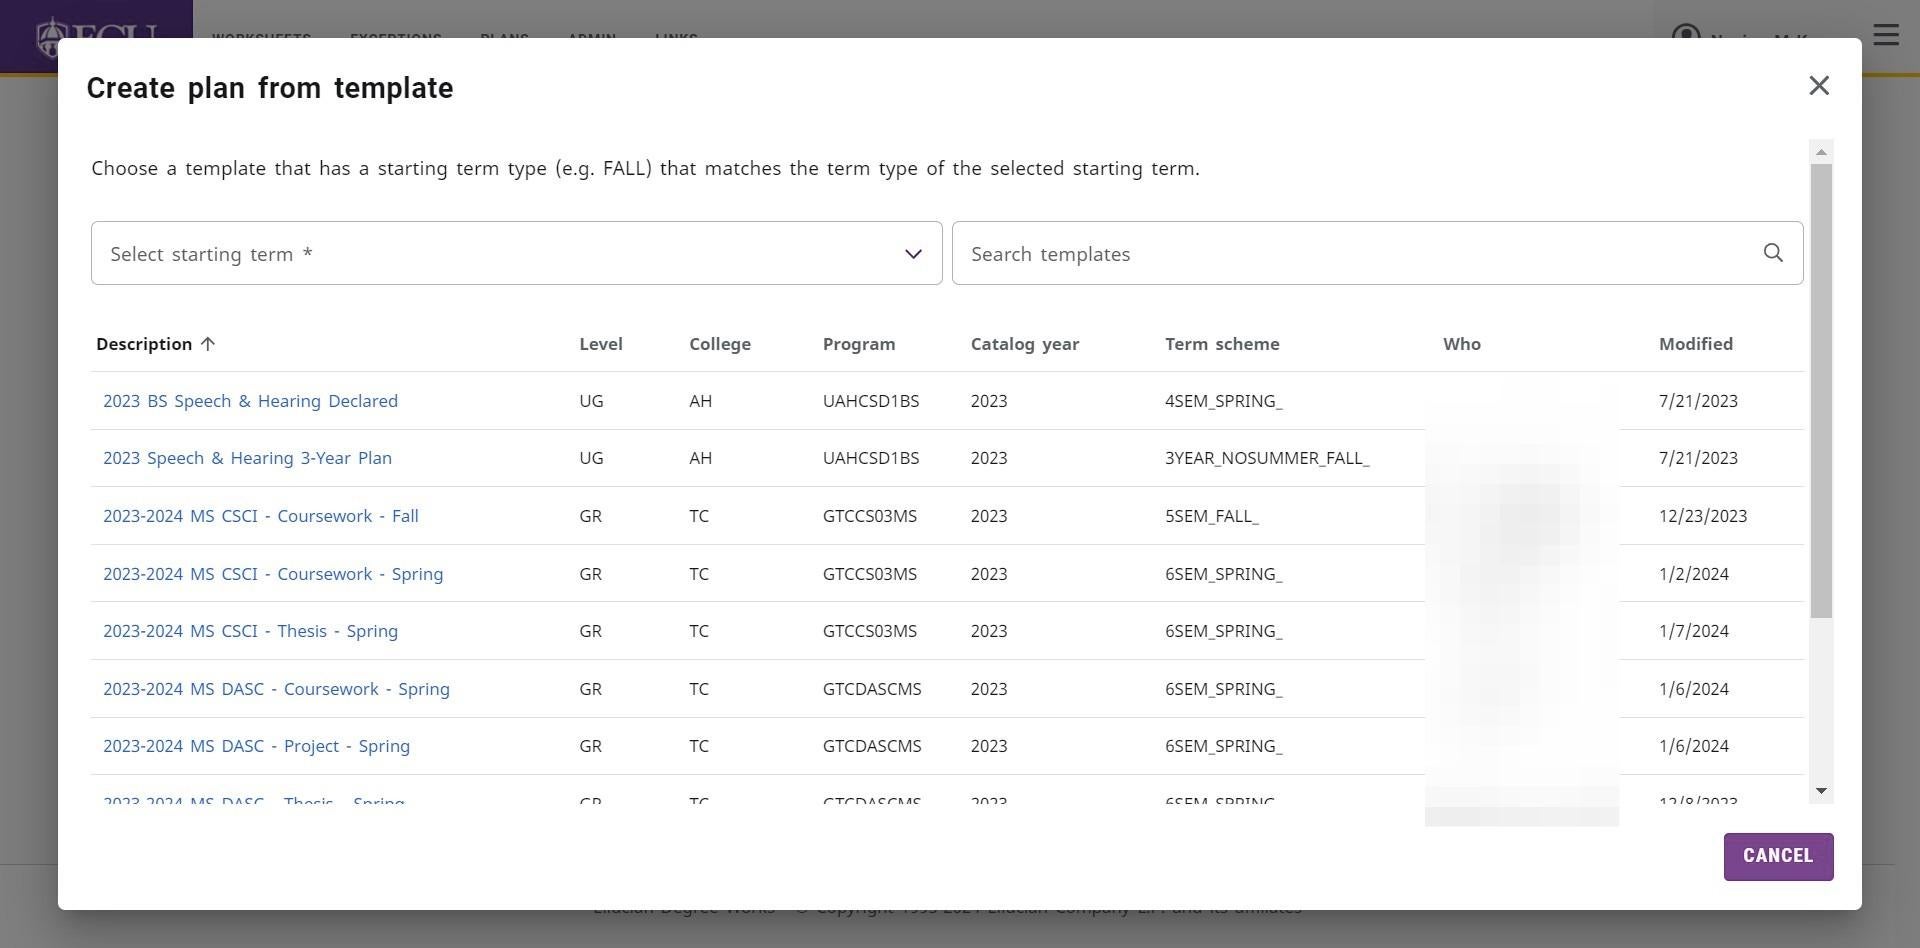
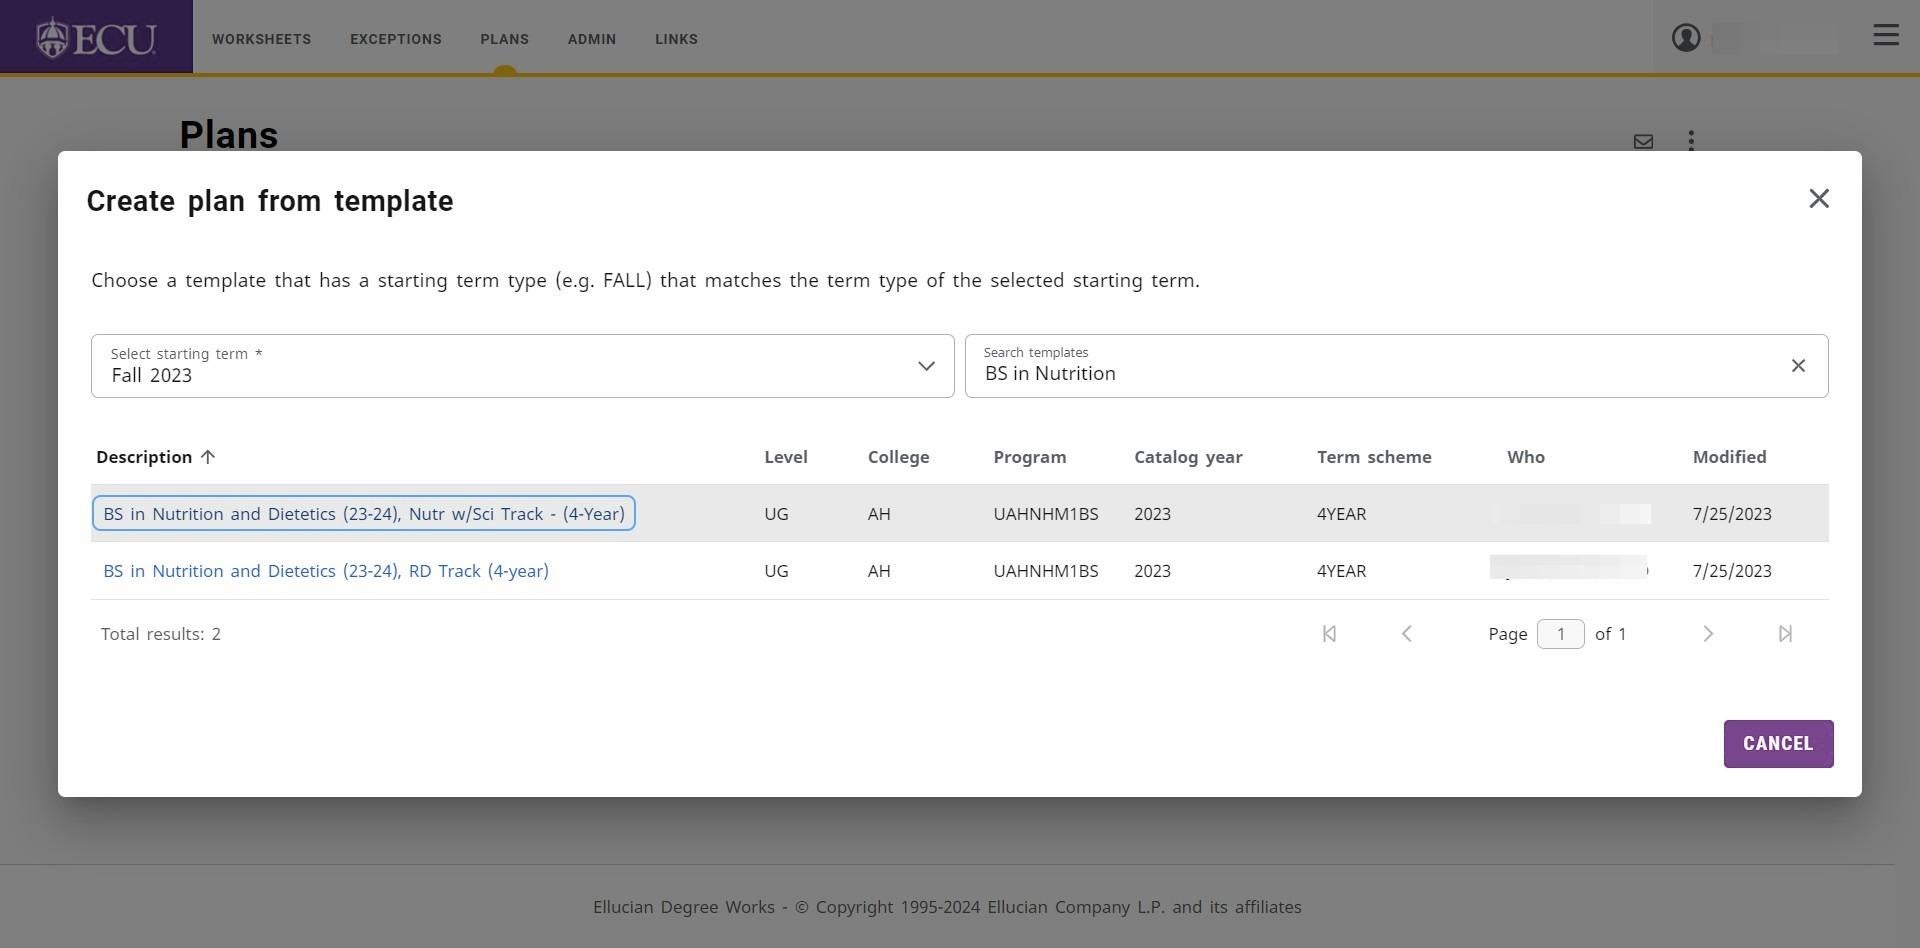
- Enter the title of the template in the “Search templates” field and press the Enter key to find the template.
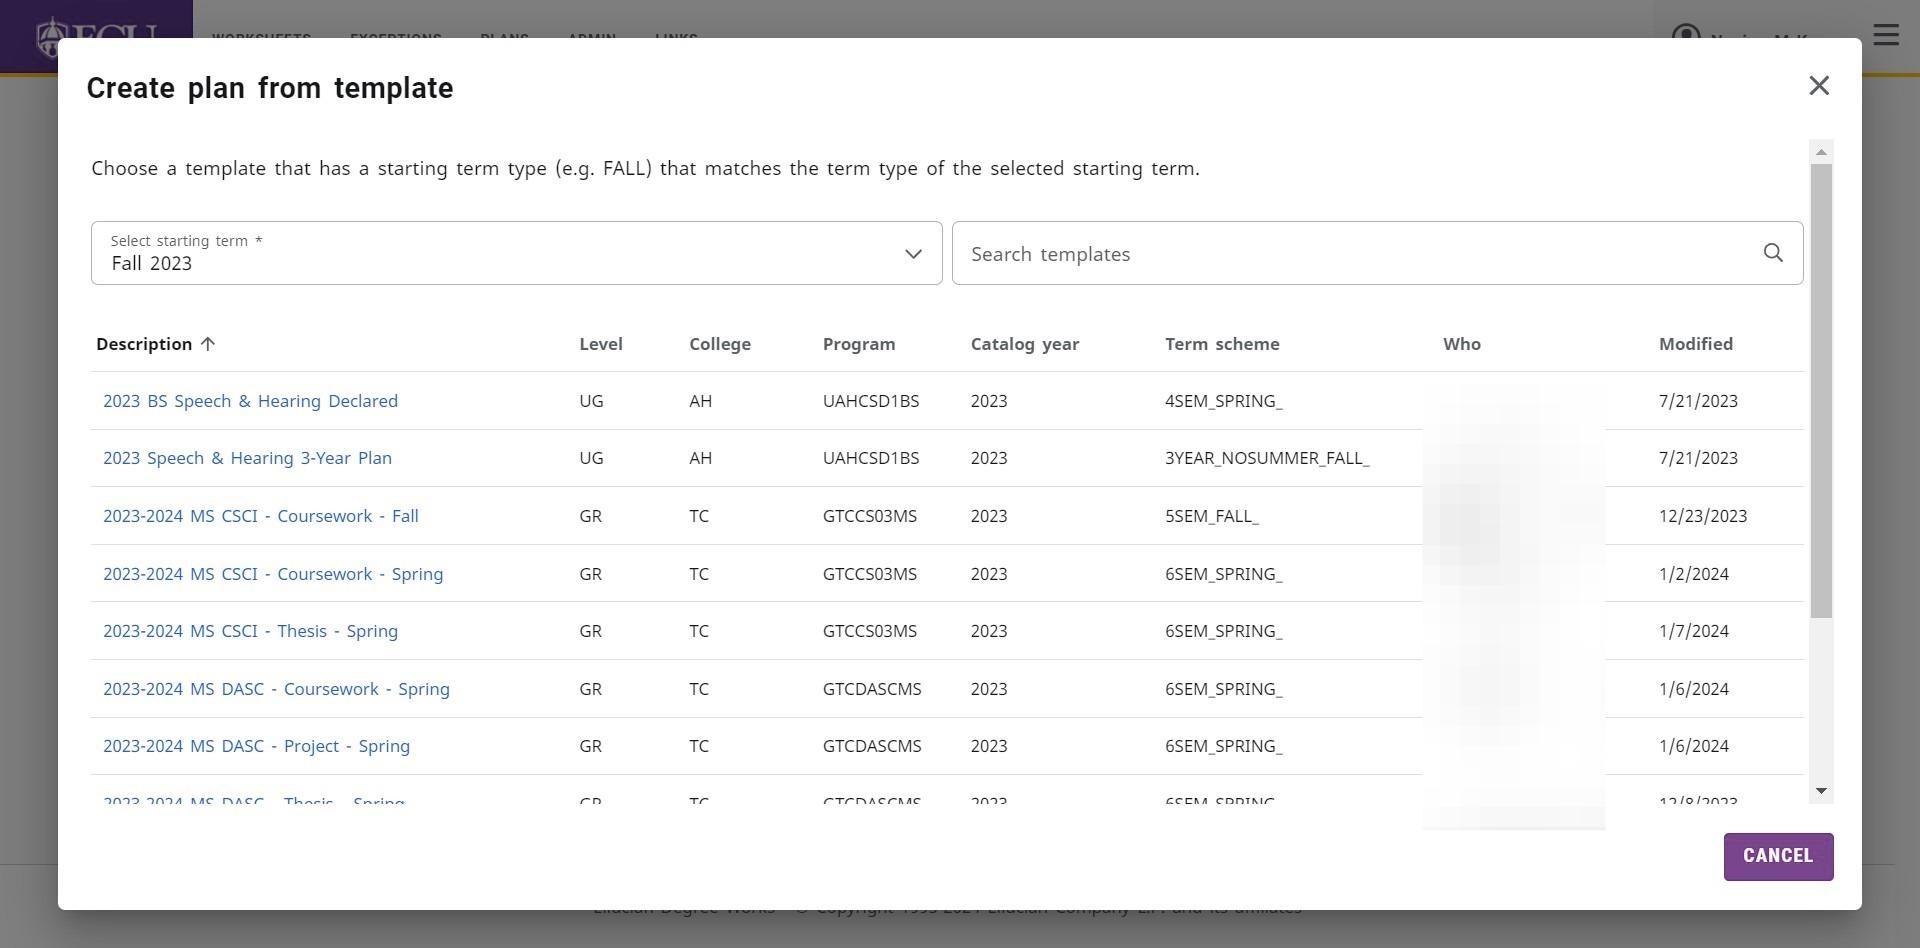
- Click on the template in the template list to select the template.
- The template is added to the student. Once a template is added to the student it is now the student’s plan.
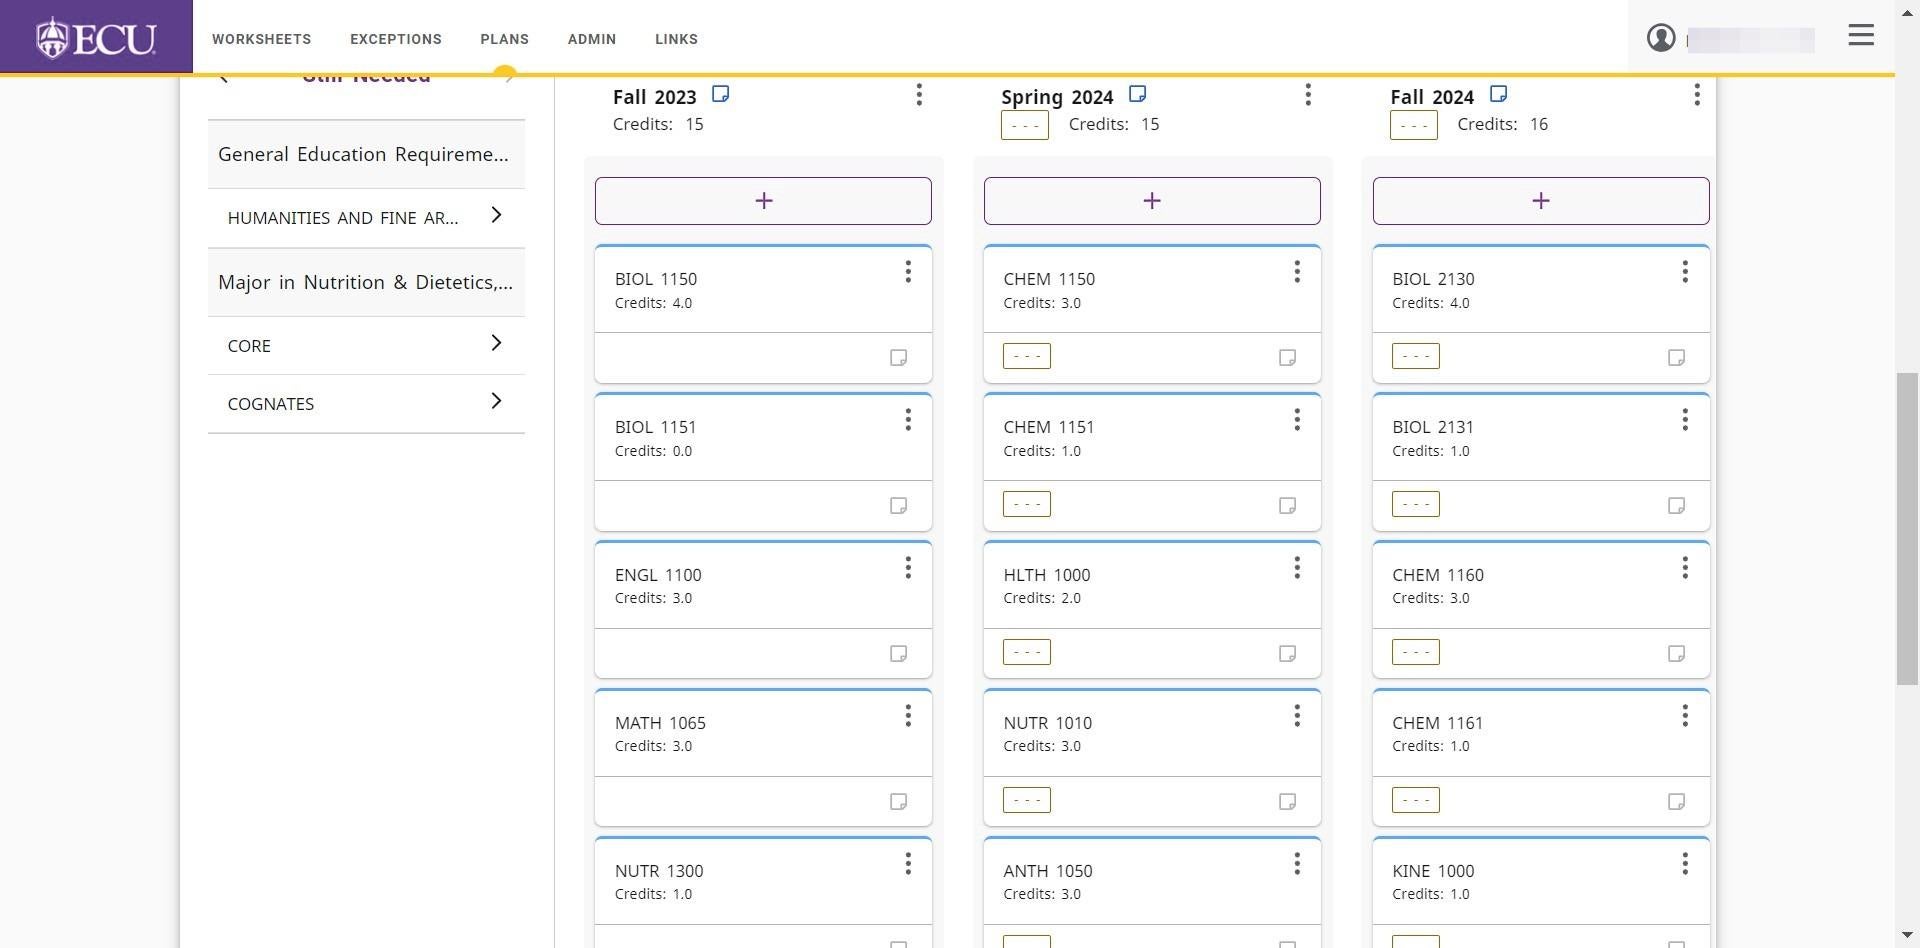 Changes made to the student’s plan do not affect the template and vice versa.
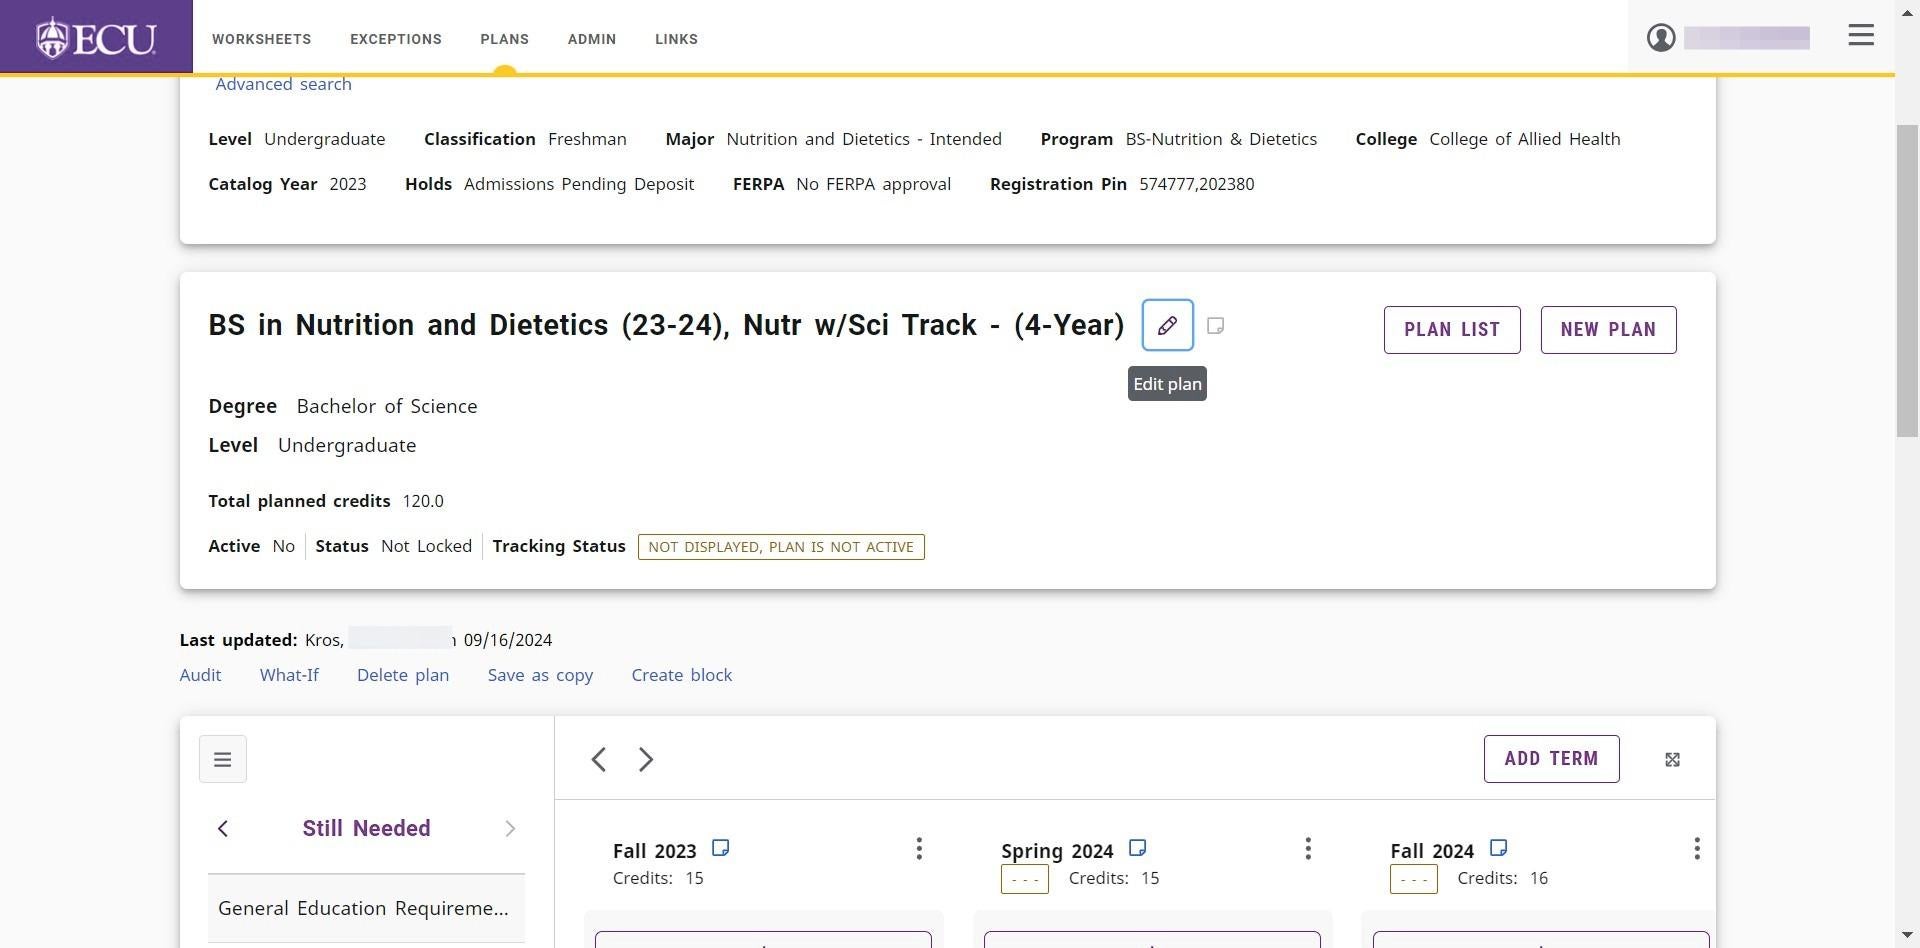
 - Scroll up to the Plan information block.
- Click the Edit icon on the Plan information block.
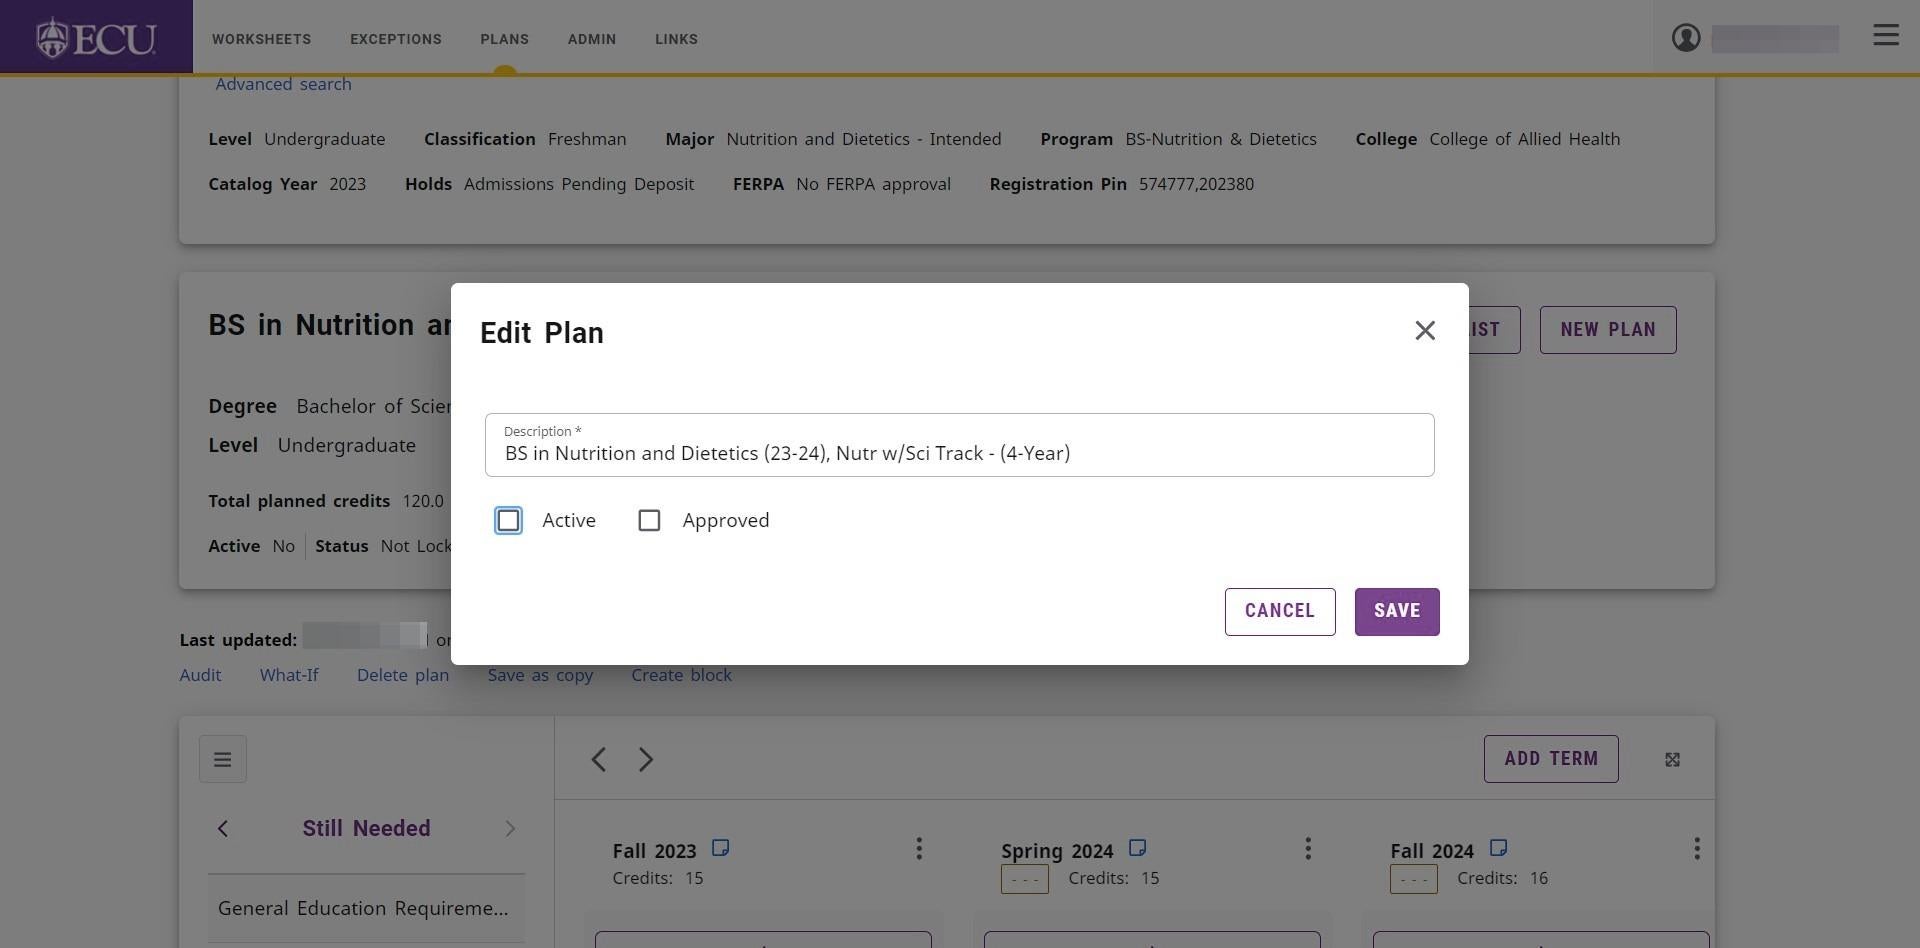
- Click the “Active” checkbox to indicate this is the current plan the student is following.
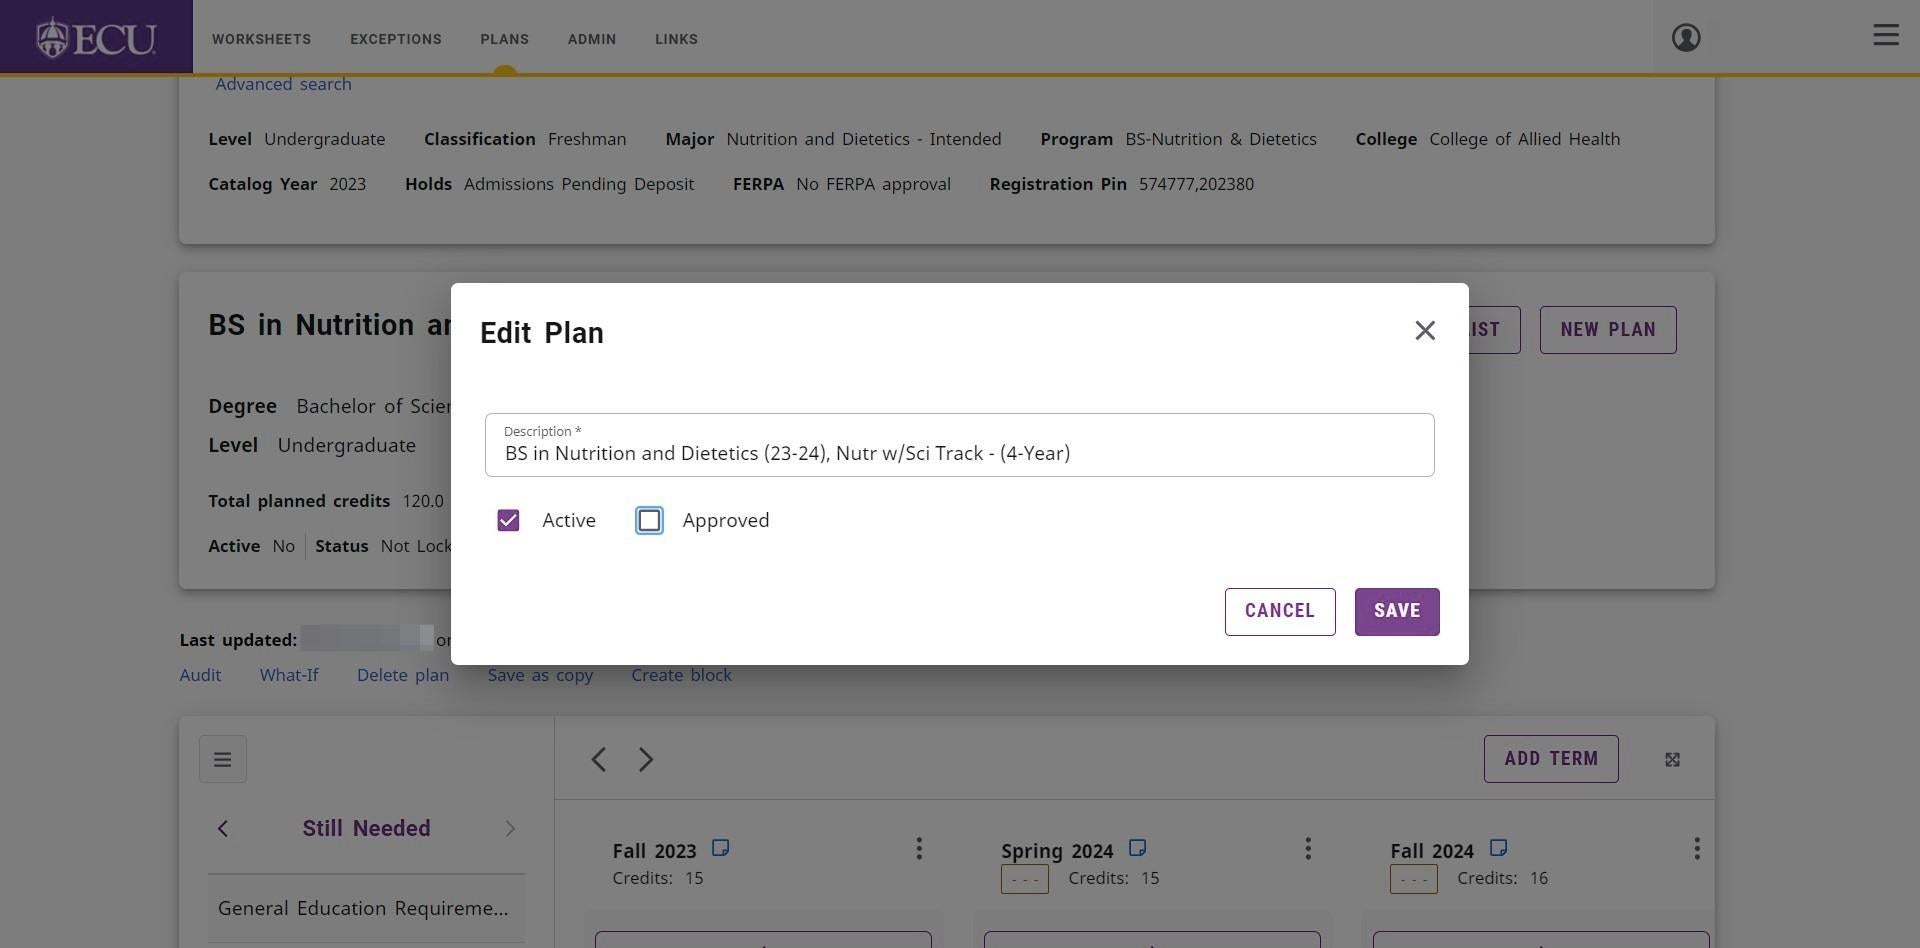
- Click the “Approved” checkbox to turn on tracking and include course in the projection reports.
- Click the “SAVE” button.
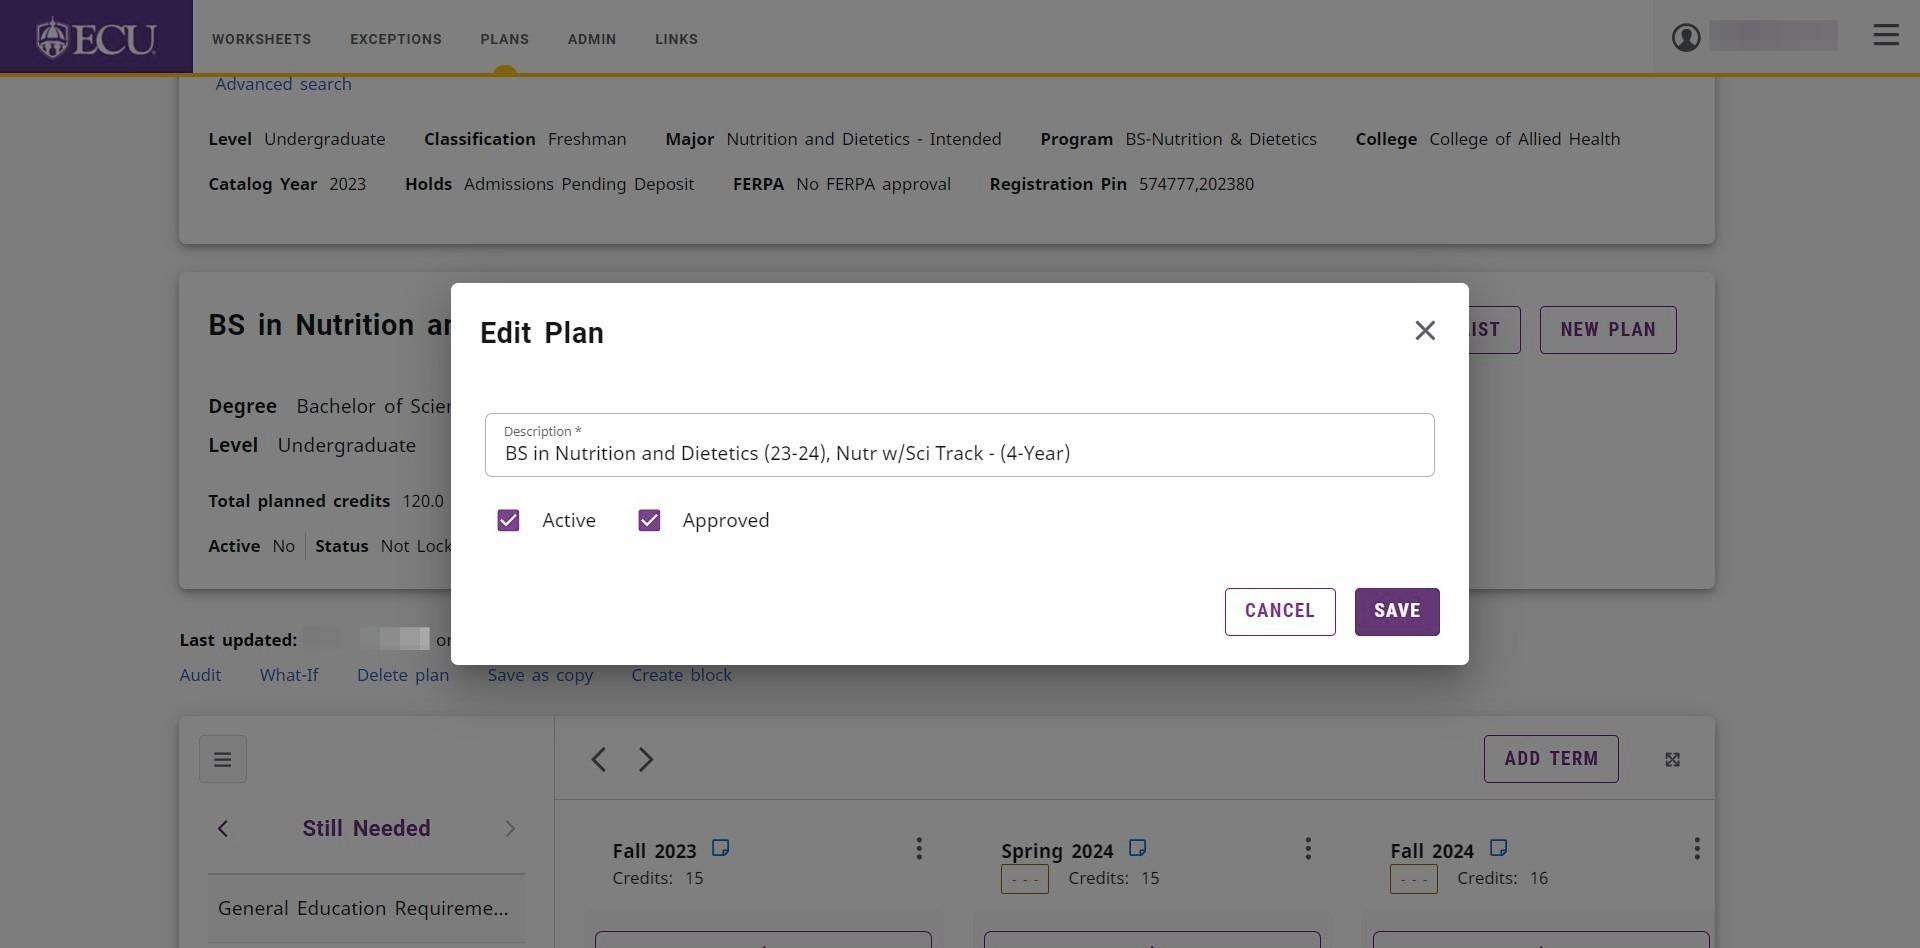
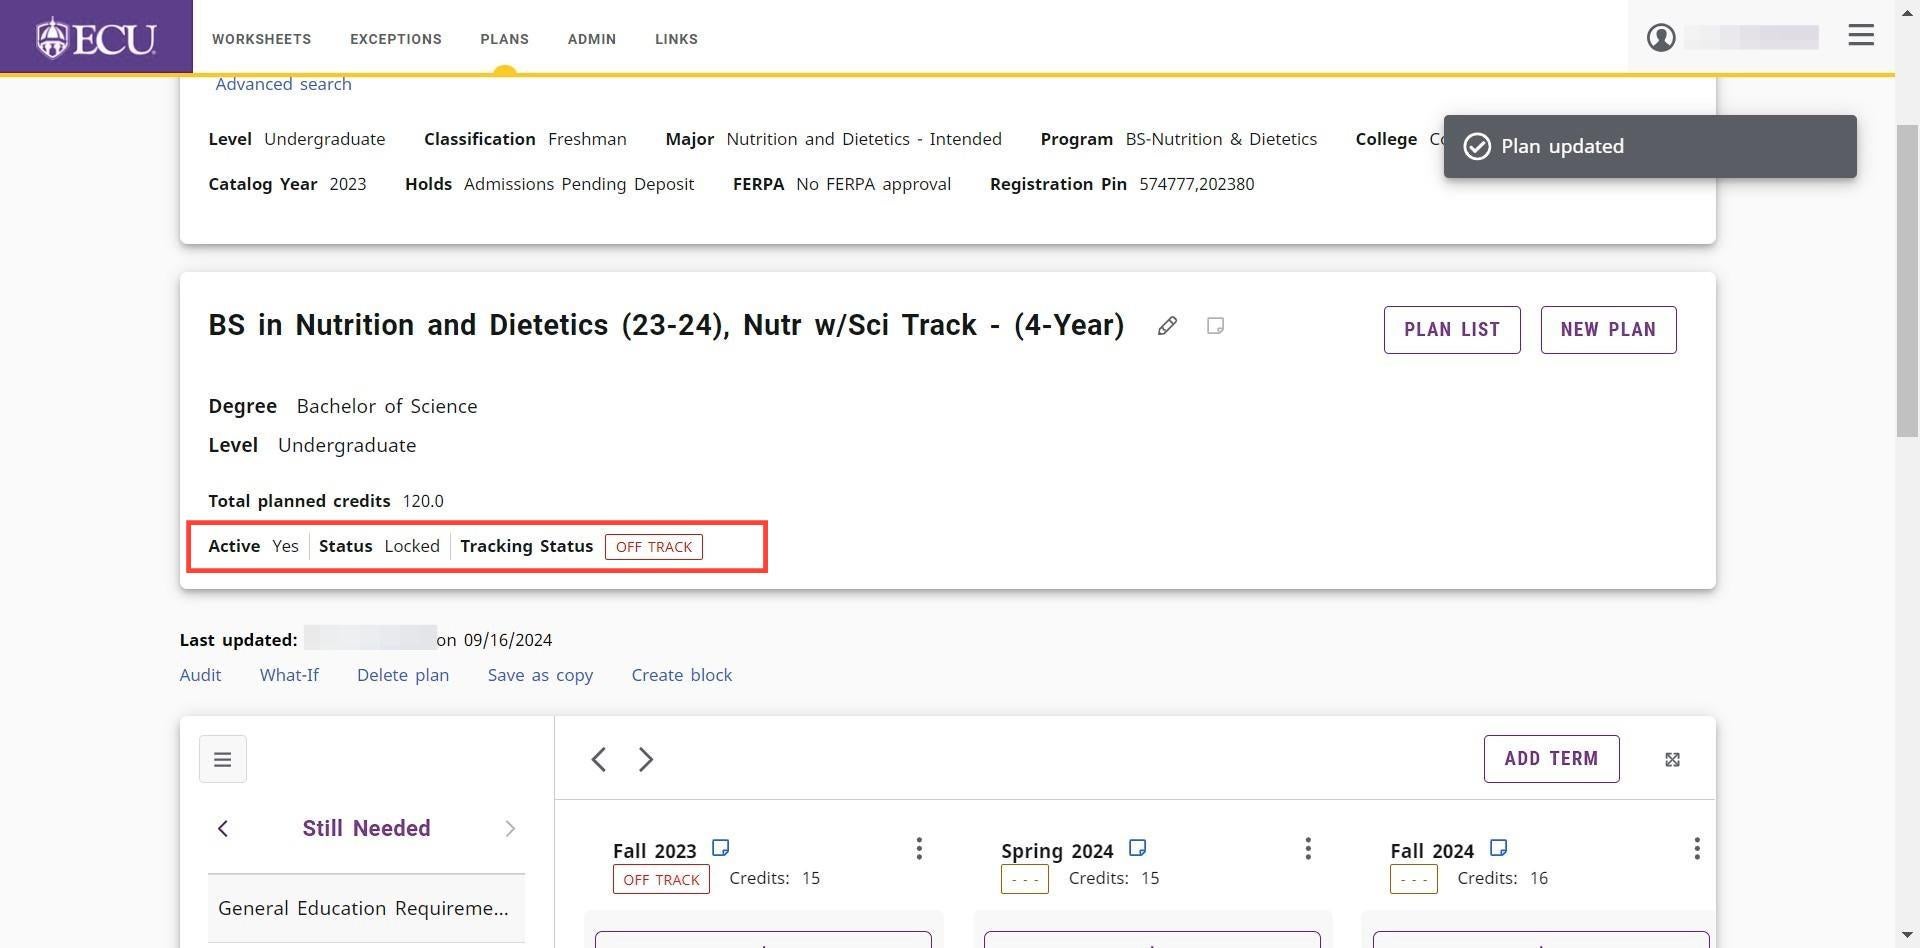
- The plan is now marked as Active and Approved/Locked and tracking has been activated.
