How to Add a Choice from the Requirements Sidebar
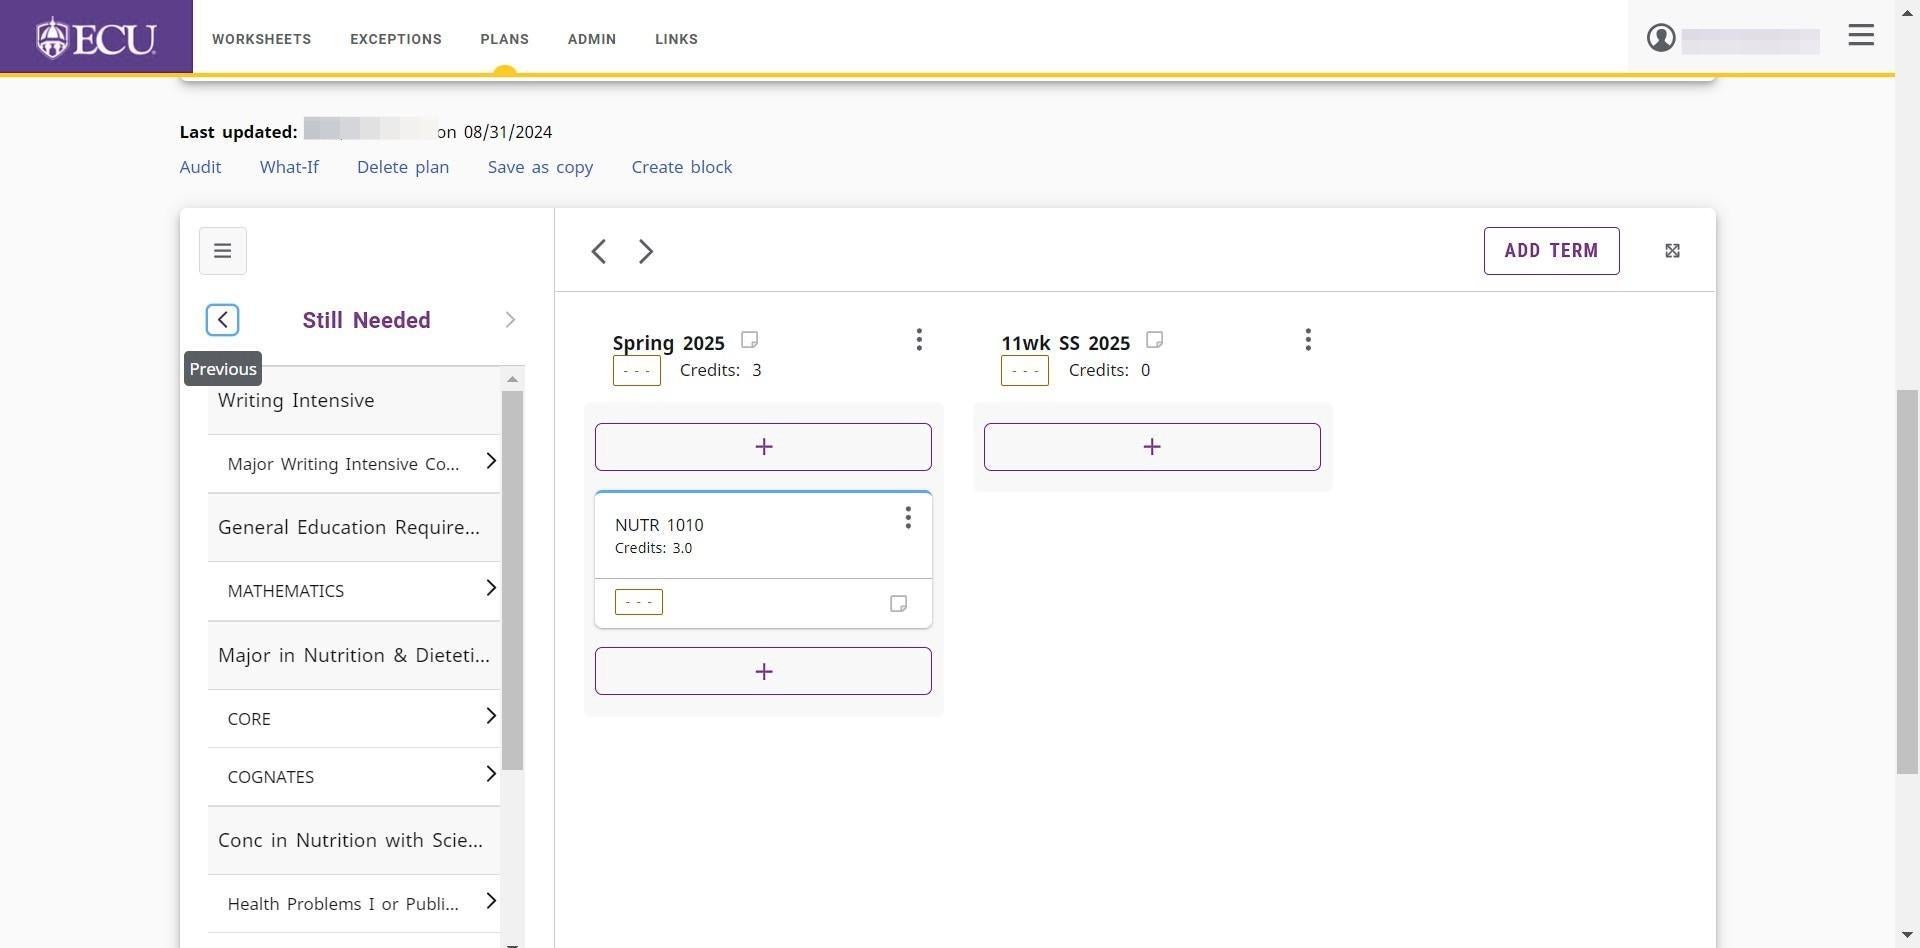
By default, the Still Needed sidebar is displayed on the plan. Use the < or > to change the sidebar menu.
- Click the left navigation icon (<)to move to the Requirements sidebar menu.
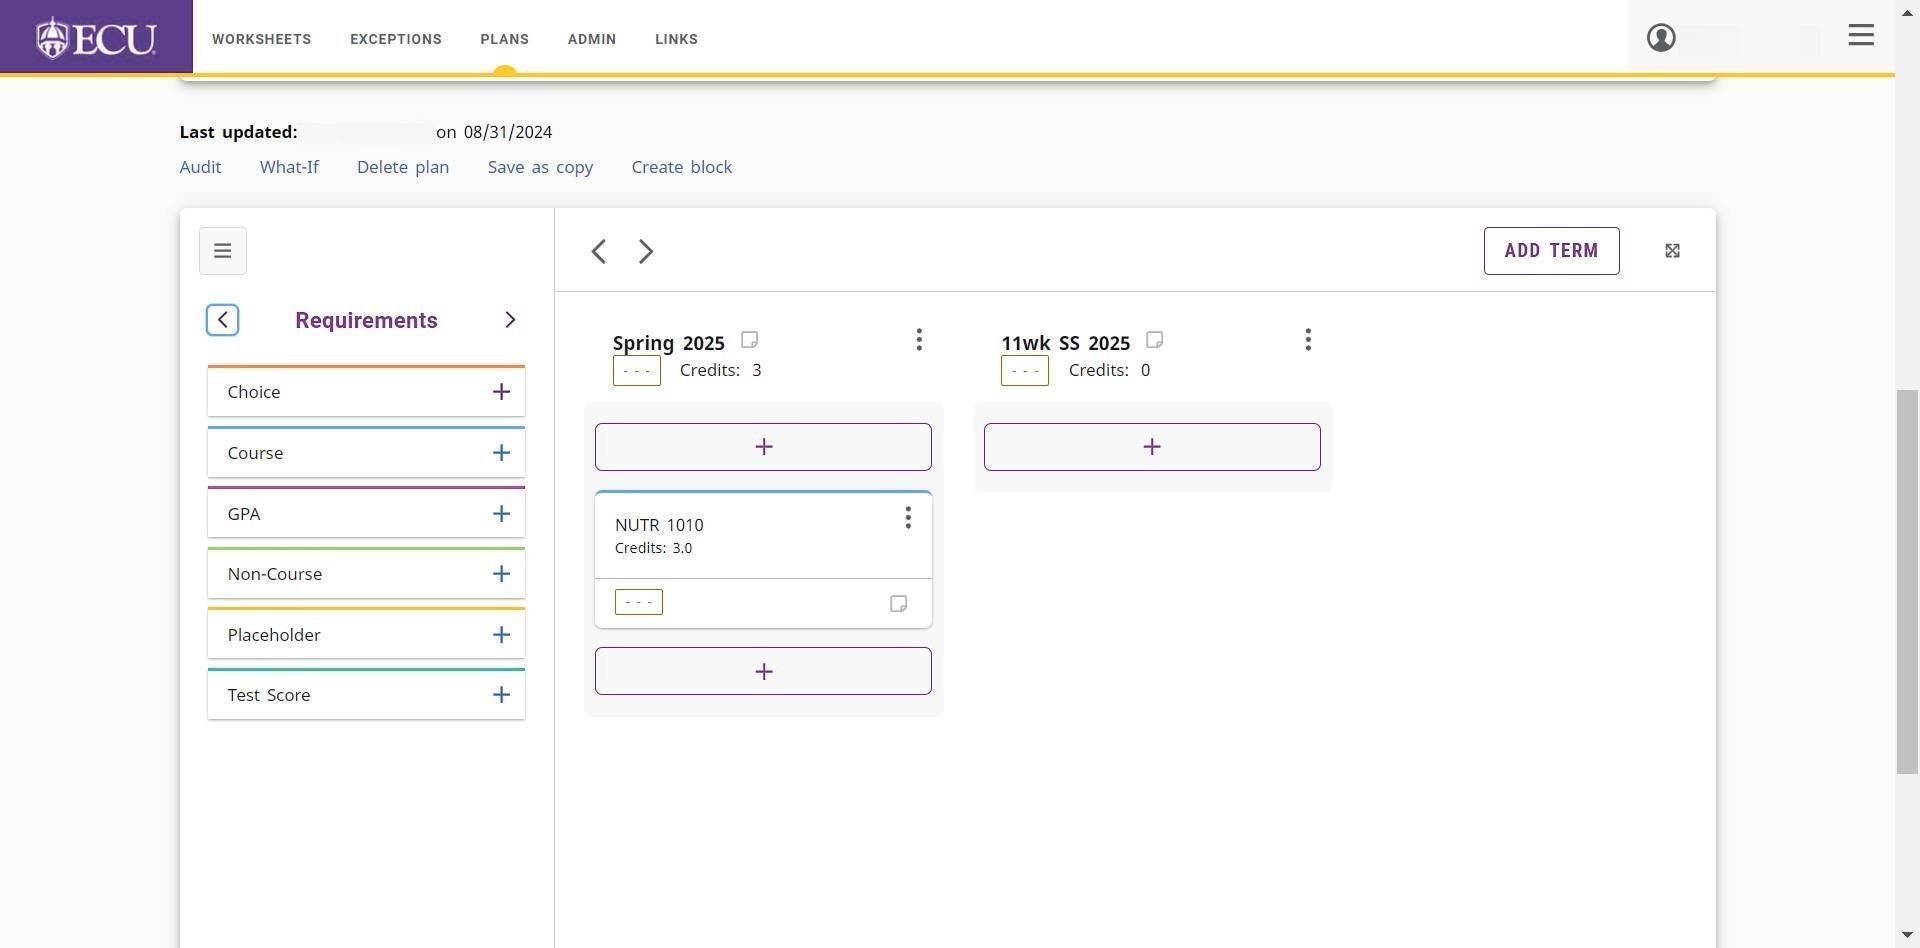
- Click on the “+” icon to add a Choice requirement.
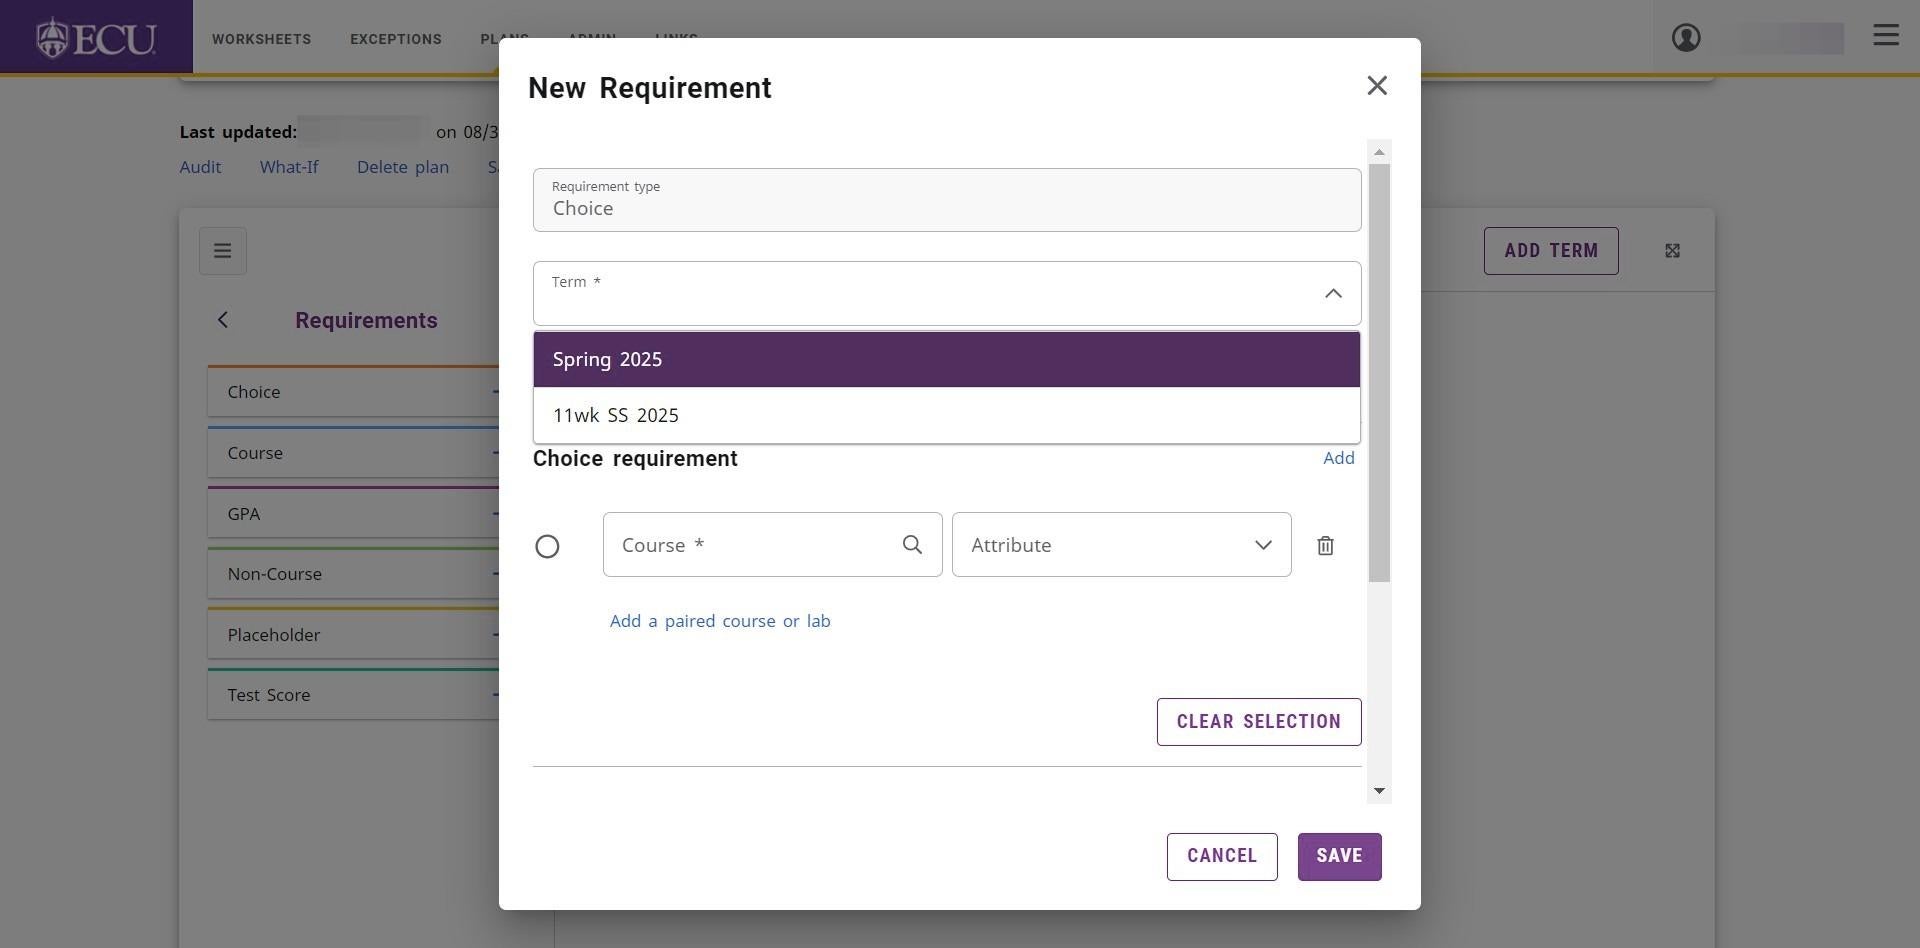
- Select the term you wish to add the requirement to from the Term drop down menu
 When typing the course subject and number in the “Course” field, you must wait until the course is found in the pop up menu before adding the next choice.
 - Type the subject and number (EX: BIOL 1200) of the course to add in the “Course ” field
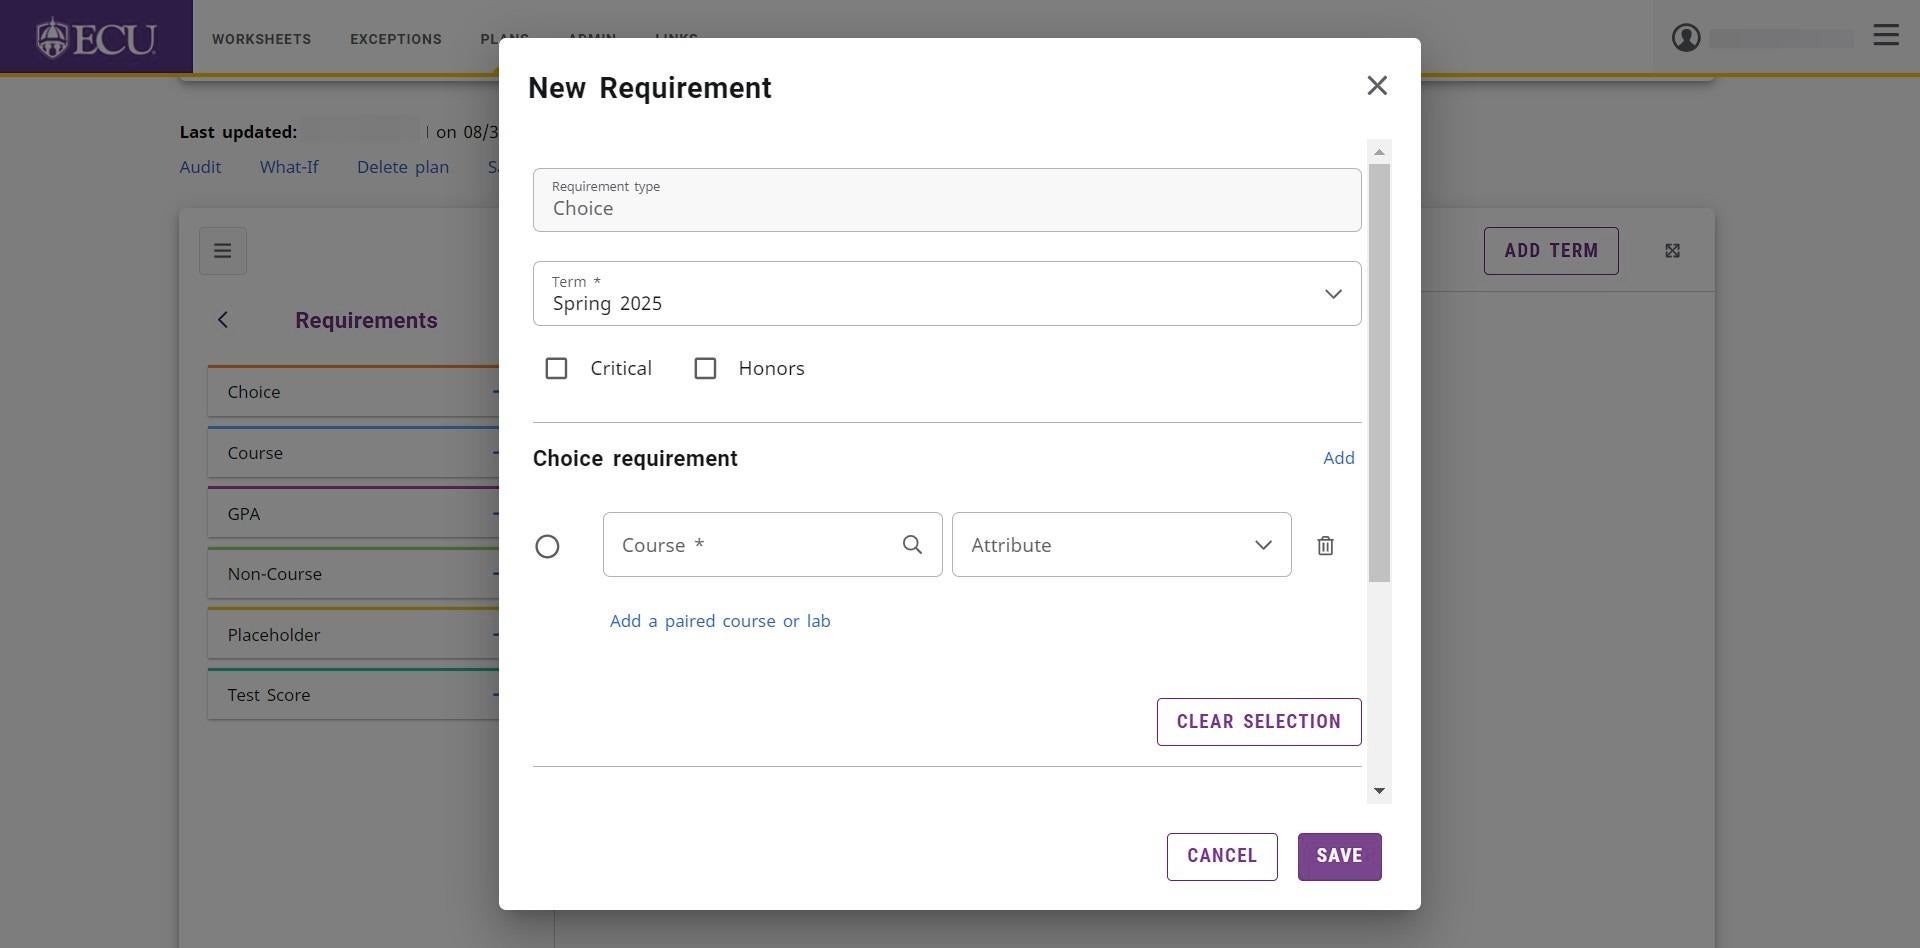
- Select the course from the popup menu to add the course requirement.
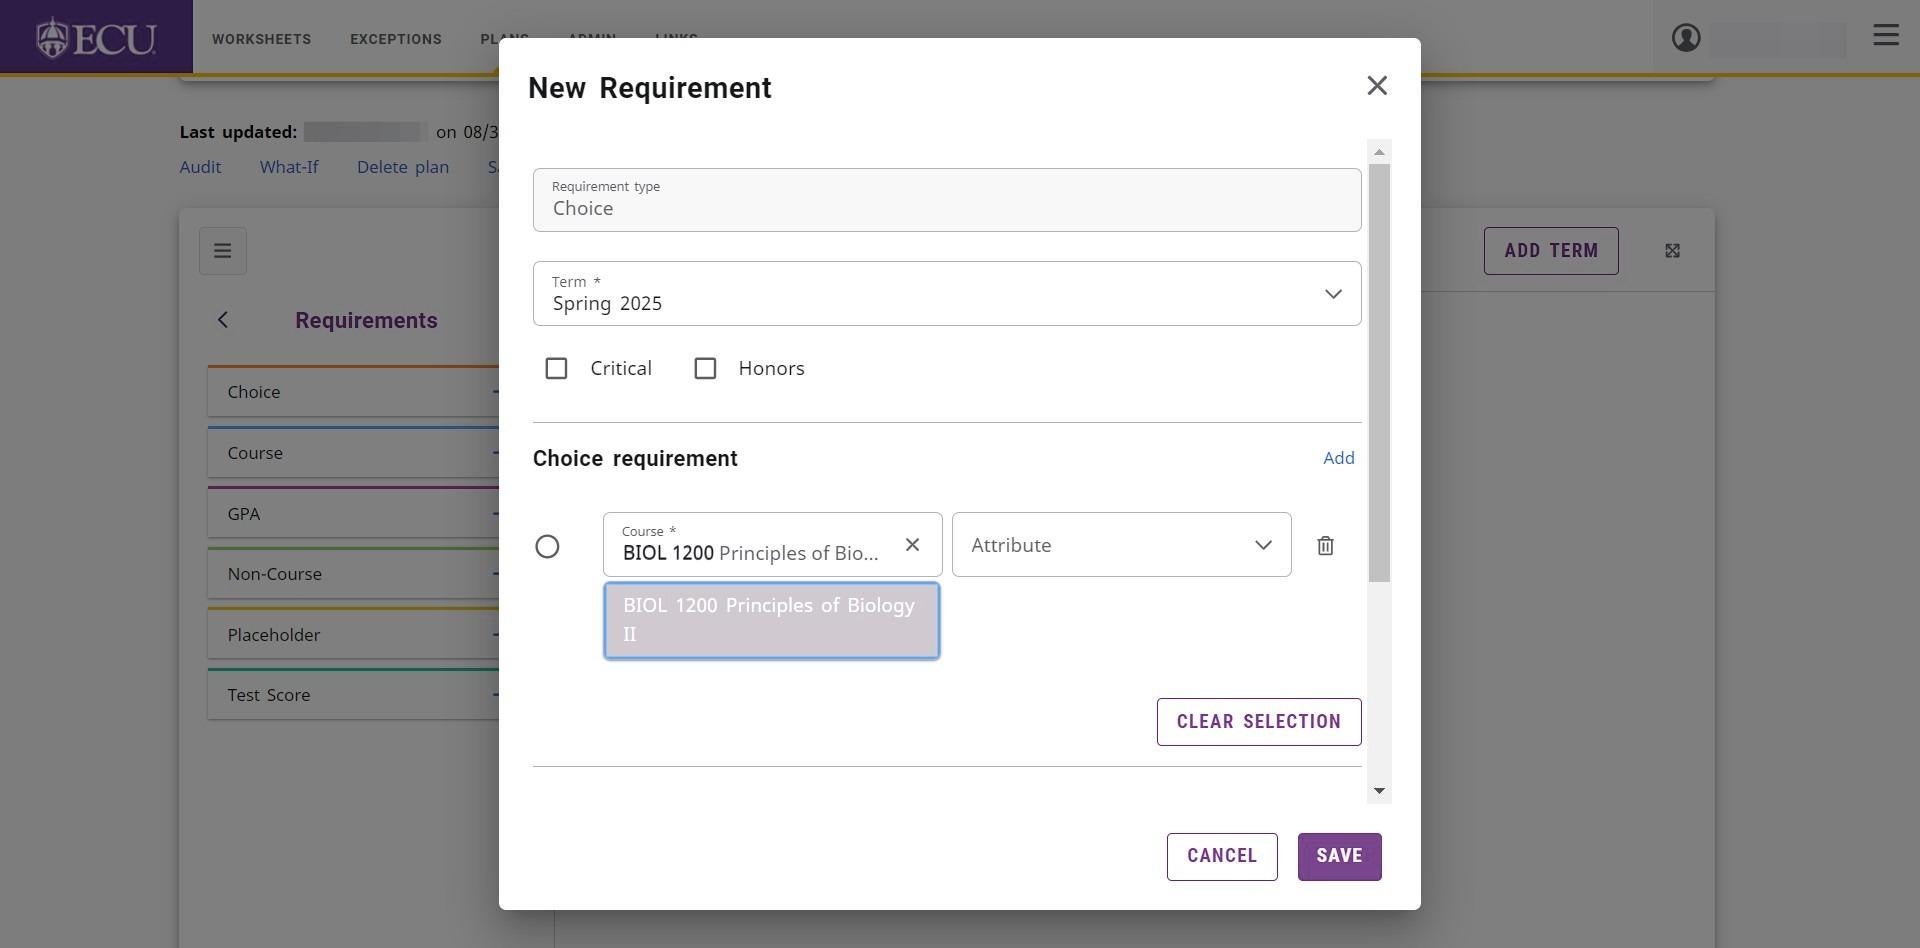
- Click “Add a paired course or lab” button to add a lab to the lecture requirement.
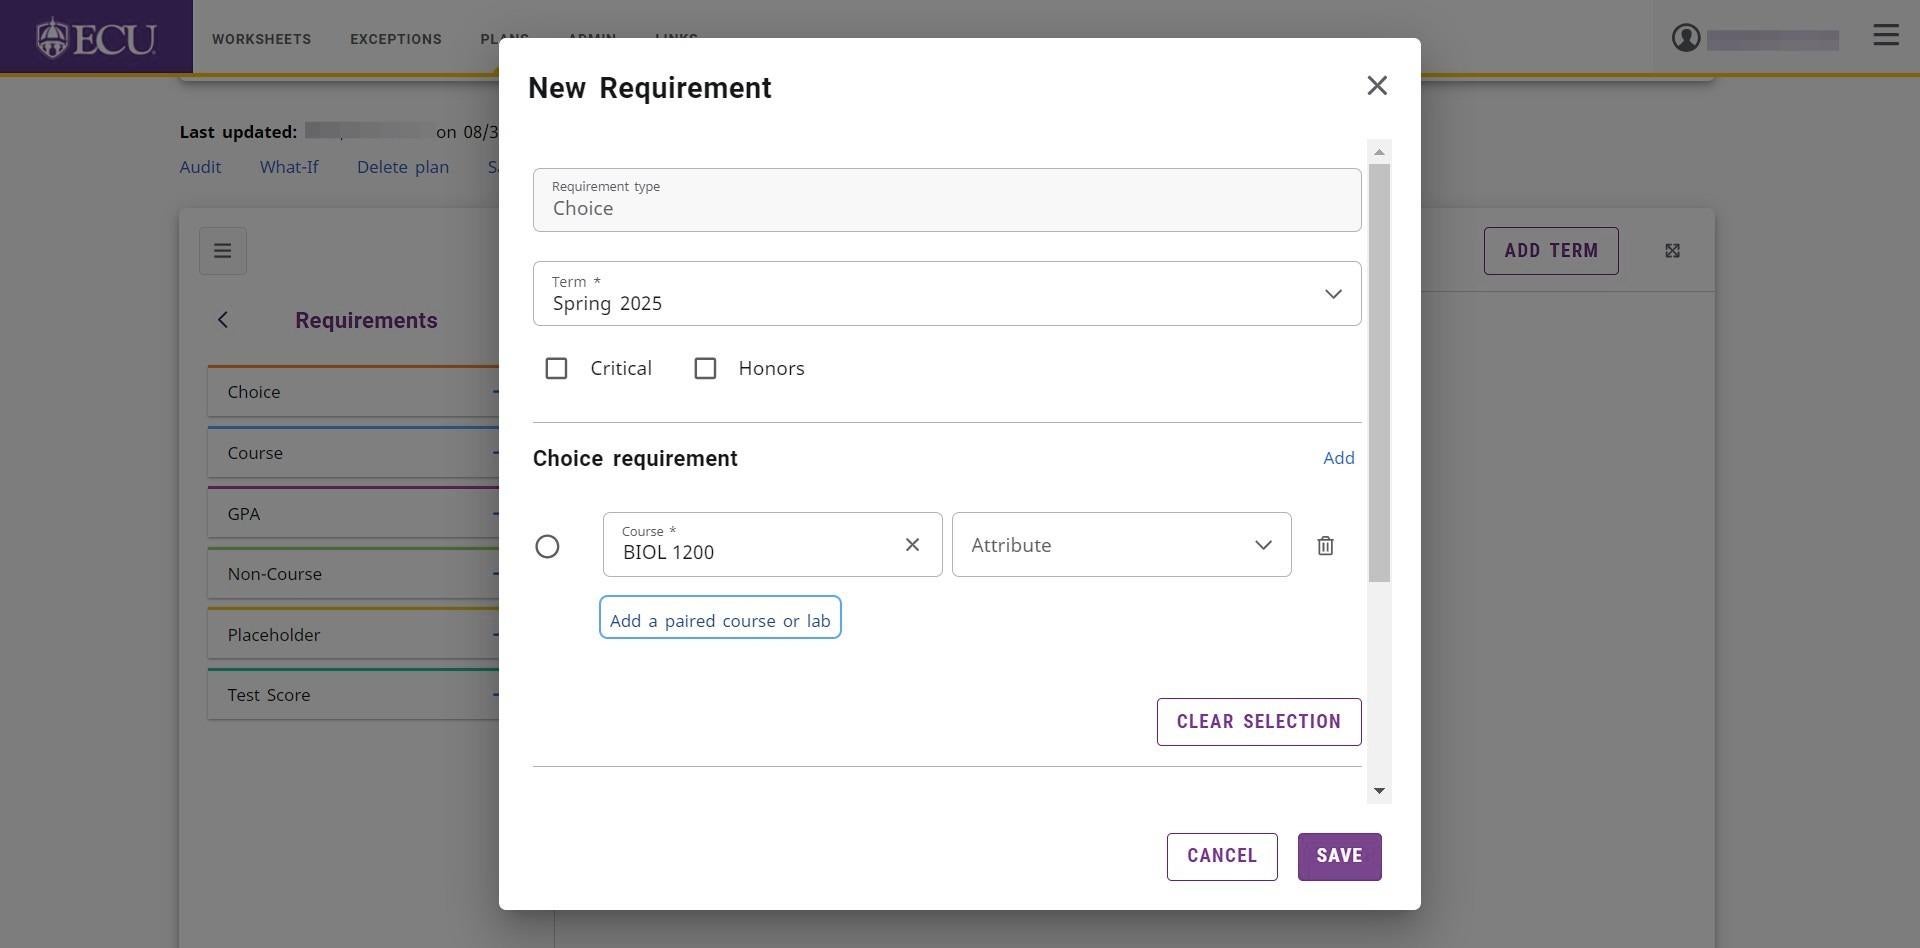
- Type the lab course and select the course from the pop up menu.
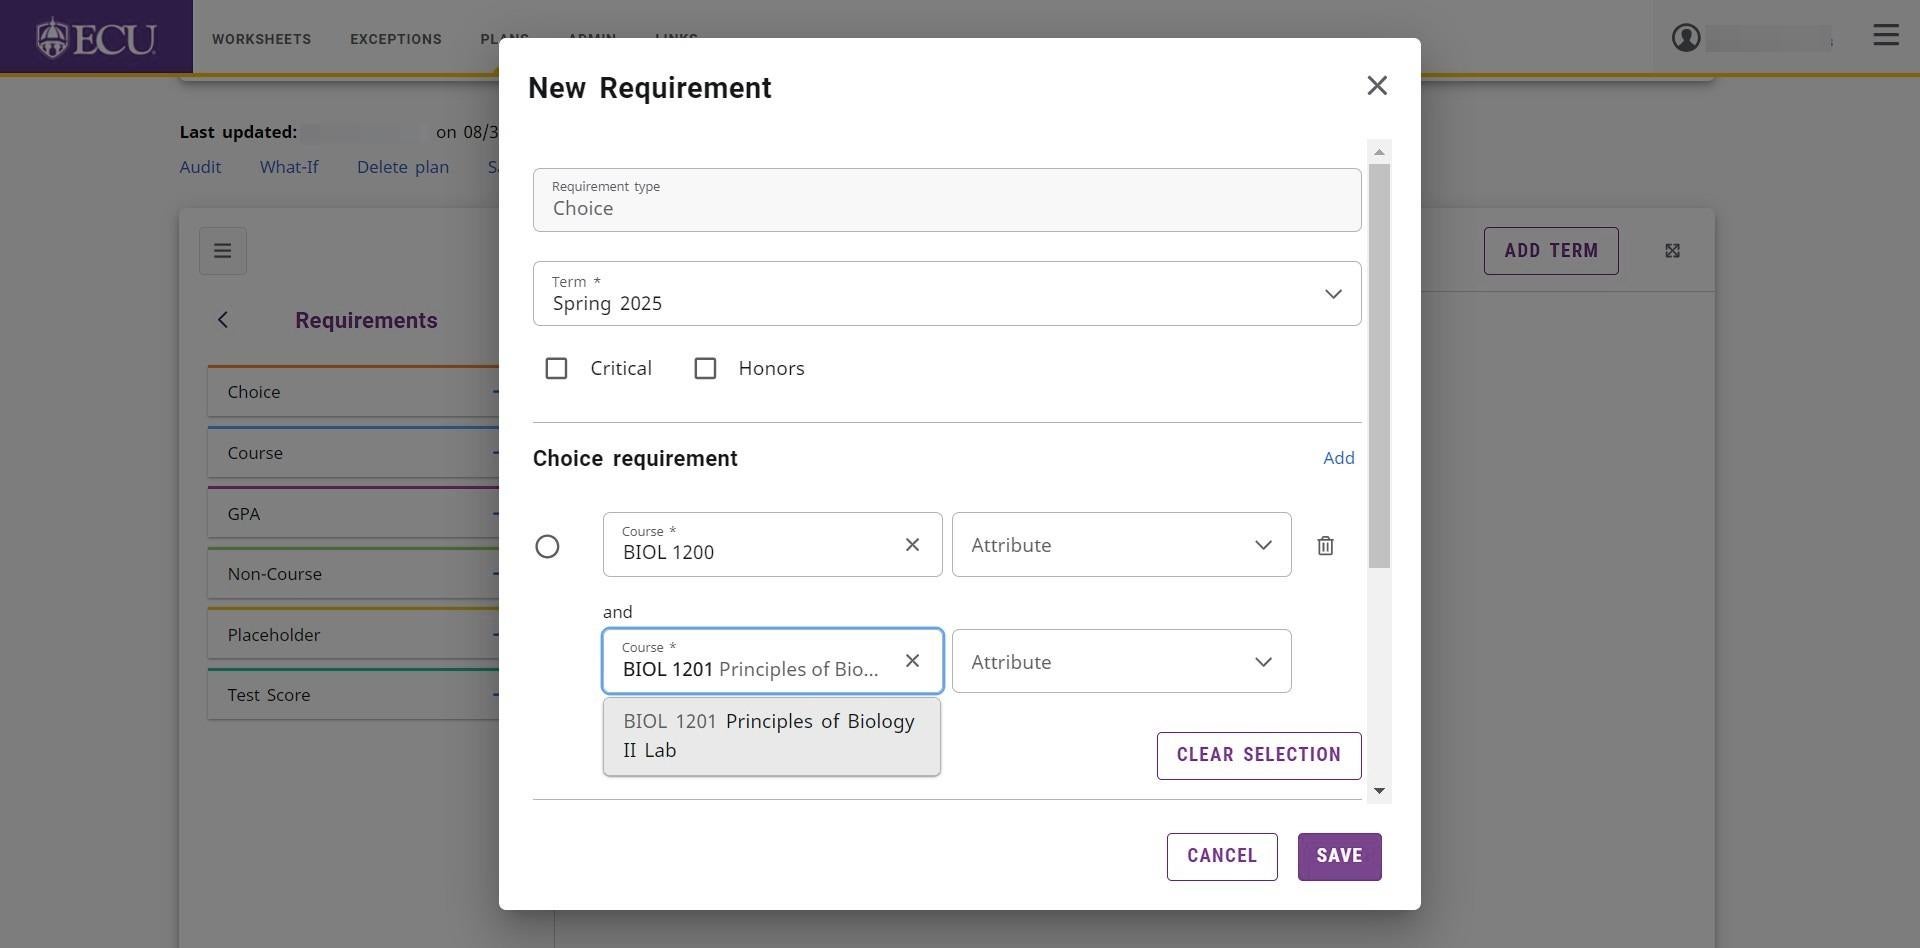
- Click the “Add” button to add a second choice requirement.
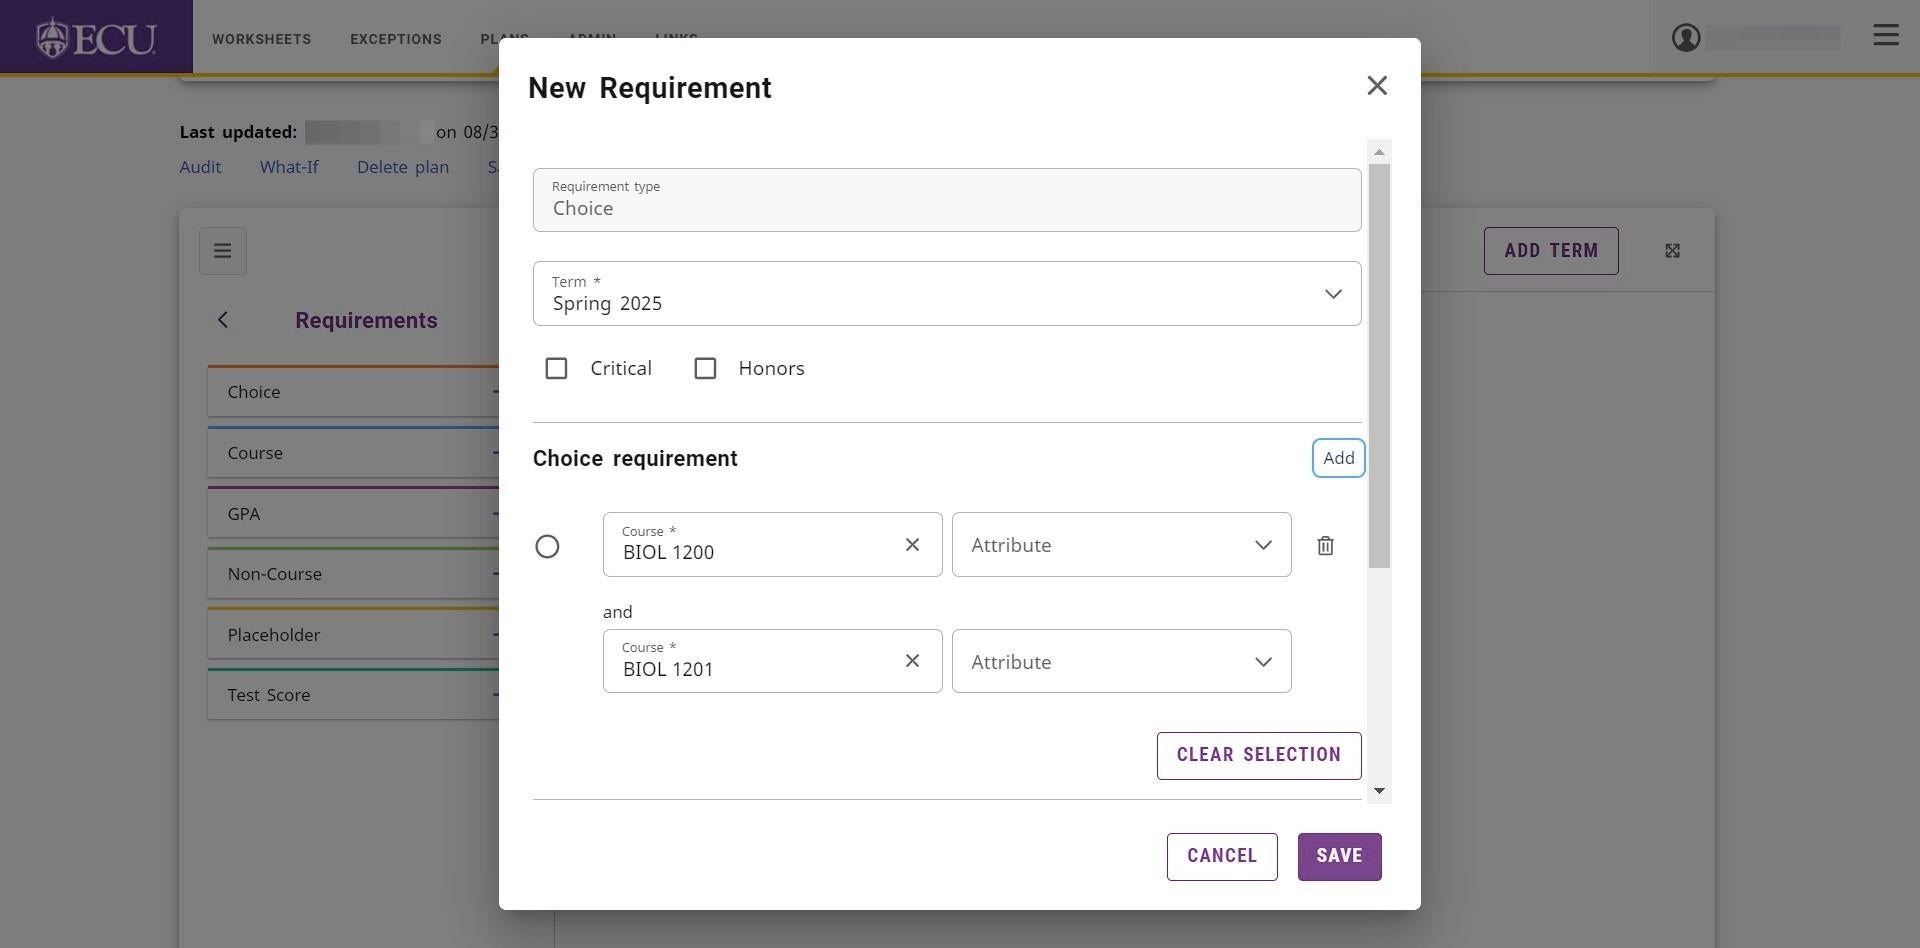
- Enter the number of credits required for the requirement in the “Credits” field.
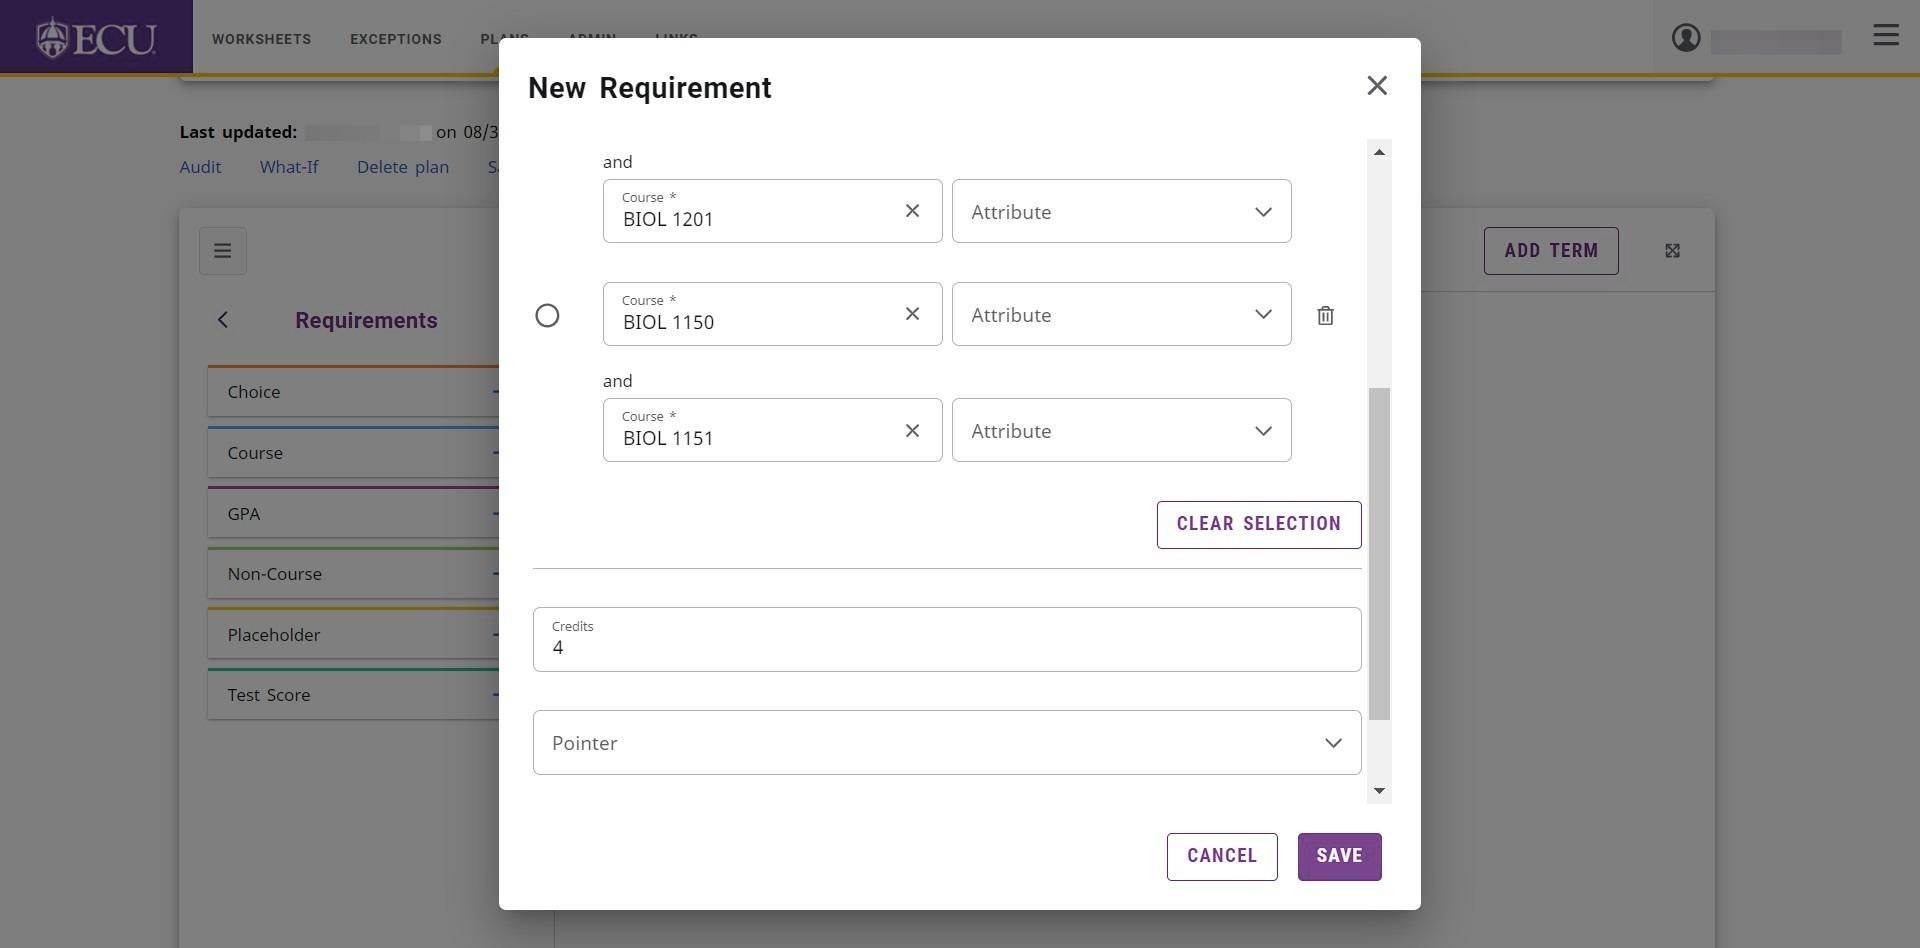
- Click the “SAVE” button.
 Choice requirements will NOT show when you Audit the Plan. Only Courses will show. You should use the actual course the student plans to take rather than choices whenever possible.It is highly recommended that whenever possible, you work with the student to select the specific class they want to take to fulfill the choice requirement. In this case you would just add a class requirement instead of a choice. If a choice requirement is already there and the student has now decided on which class they will take, it is suggested that you delete the choice requirement and add in the single course requirement.
 - The Choice requirement is added to the plan.
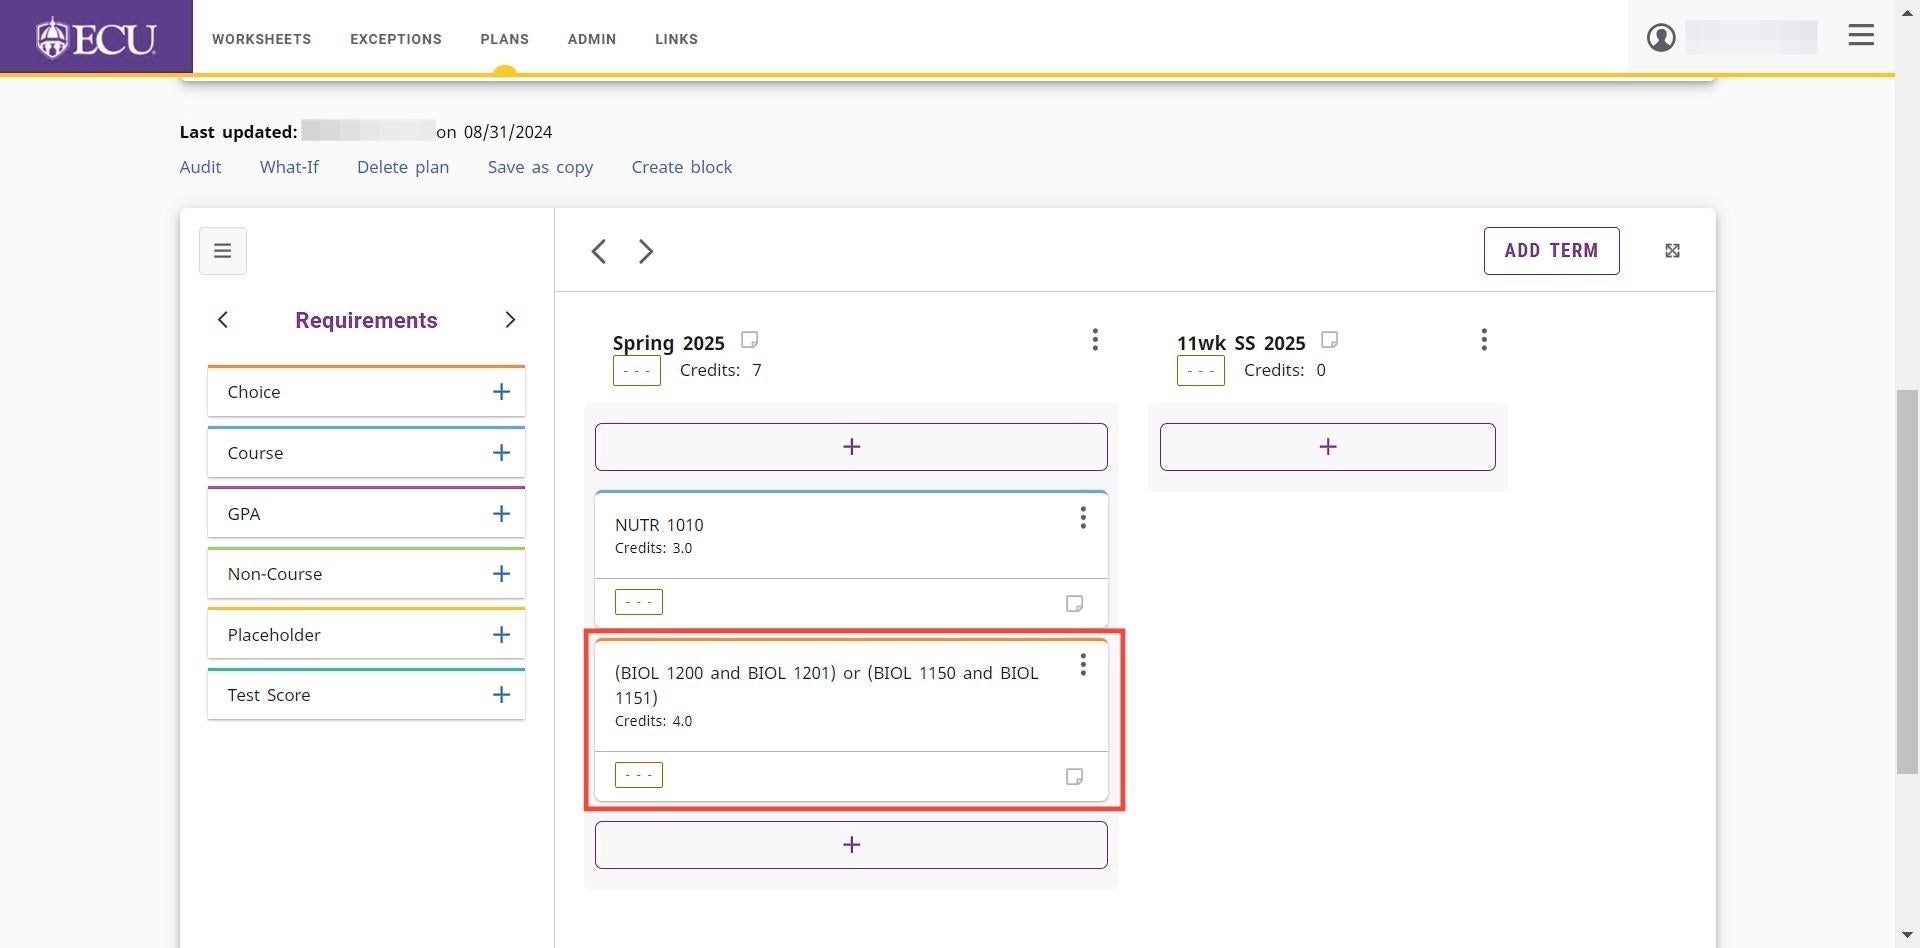
Plans are automatically saved. Do not click the “Save a Copy” link or you will create multiple plans.