How to Add a GPA from the Requirements Sidebar
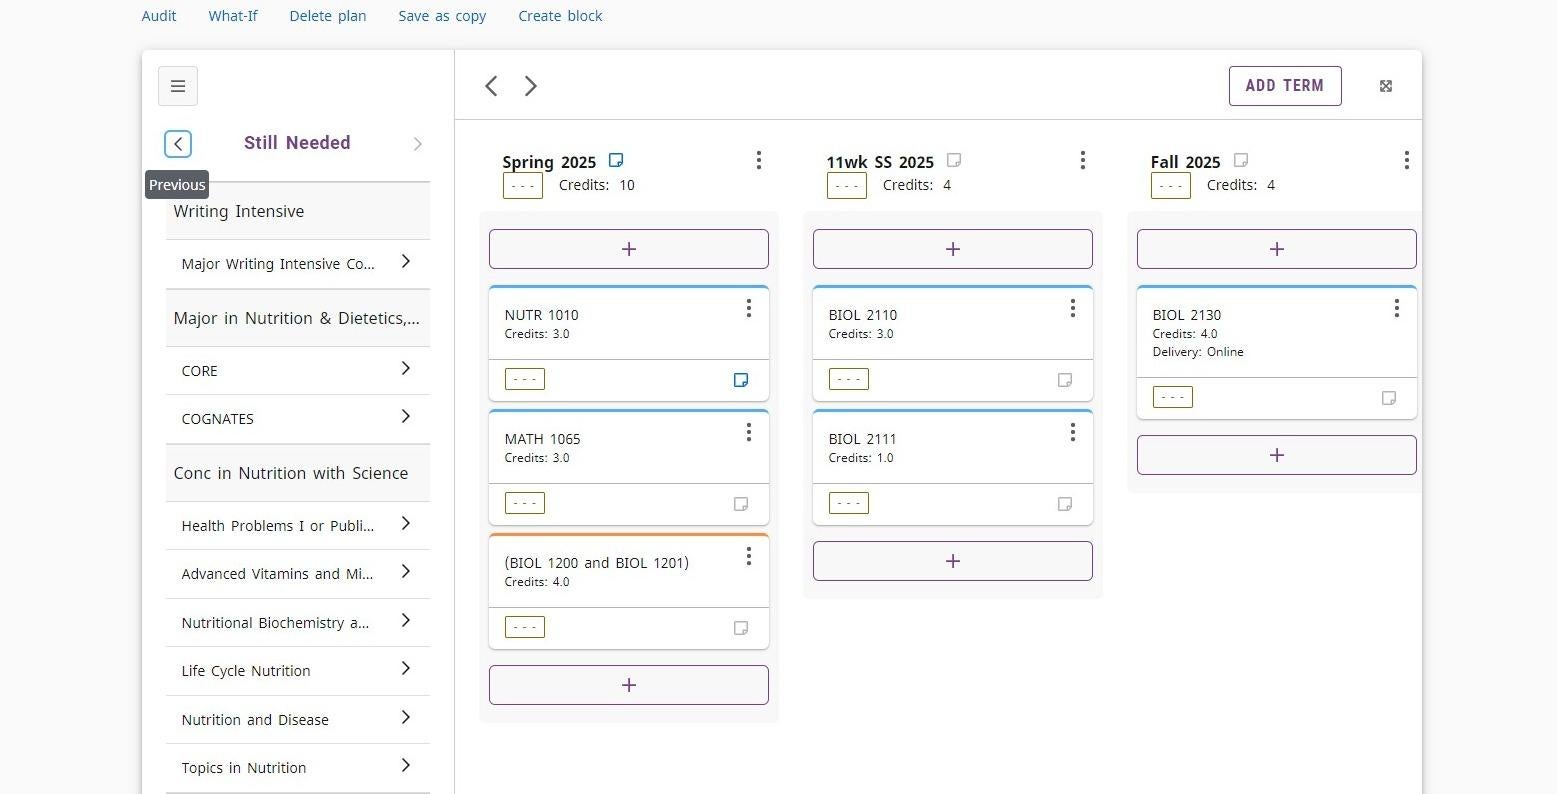
By default, the Still Needed sidebar is displayed on the plan. Use the < or > to change the sidebar menu.
- Click the left navigation icon (<) to move to the Requirements sidebar menu.
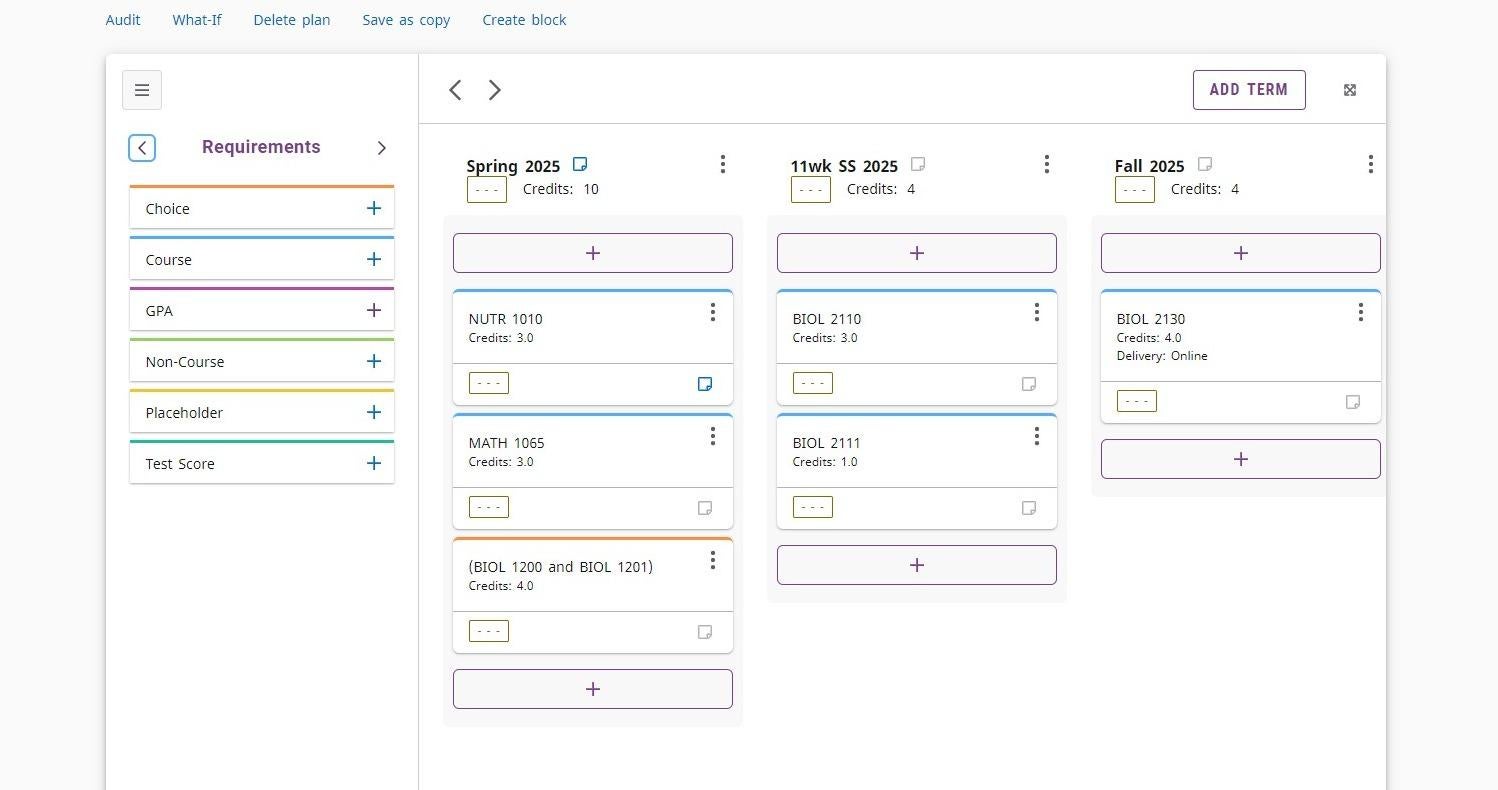
- Click the “+” on the GPA requirement.
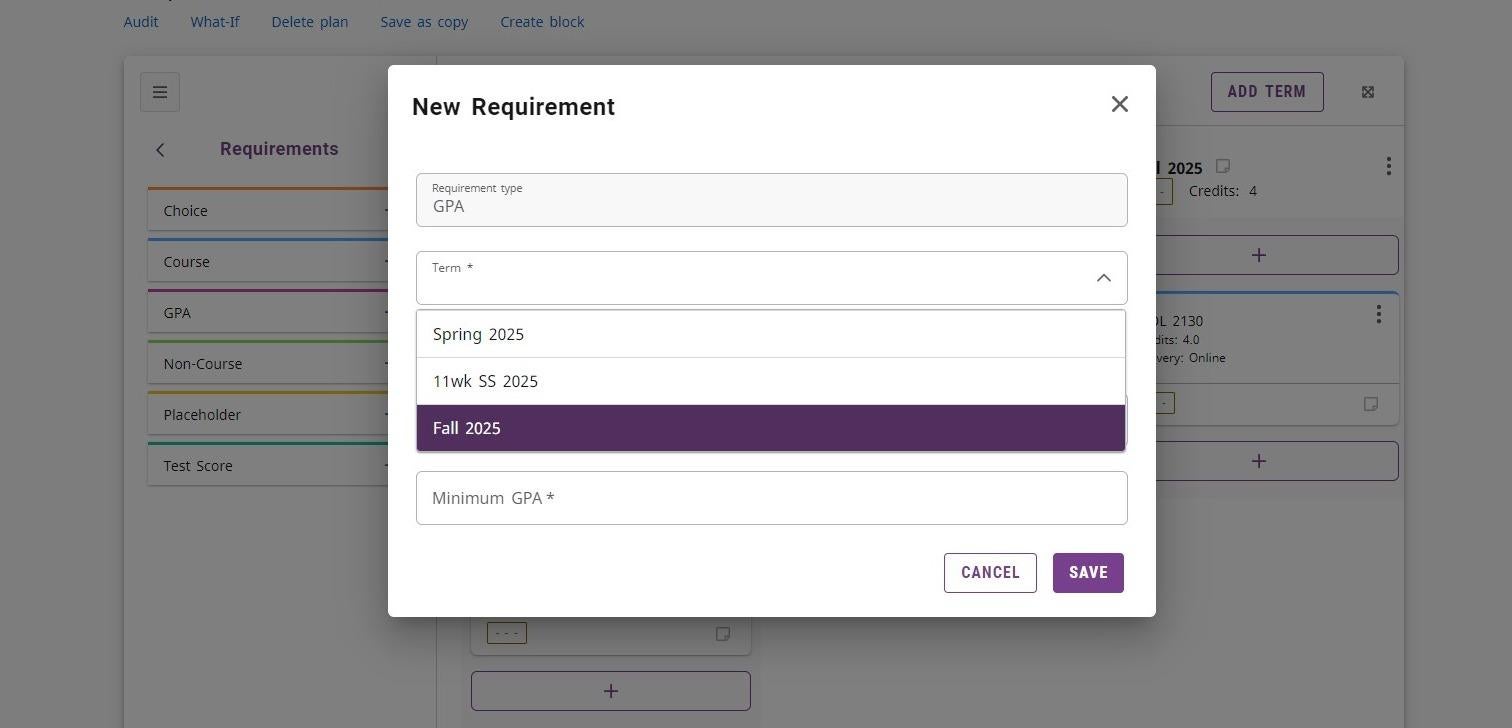
- Click the “Term” field and select the term from the drop down menu.
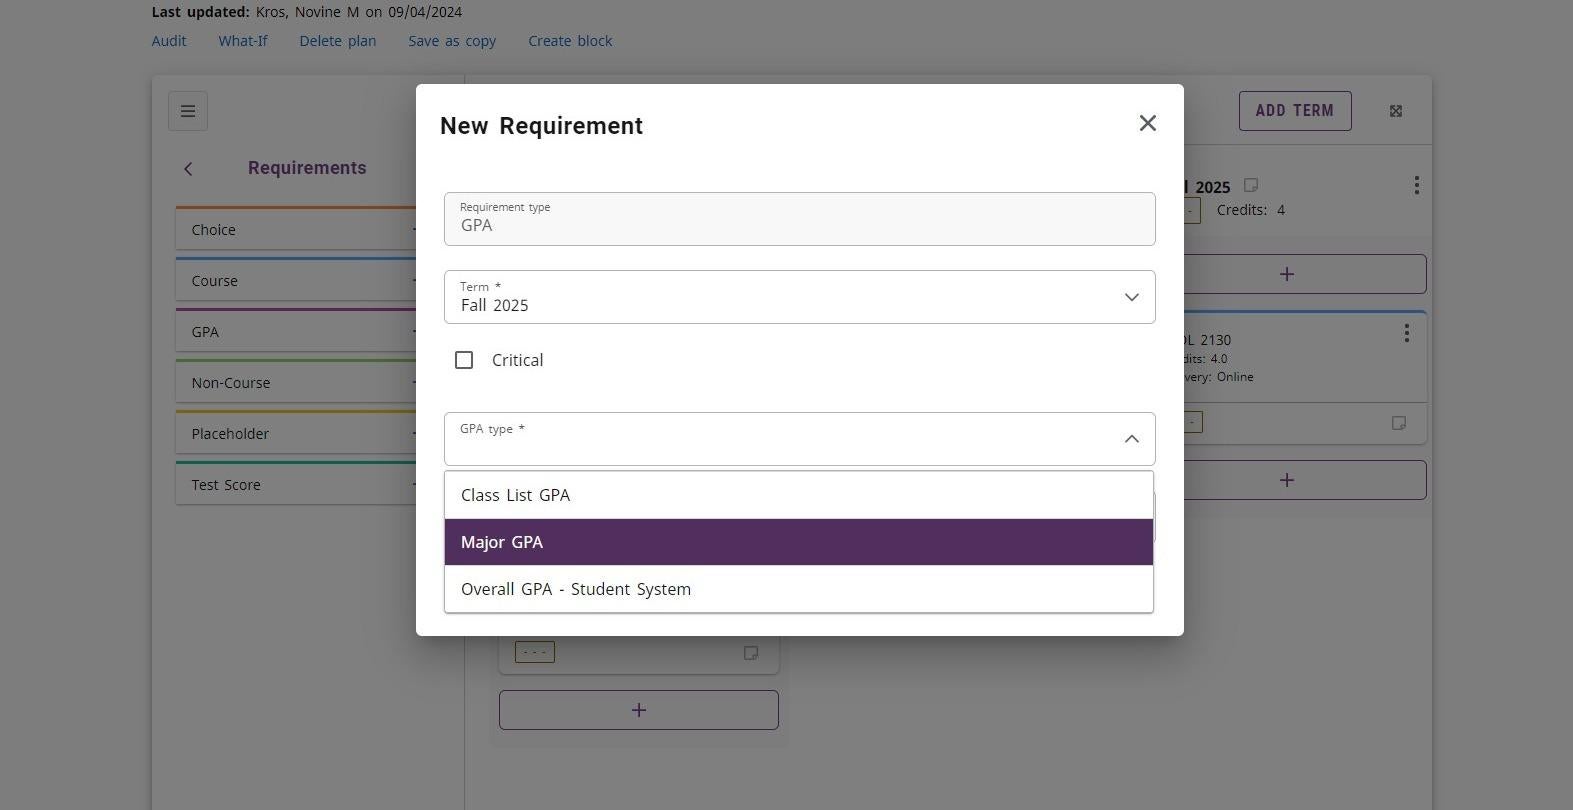
There are three different types of GPA requirements:
- Major GPA
- Overall GPA – Student (Banner) System
- Class List GPA
Adding a Major GPA Requirement.
- Click in the “GPA type” field and select the Major GPA requirement.
- Select the major from the “Major” drop down menu.
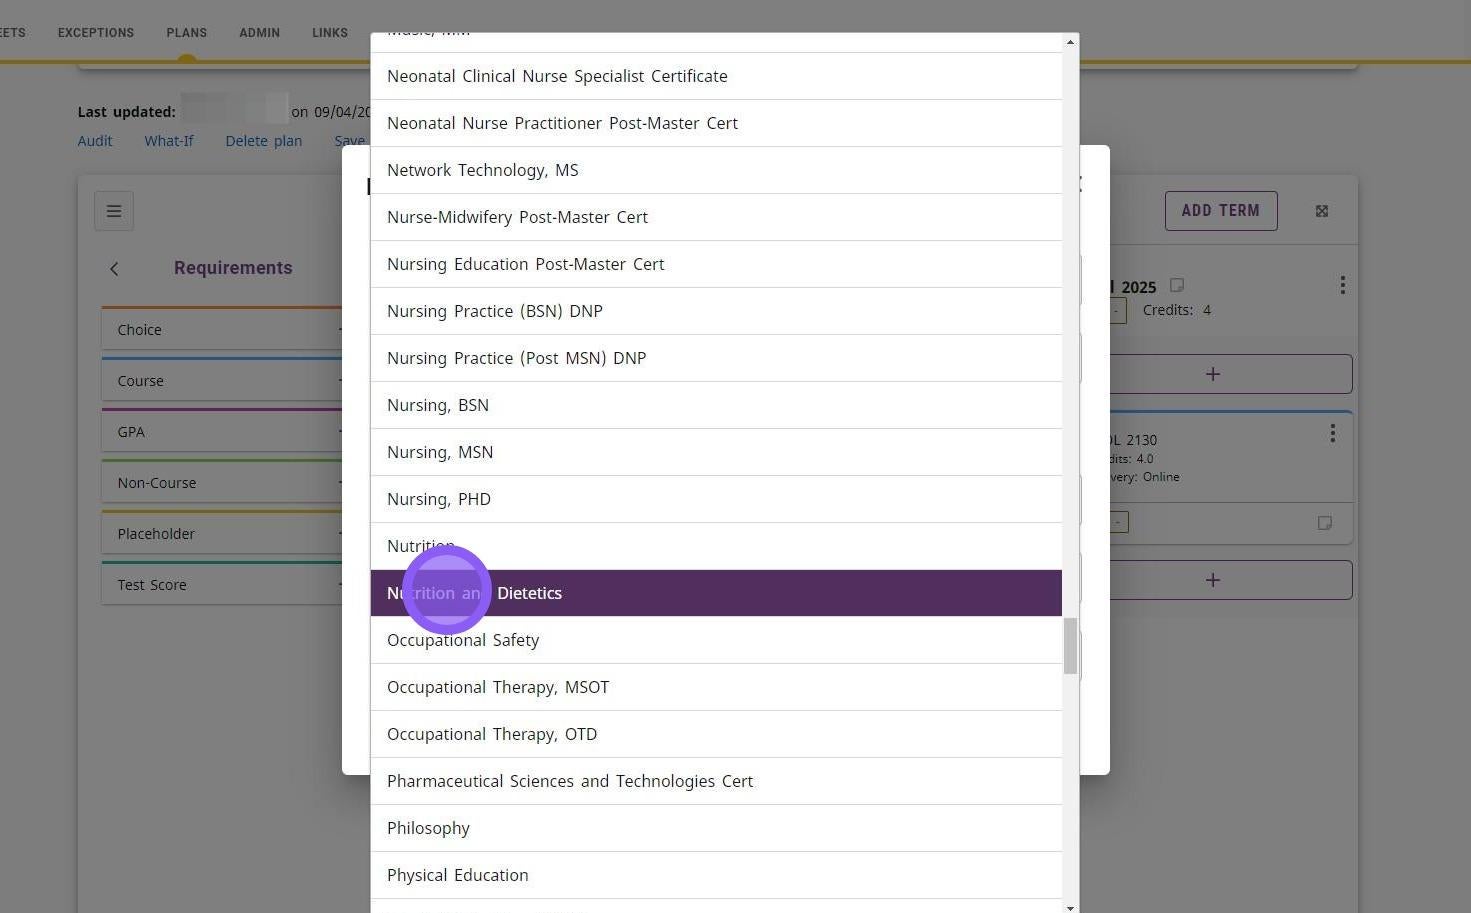
- Enter the GPA requirement in the “Minimum GPA” field.
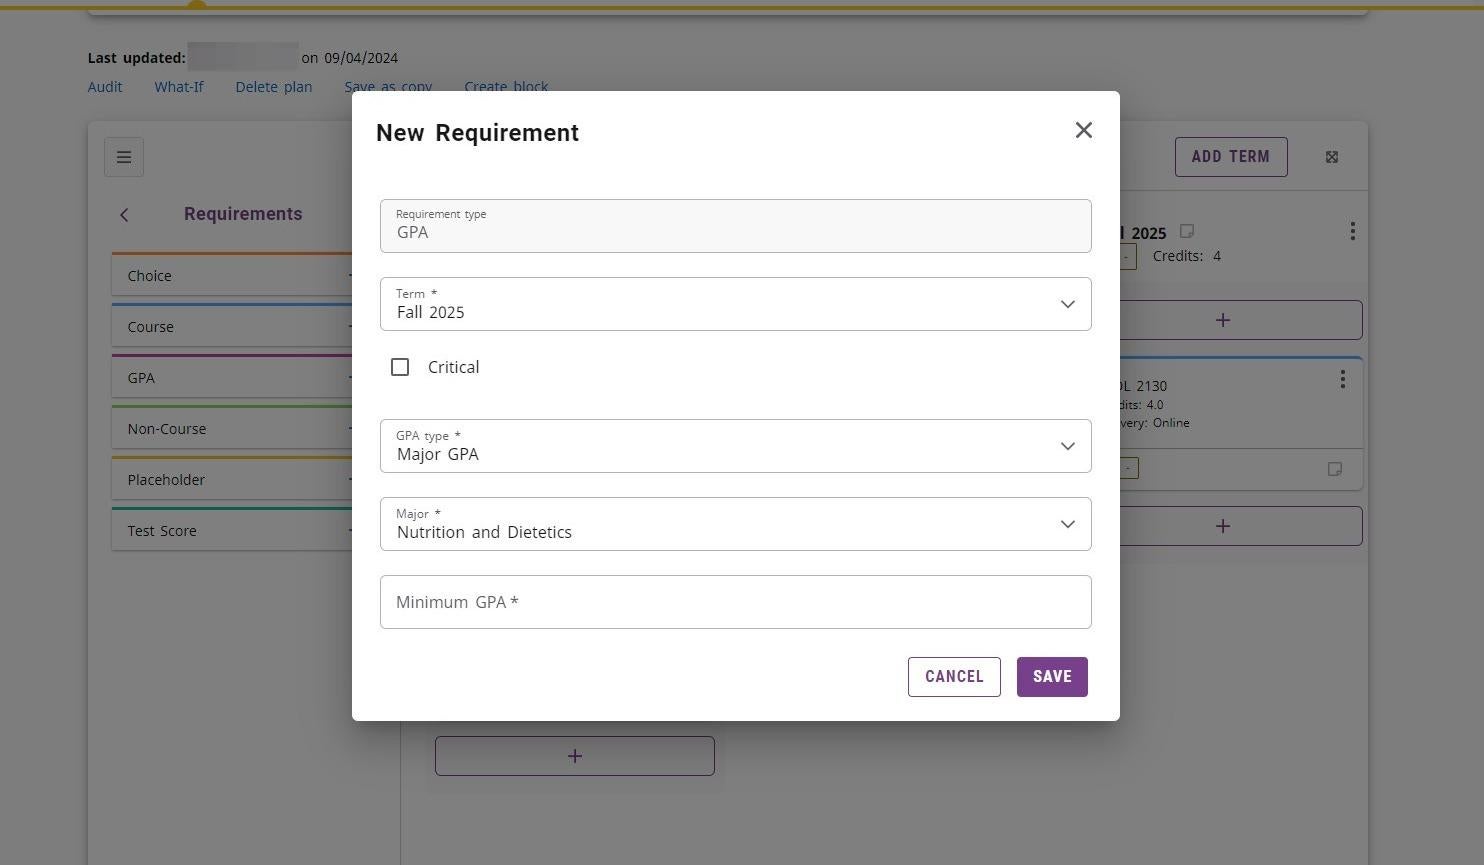
- Click the “SAVE” button.
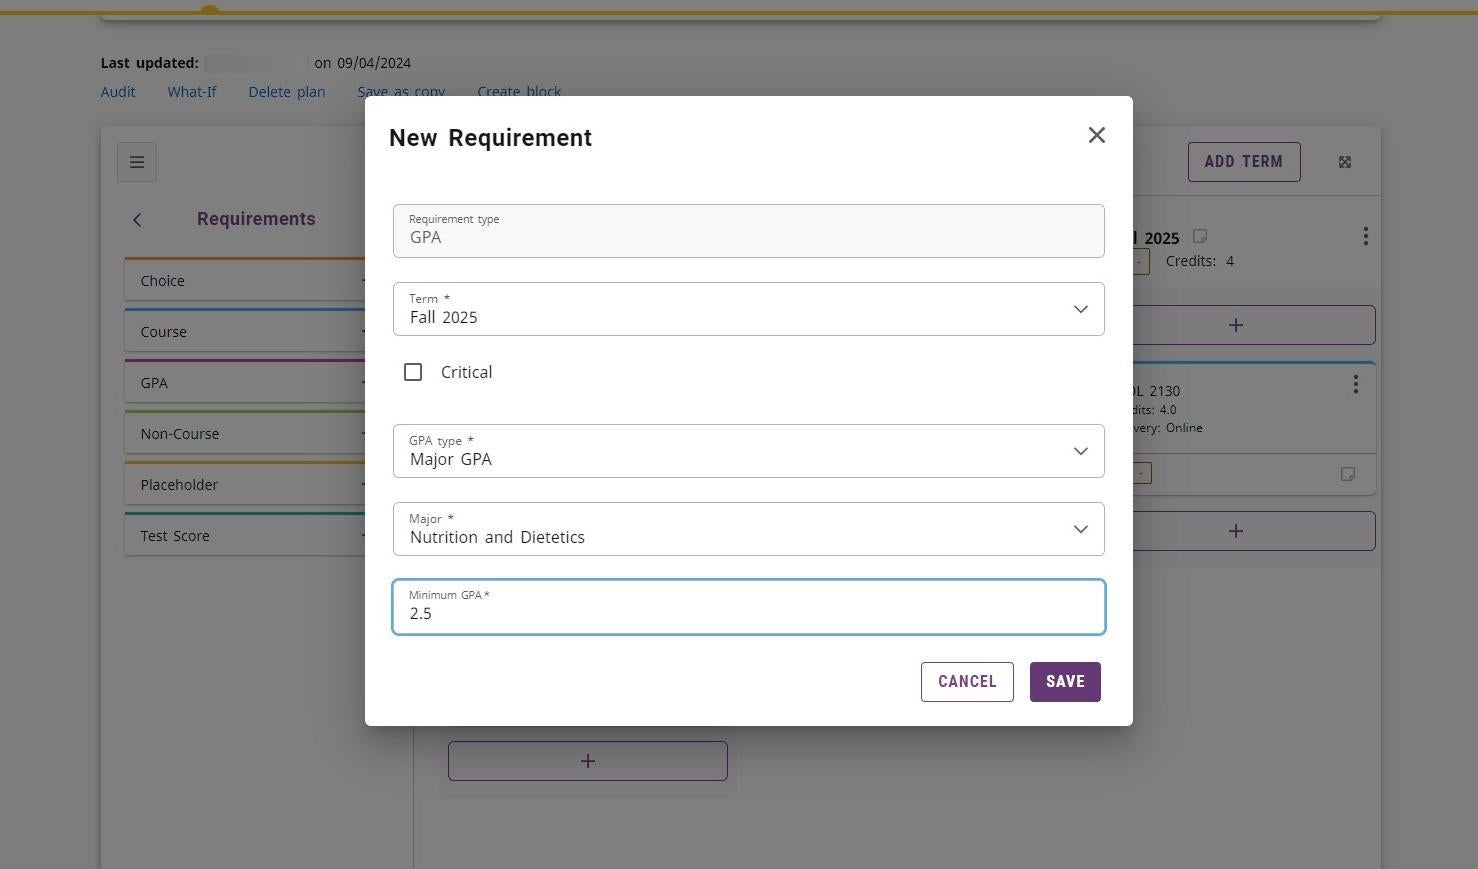
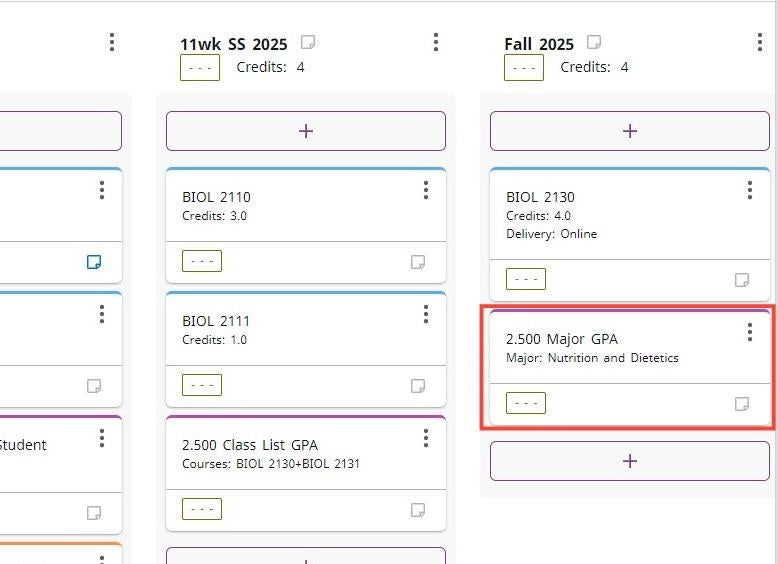
- Major GPA
Adding a Overall GPA – Student System (Banner) requirement.
- Click the “+” on the GPA requirement.
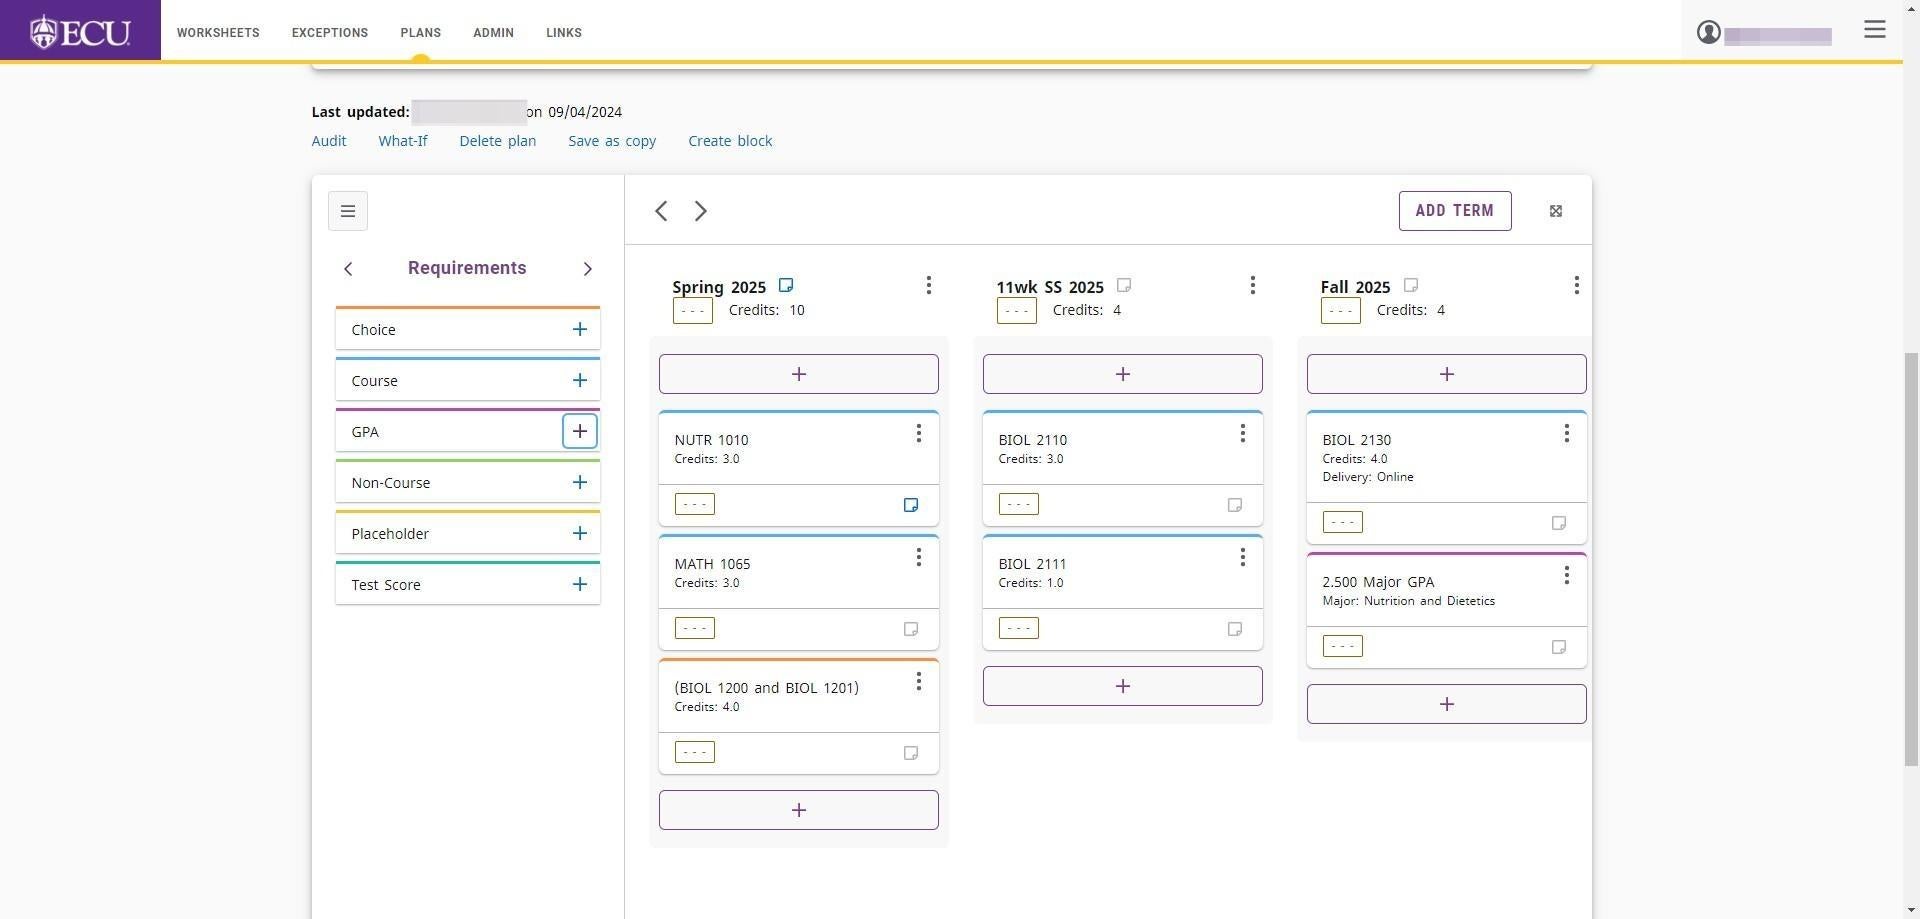
- Click the “Term” field and select the term from the drop down menu.
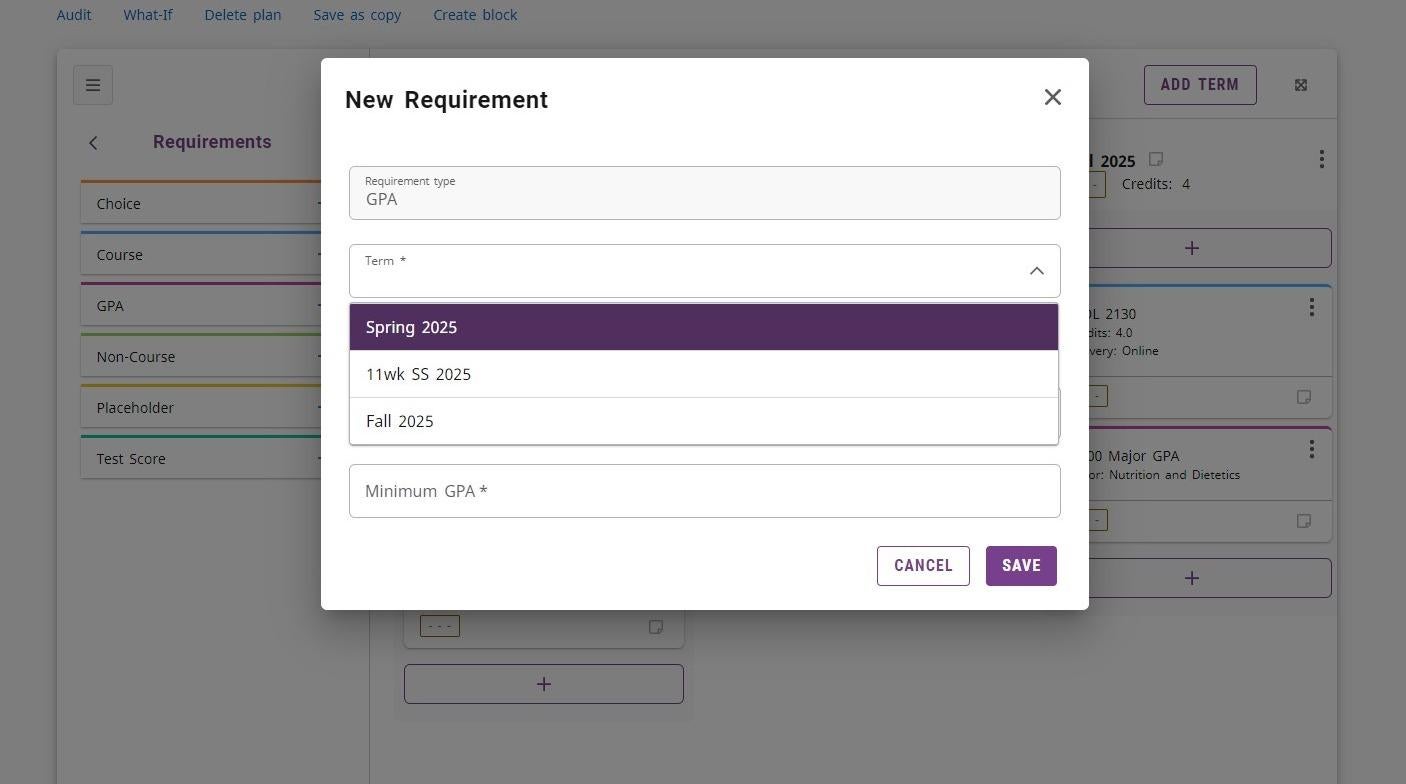
- Click in the “GPA type” field and select “Overall GPA – Student System”.
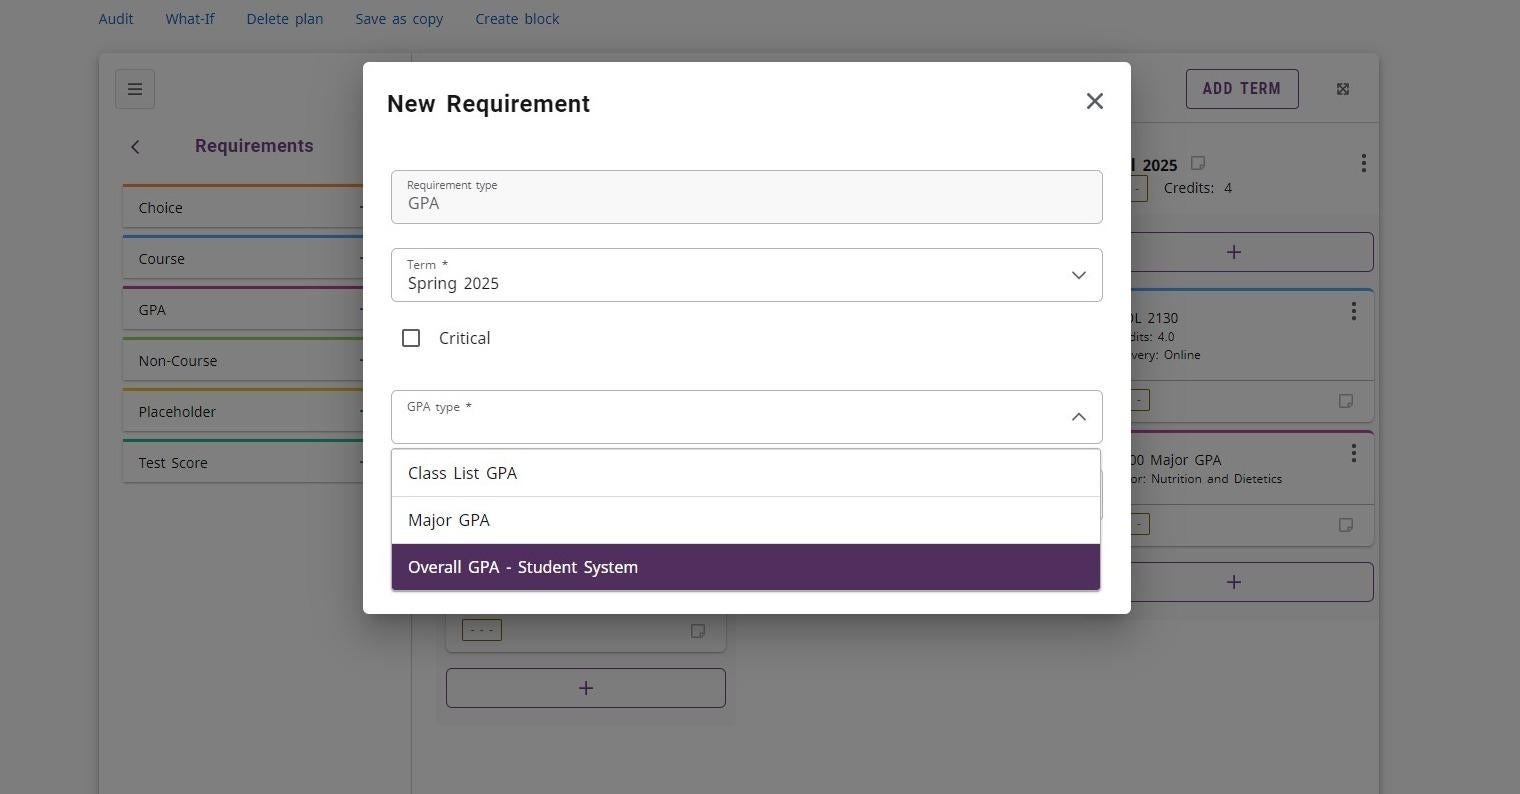
- Enter the GPA in the “Minimum GPA” field.
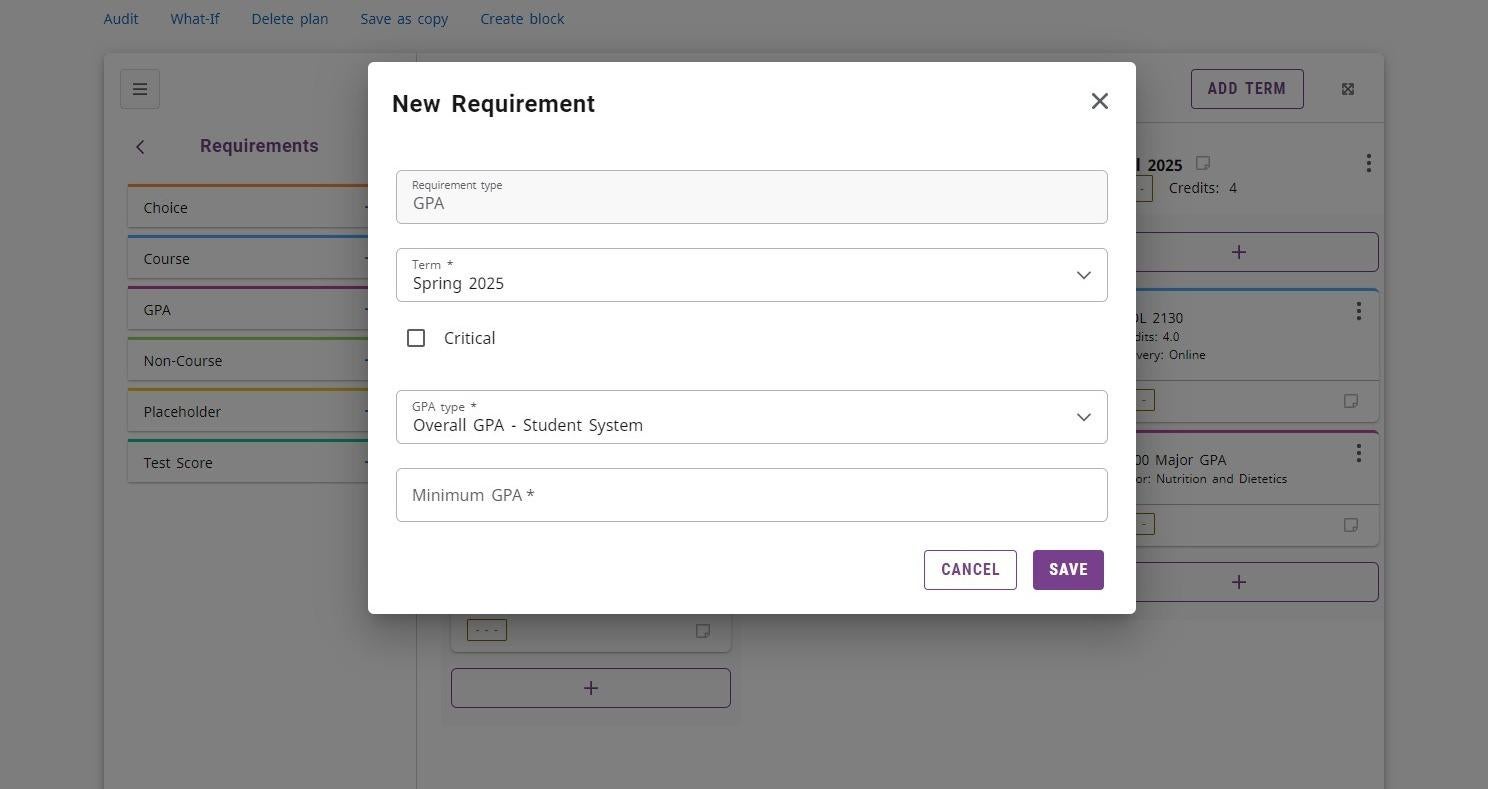
- Click the “SAVE” button
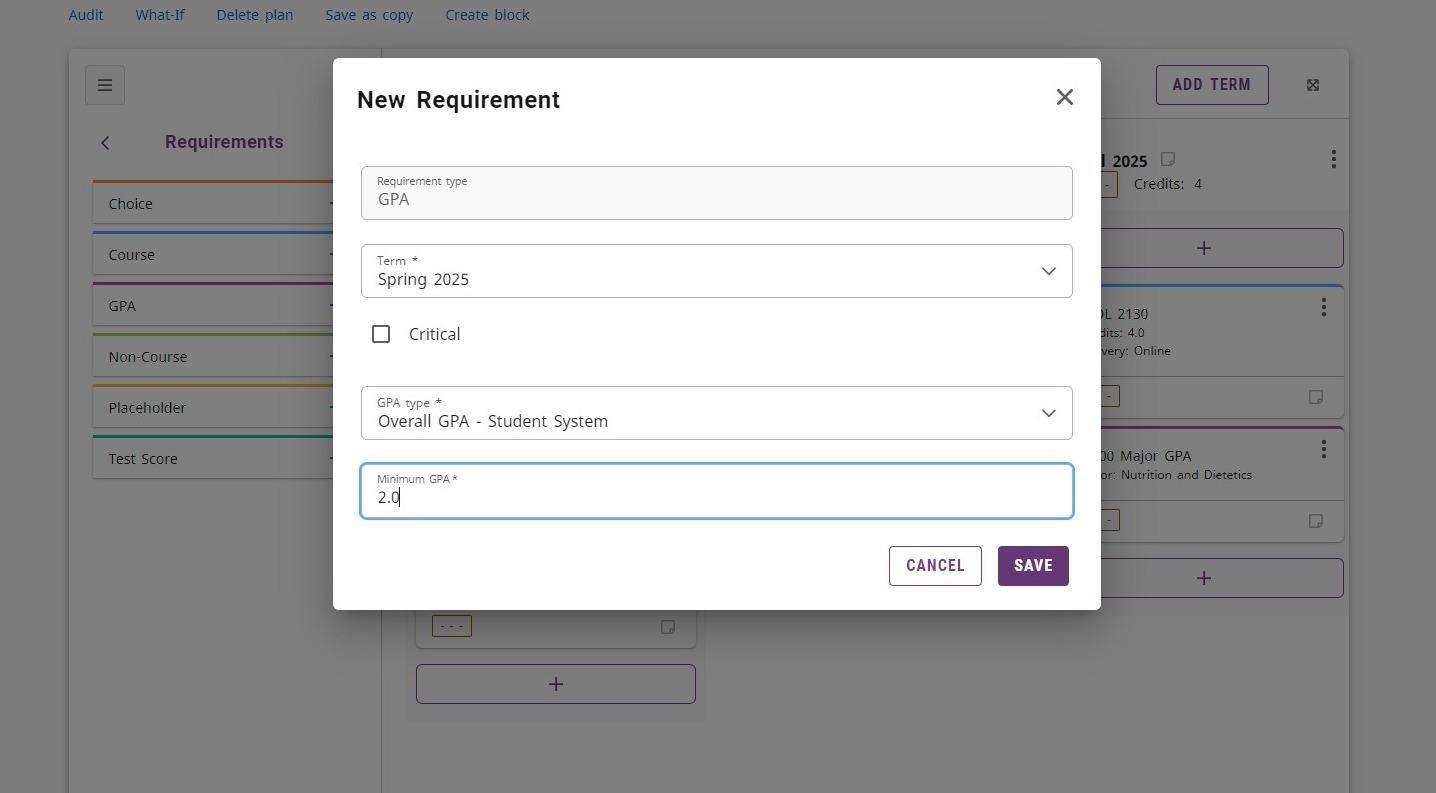
- Overall GPA-Student System GPA
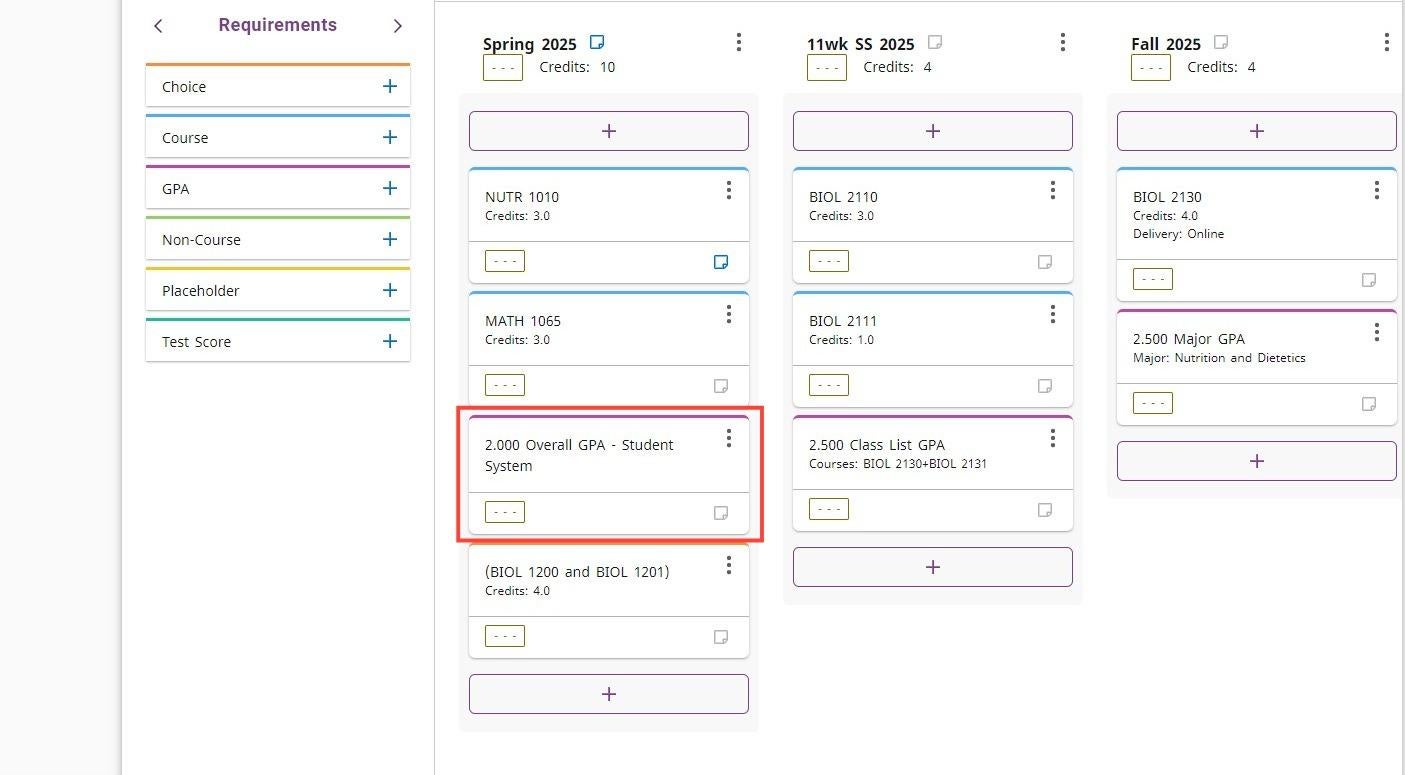
Adding a Class List GPA requirement
- Click the “+” on the GPA requirement.
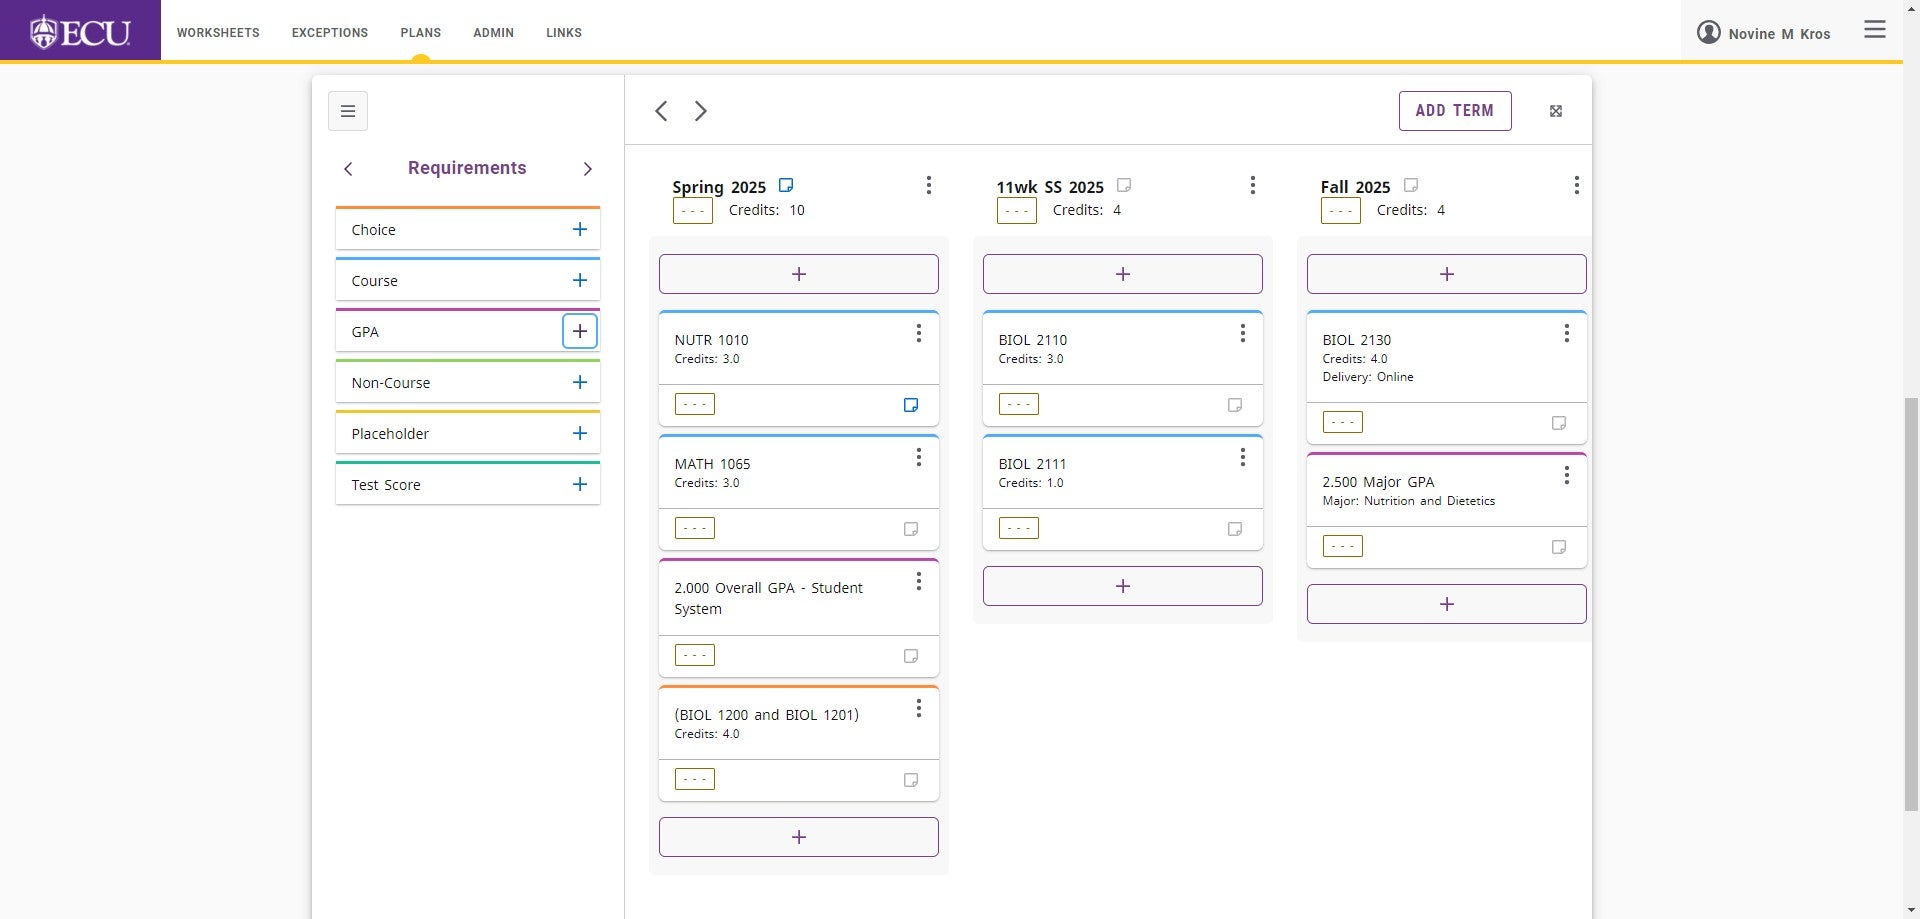 When adding a Class List GPA, a group of classes in which the student needs to have earned a minimum GPA can be defined.
 - Select the “Class List GPA” from the “GPA type” menu.
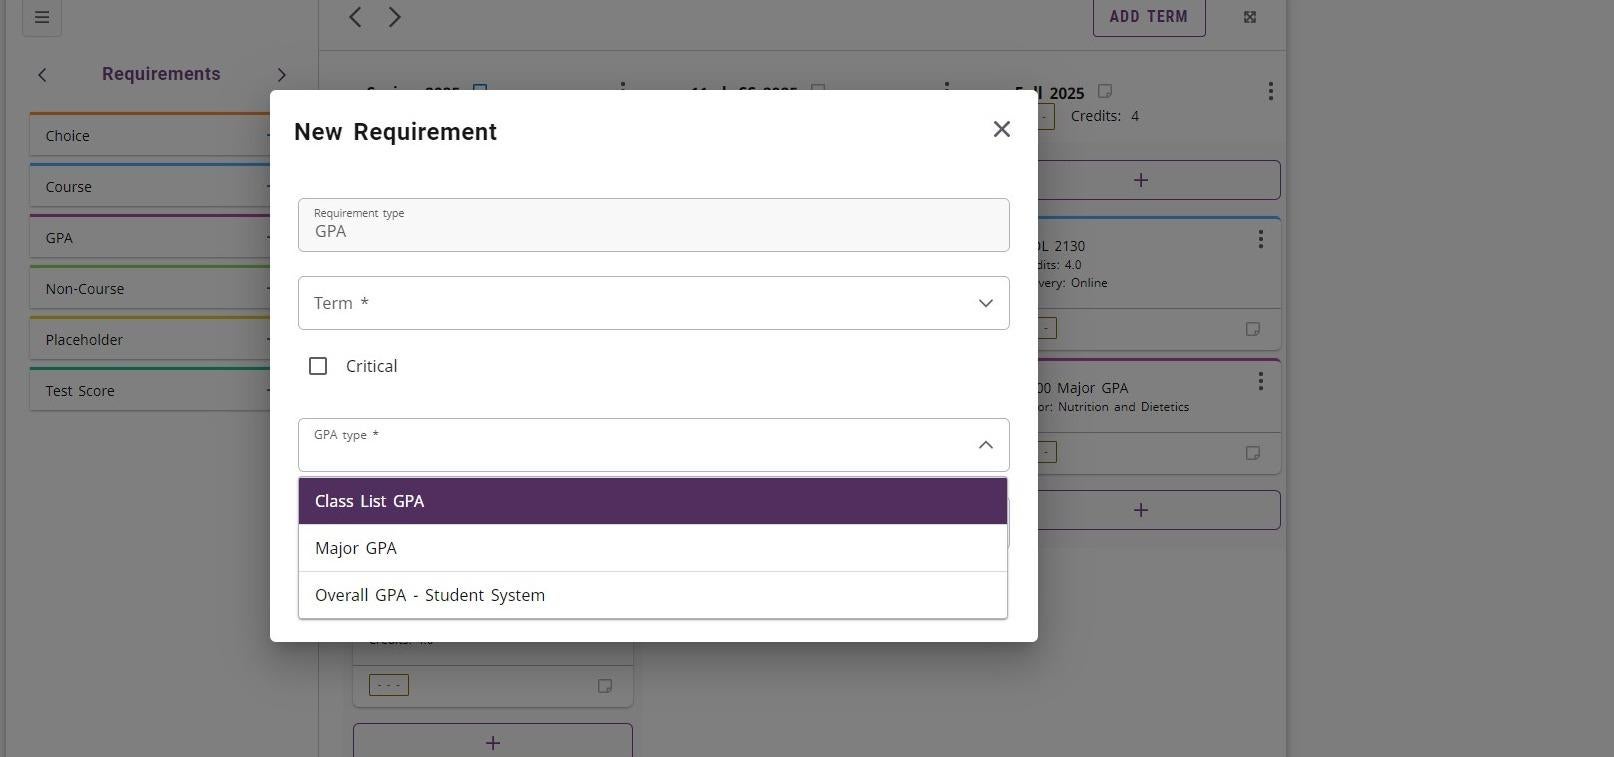
- Click the “Term” field and select the term from the menu.
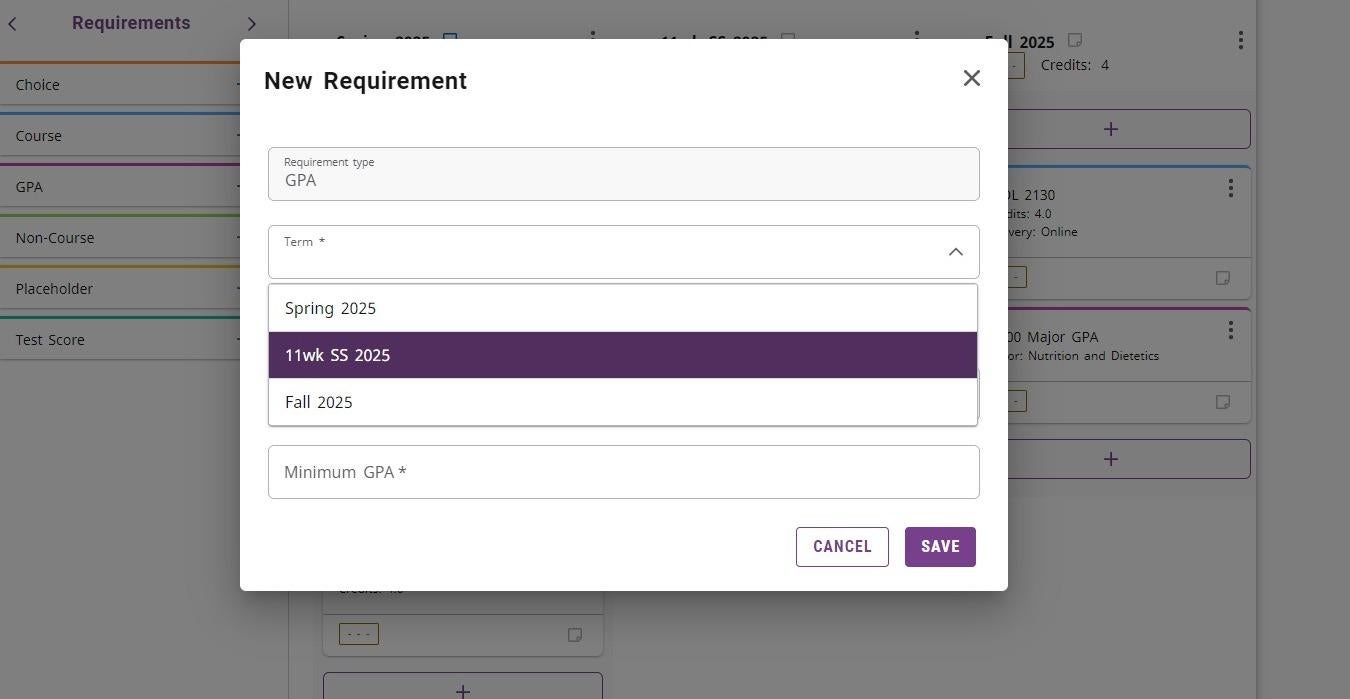
- Enter the GPA in the “Minimum GPA” field.
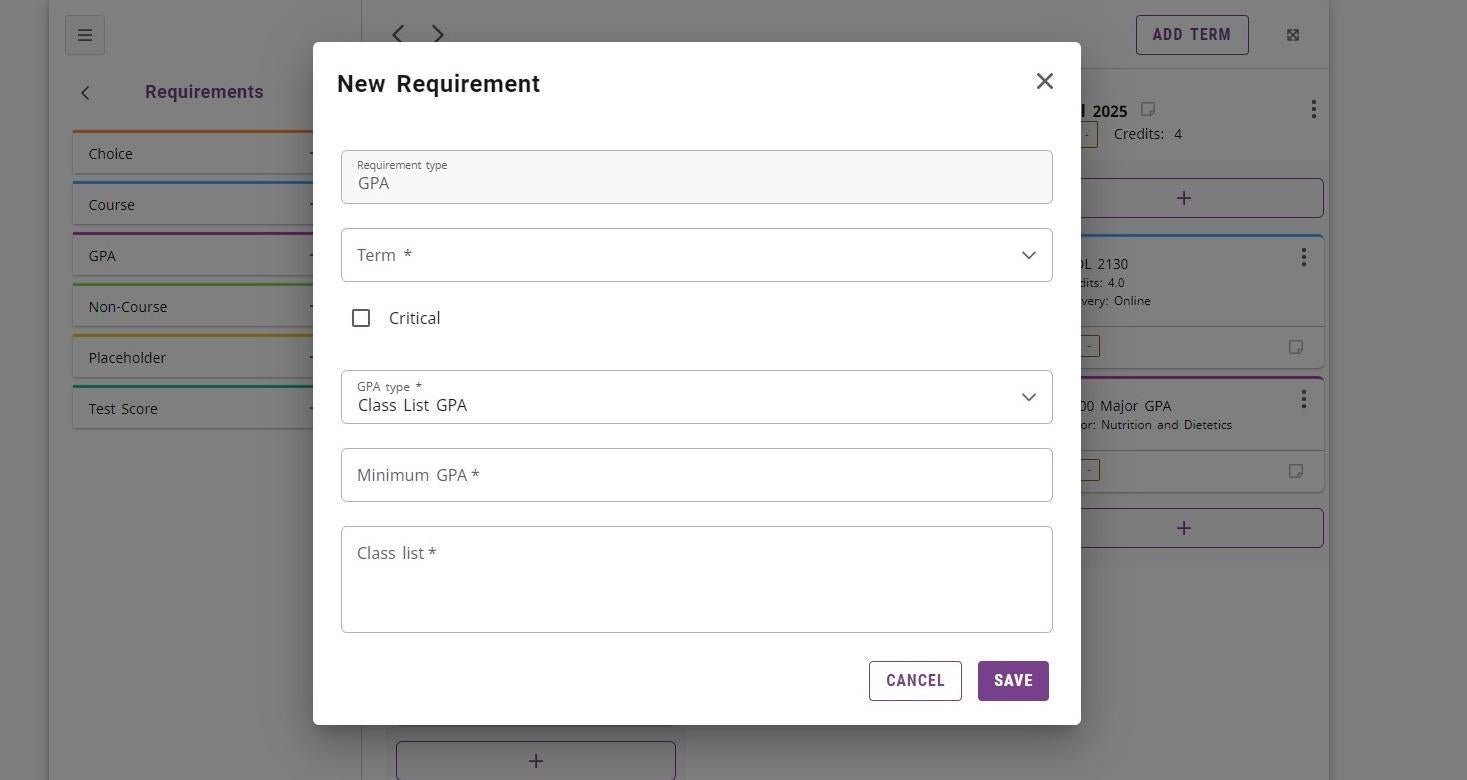 Each class should be separated by a plus sign, and ranges and wildcards can be included in the list. Classes are validated, but ranges and wildcards are not.
 - Enter the list of classes separated with a “+” in the “Class list *” field.
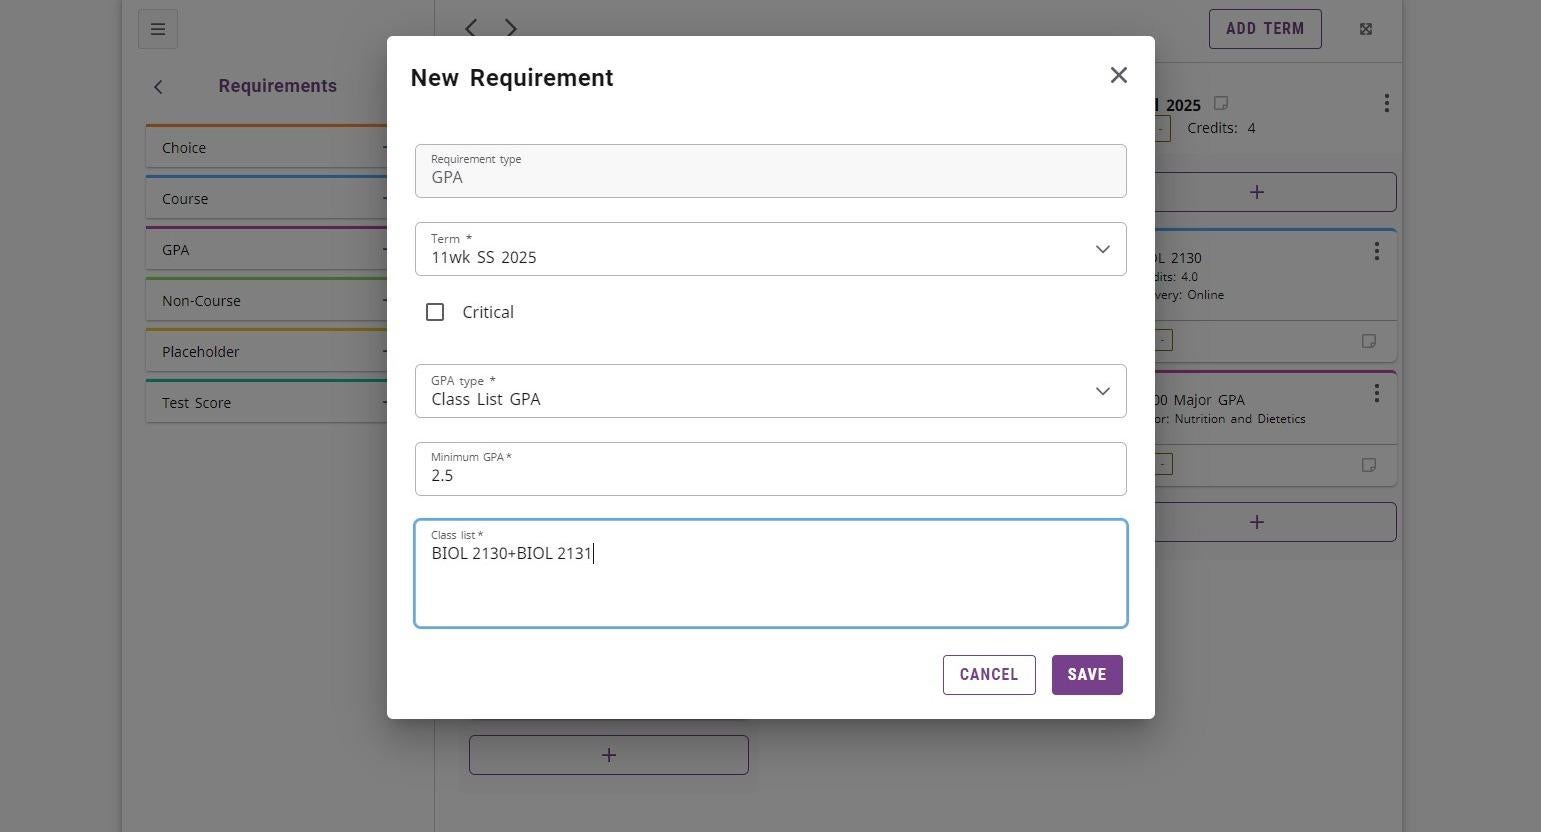
- Click the “SAVE” button.
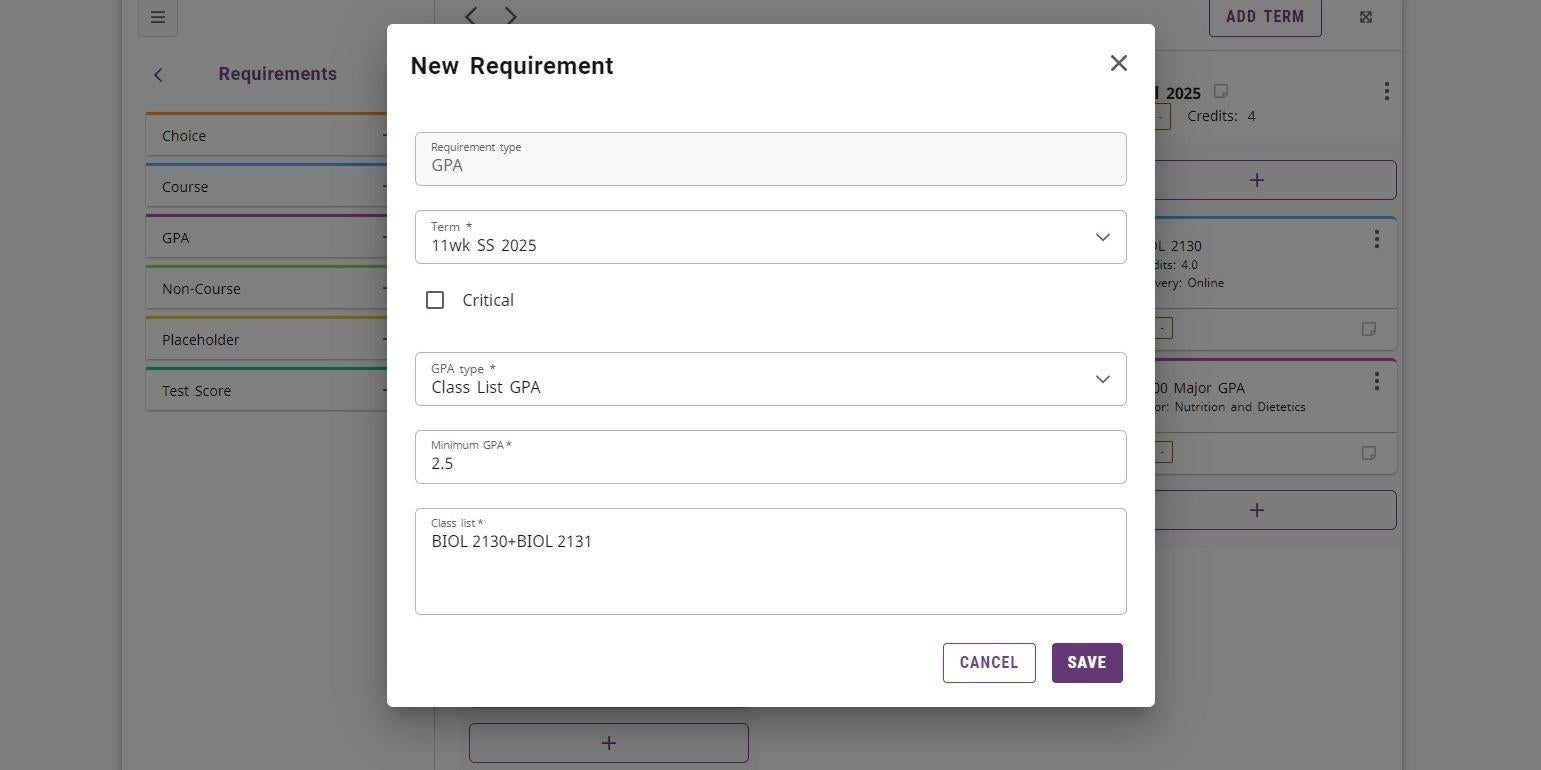
- Class List GPA
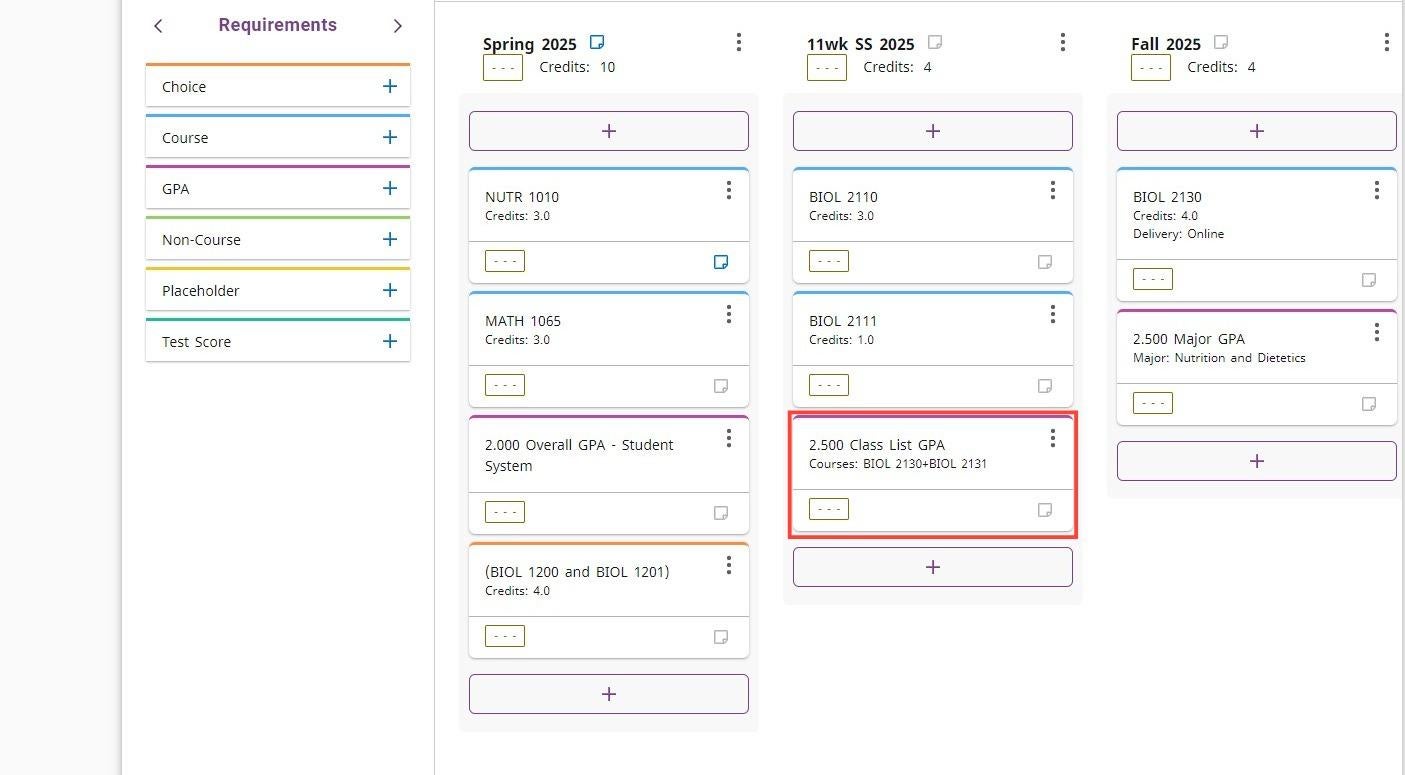
Plans are automatically saved. Do not click the “Save a Copy” link or you will create multiple plans.