How to Add a Placeholder from the Requirements Sidebar
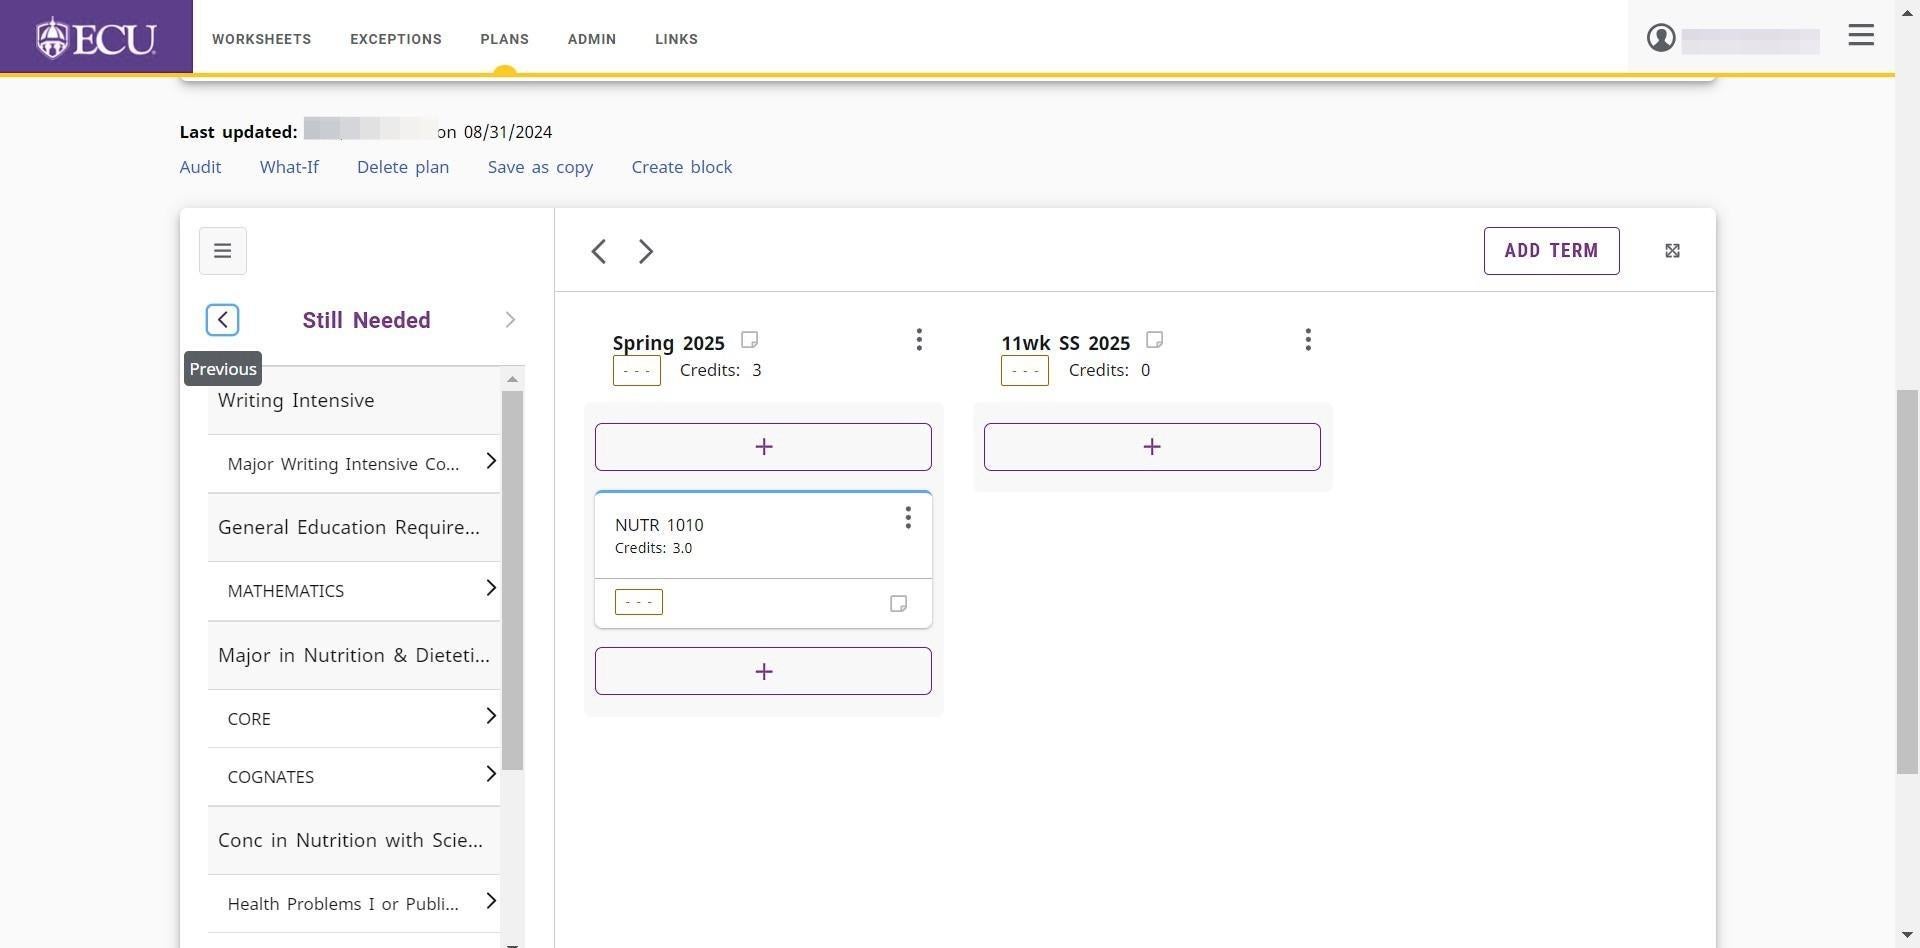
By default, the Still Needed sidebar is displayed on the plan. Use the < or > to change the sidebar menu.
- Click the left navigation icon (<) to move to the Requirements sidebar menu.
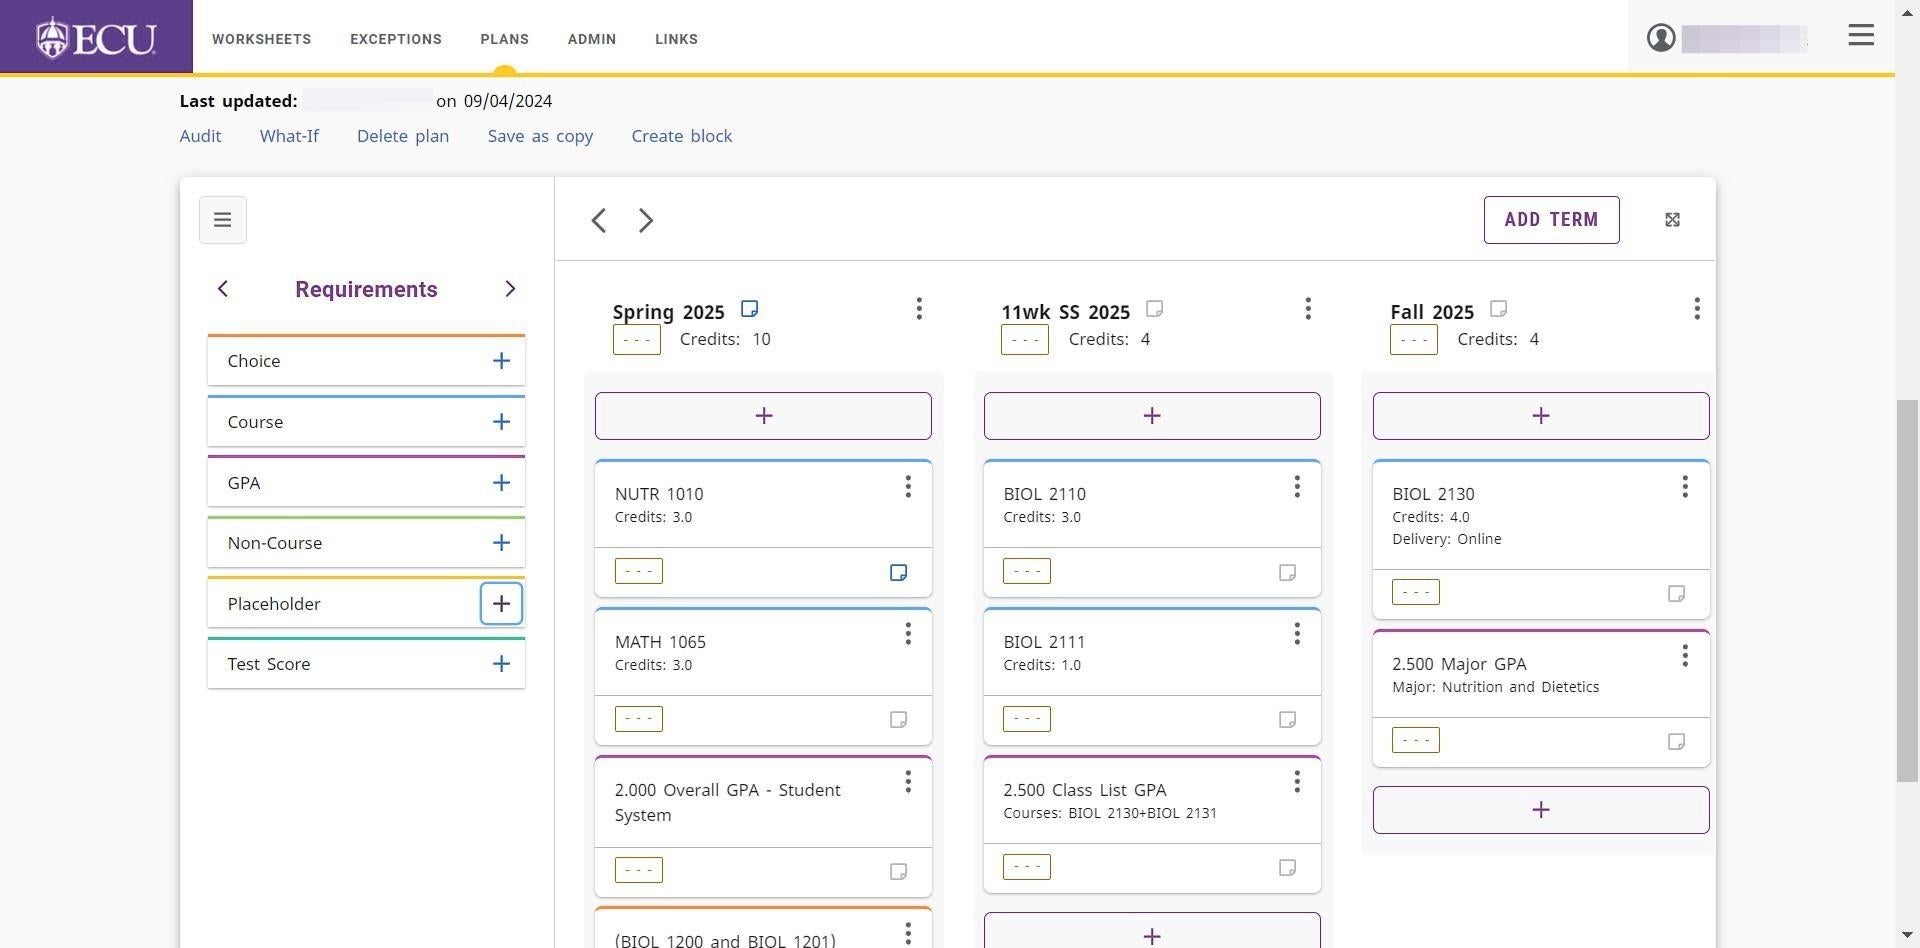
- Click on the Placeholder “+” to add a placeholder requirement.
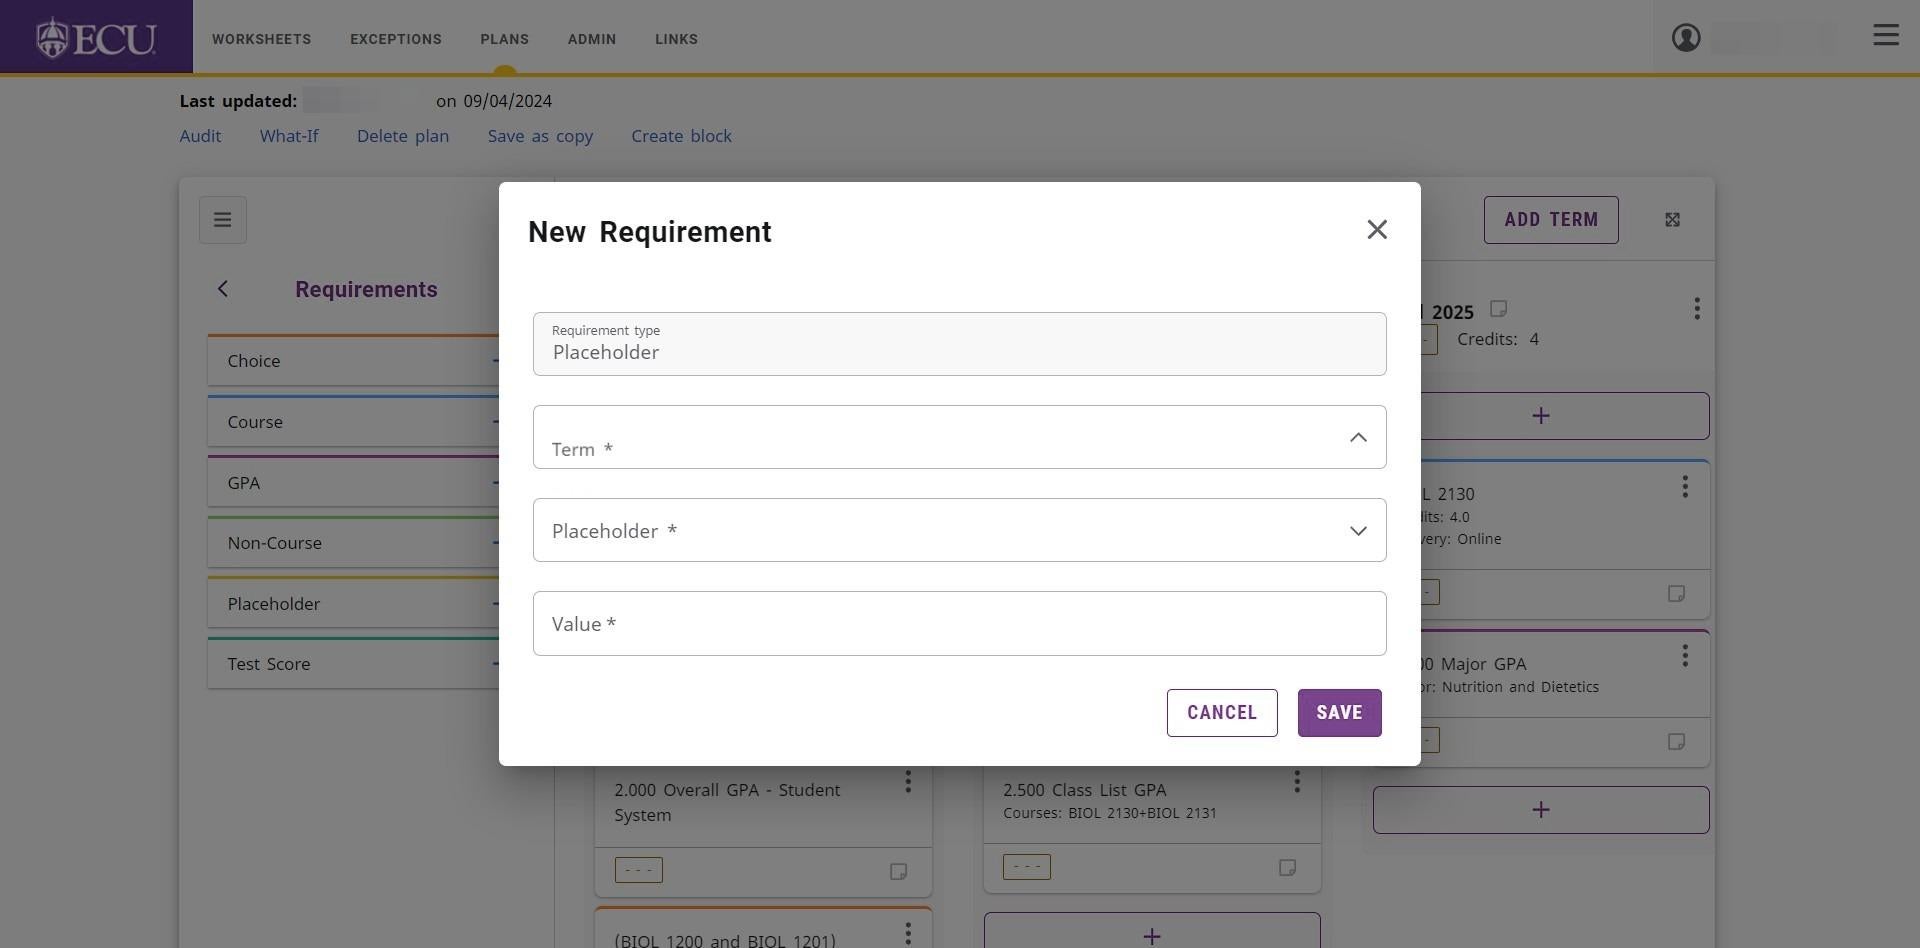
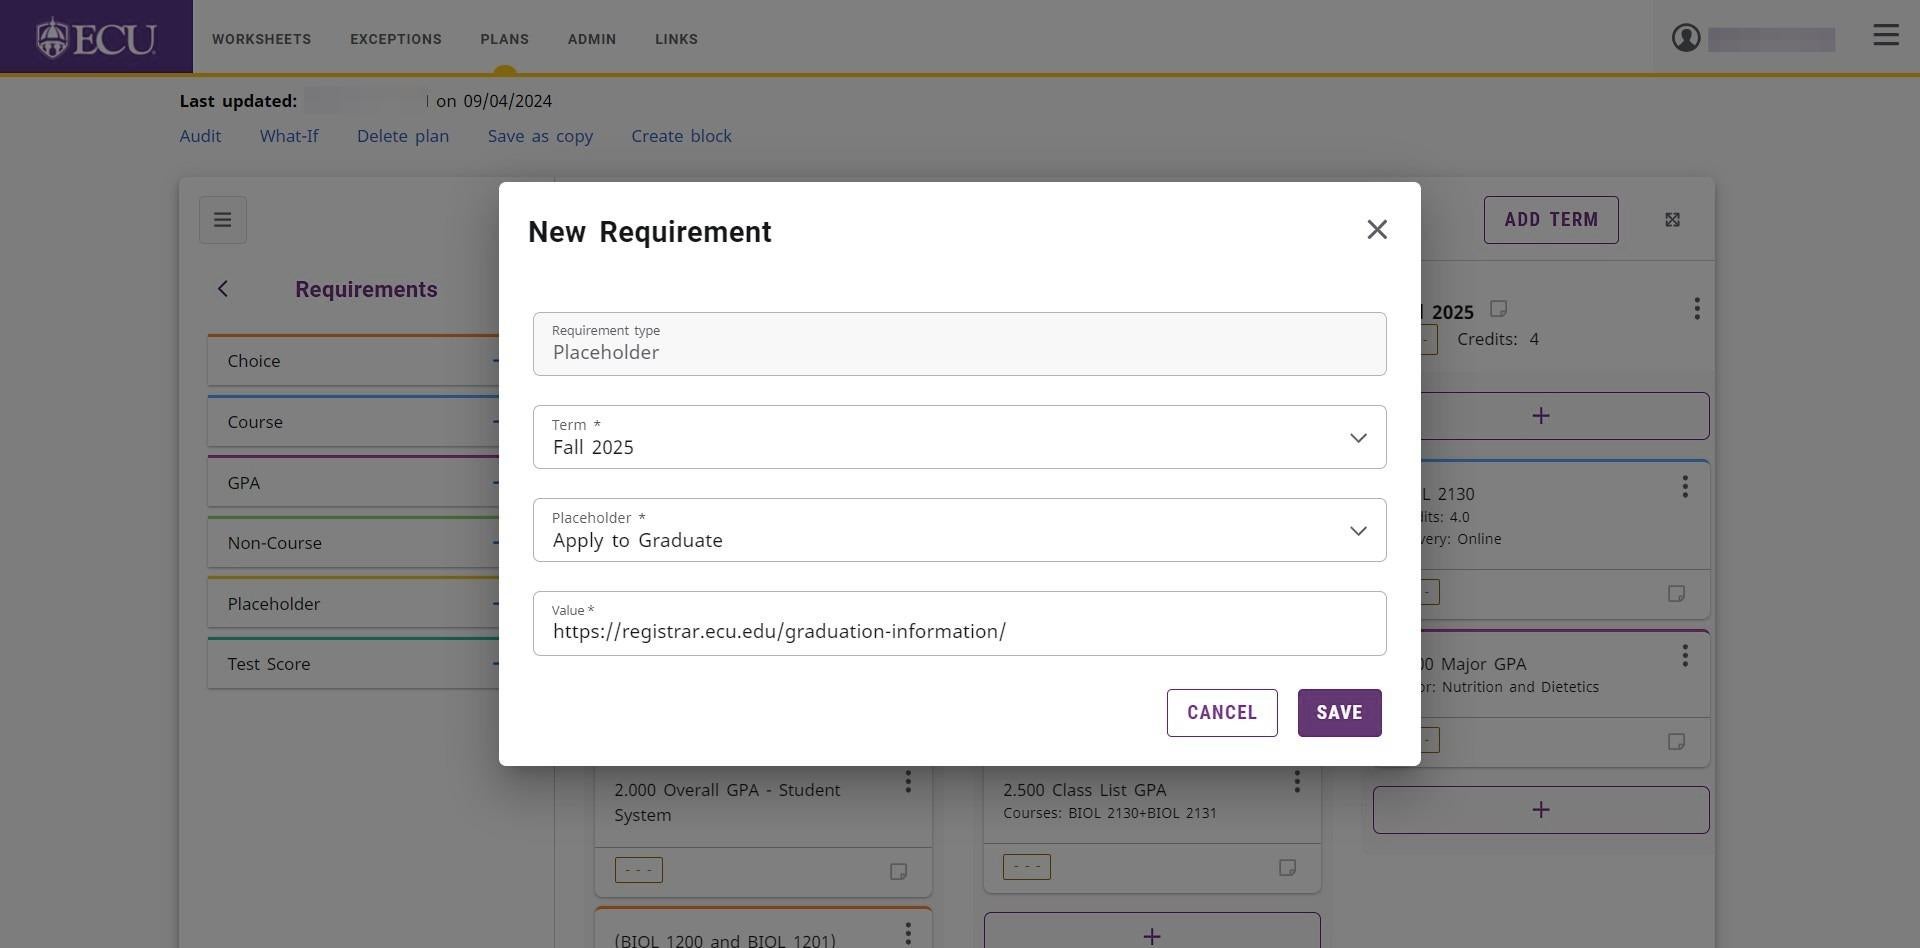
- Click on the “Term*” field to select a term.
- Click on the “Placeholder *” field to select a placeholder.
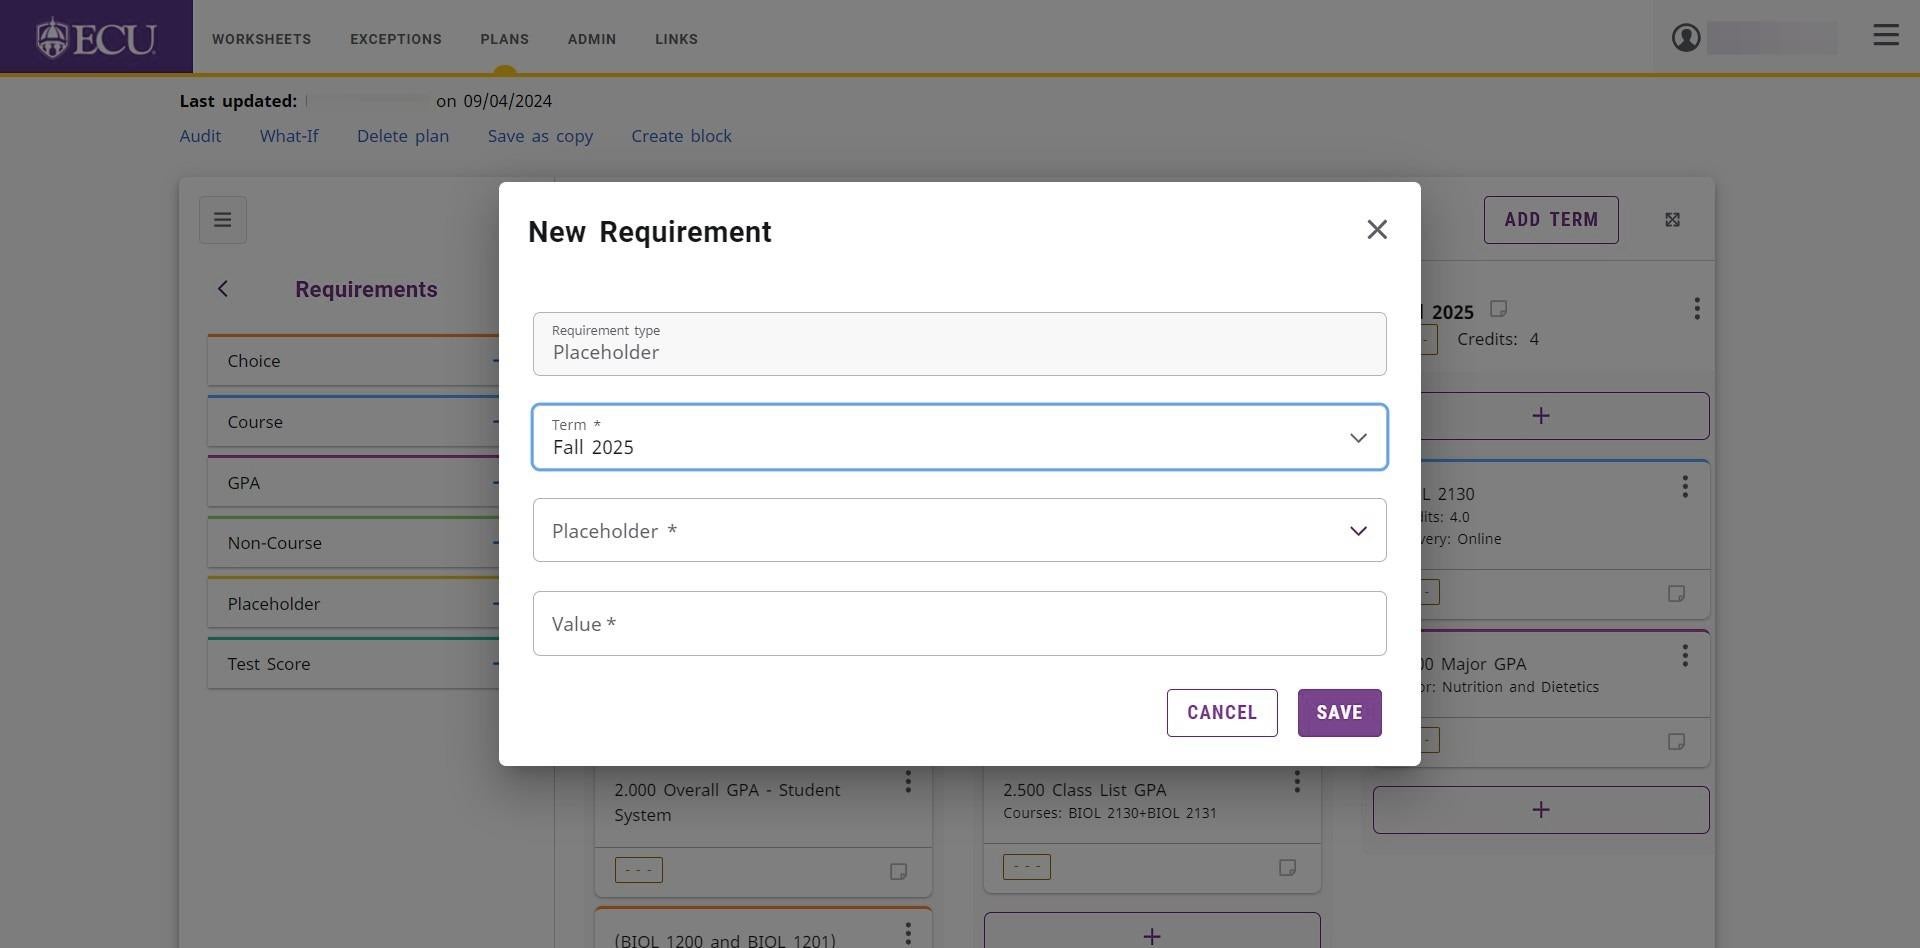
- Type additional information in the “Value” field (required).
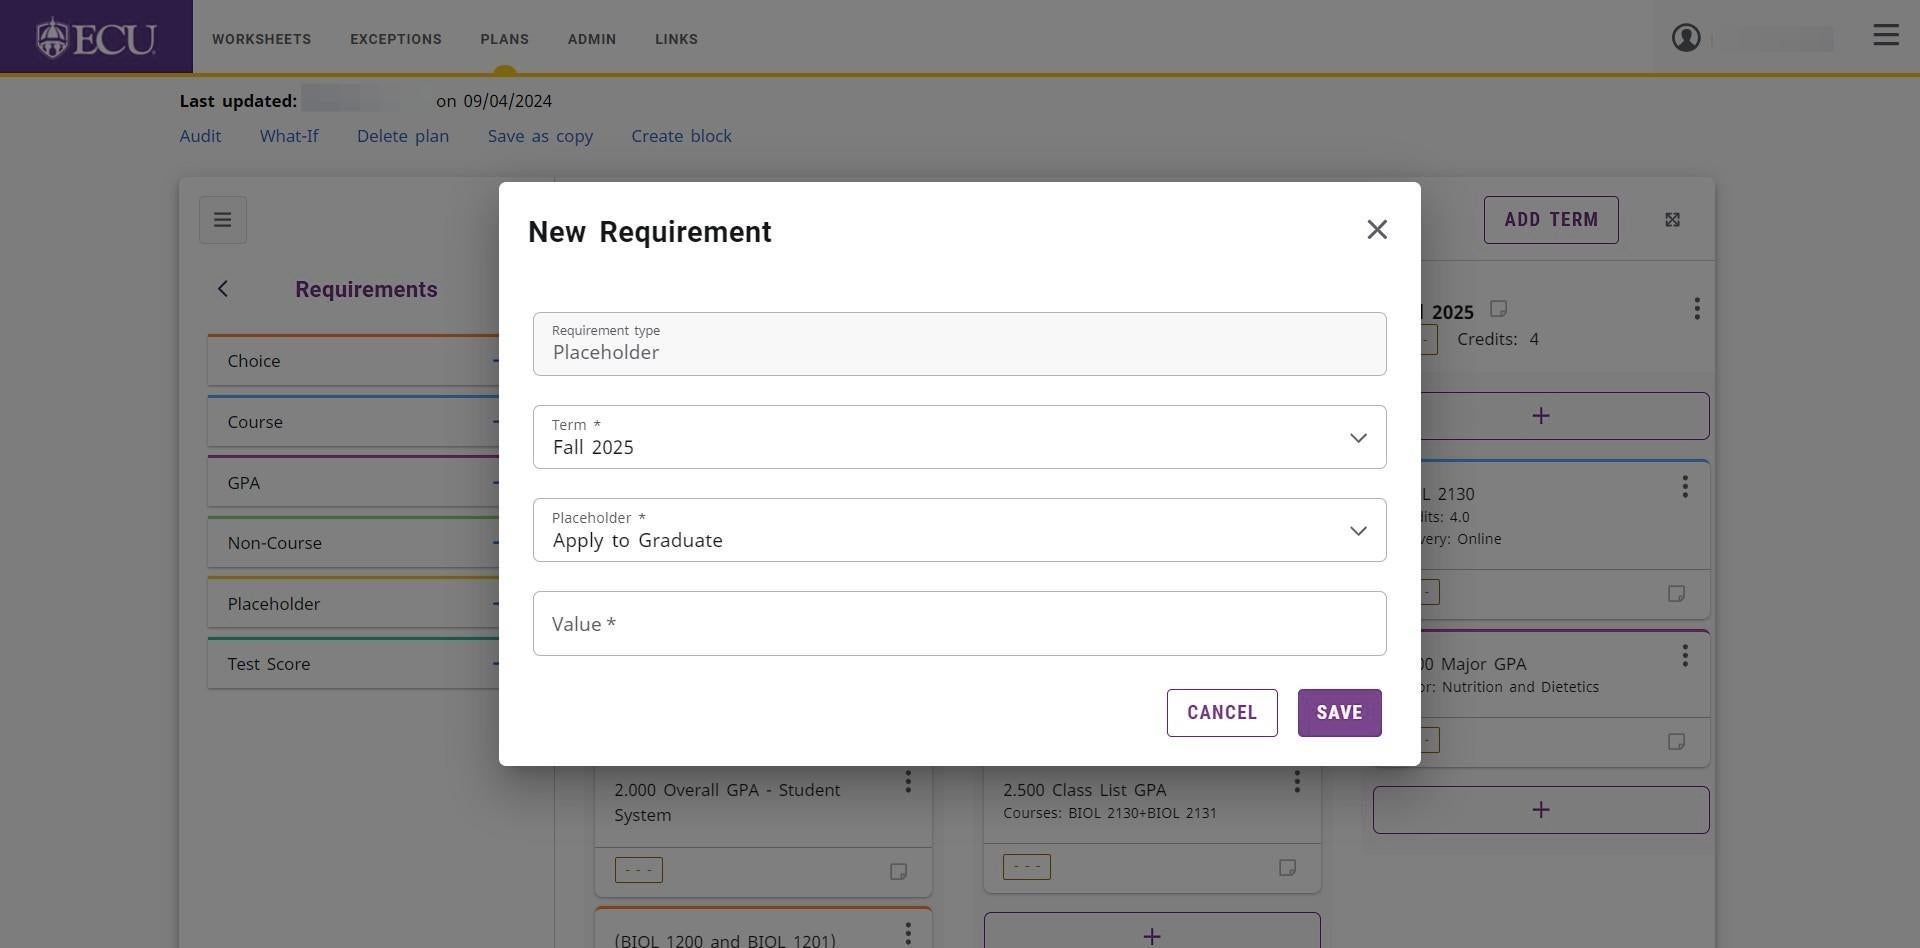
- Click the “SAVE” button.
- The placeholder requirement is added to the student’s plan.
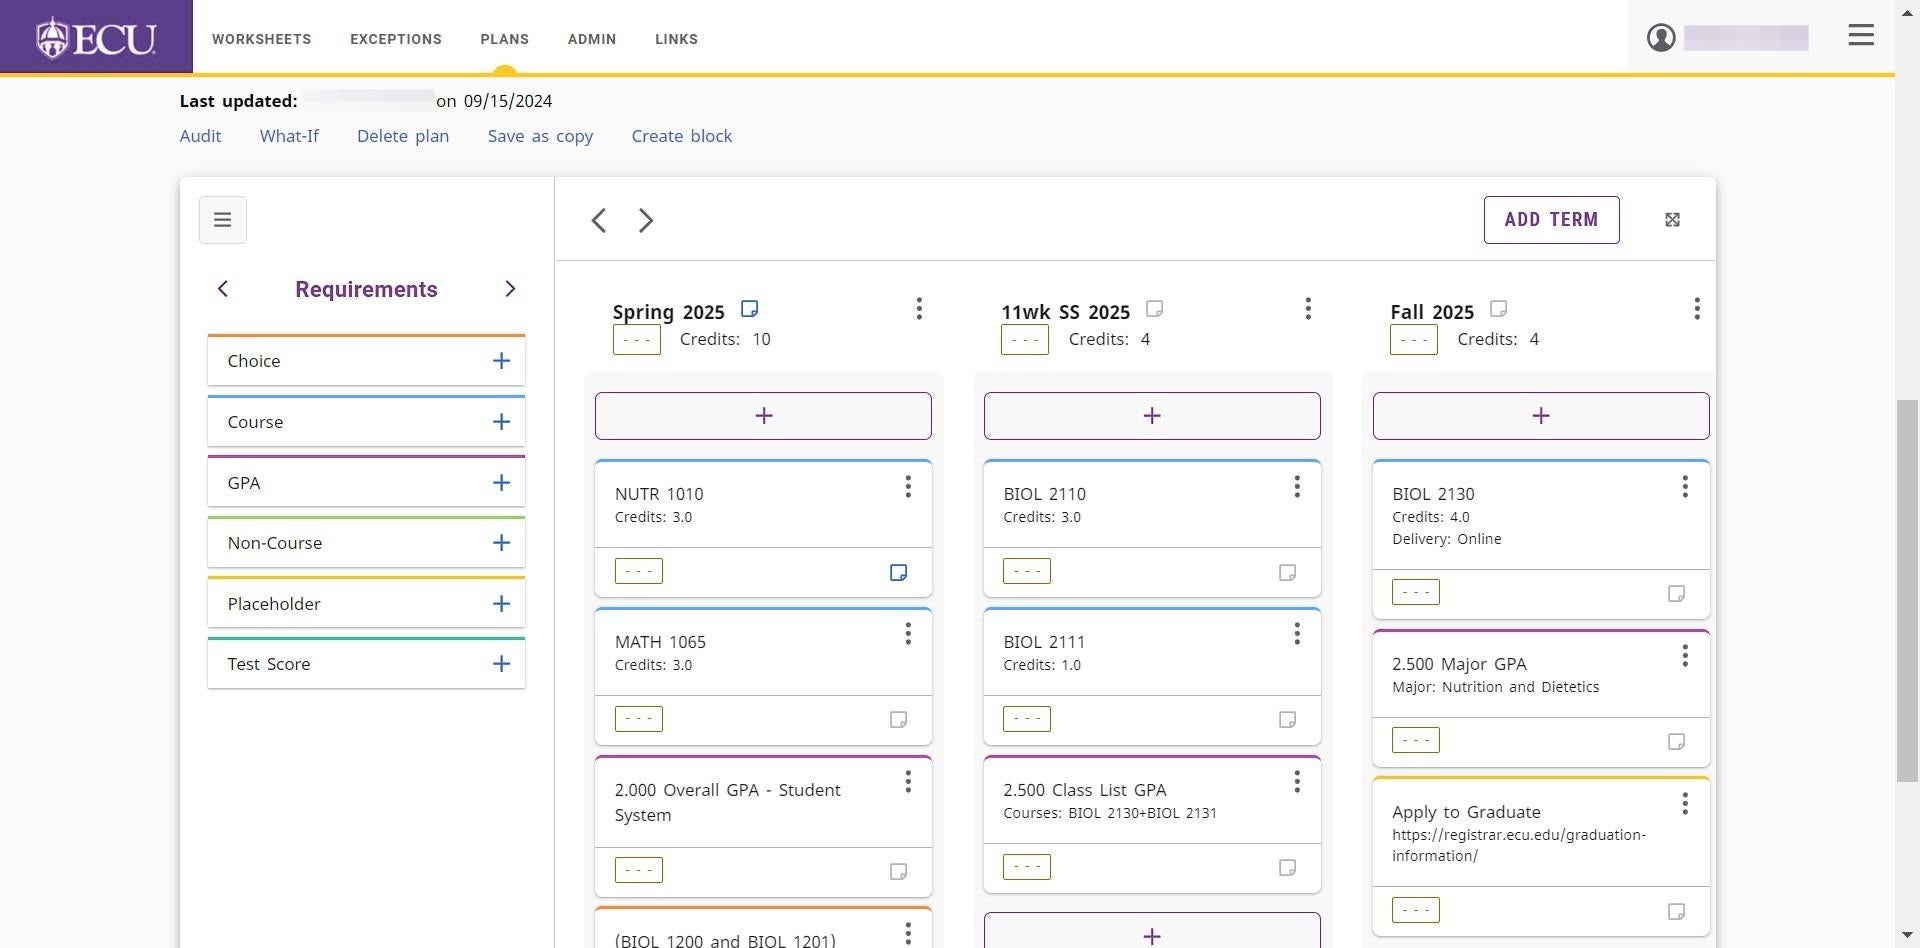
Plans are automatically saved. Do not click the “Save a Copy” link or you will create multiple plans.